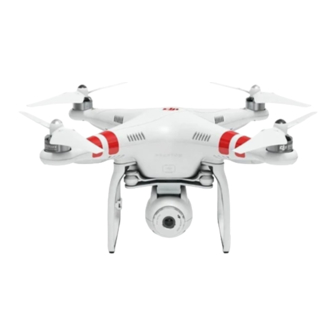
dji Phantom 2 Vision Manual
Dronexpert gimbal
Hide thumbs
Also See for Phantom 2 Vision:
- User manual (74 pages) ,
- Manual (49 pages) ,
- Quick start manual (2 pages)
Advertisement
Quick Links
Advertisement

Related Manuals for dji Phantom 2 Vision


Summary of Contents for dji Phantom 2 Vision
- Page 1 Manual DJI Phantom 2 Vision Dronexpert Gimbal...
- Page 2 Remove battery from the phantom. Place the Phantom upside down. Pull the jackplug out of the camera Lift the frame carefully from rubber holders. Pay attention to the wire connected to the camera.
- Page 3 Disconnect the camera connector Remove the “X-frame” for the Phantom body 7. You have now removed camera and frame...
- Page 4 Remove white rubber cover and remove the screw Remove the vision camera from the frame 10. Remove the plastic inlay 11. Return the screw with the inlay back in the frame so you don’t lose it 12. Place the outside rubber cover back on the Vision camera.
- Page 5 Overview photo...
- Page 6 13. Now take the gimbal and included parts out of the case 14. Put rubber tubes in the camera (where screws are located). Press the tubes all the way down to the end. 15. Place the camera (jack) connector as show on the images...
- Page 7 16. Place the screws in the rubber tubes as shown on the image...
- Page 9 17. Now put the jack connector into the vision camera. (make sure you press it to the end! If not pressed to the end the gimbal/camera will not work properly.) IMPORTANT: Make sure the sensor plate is mounted horizontal, also make sure the flat cable is free of moving space Make sure cable is flat to camera, so that the camera has enough moving space.
- Page 10 18. Paste the signalselector on the belly of the Phantom as shown on the image and connect it. Make sure you keep enough space for your Phantom battery. 19. Move the compass to a lower position (a few mm is enough) Make sure the compass is not on the same line of the engine of the gimbal.
- Page 11 20. Paste dampers in the corners of the landing gear as shown below 21. Now place the gimbal mount between the landing gear, first one side then the other side. The landing gear of the Phantom is quite flexible. The right landing gear and pull it with fixed-close strength aside and place the mount on its place as shown on the image below...
- Page 12 22. One side first 23. Then the other side...
- Page 13 24. Make sure the mount is resting on the dampers 25. Connect the 3-pins cable connector to the signalselector...
- Page 14 26. Connect the jack plug from the Phantom to the Vision mount (make sure you press it to the end! If not pressed to the end the gimbal/camera will not work properly.)
- Page 15 Place battery and connect it to computer and open the 'Phantom 2 Assistant' Adjust settings as following: Gimbal Switch 'on' Output frequency 200hz Servo Travel Limit Pitch F2 Max=600 center=0 min=-50 Roll F1 Max=0 center=0 min=0 Automatic Control Gain Pitch F2 Gain=0 Roll F1 Gain=0...
- Page 16 IMPORTANT: - Make sure the compass is not in line with the motor/engine of the gimbal, it must have 'free' sight. Make sure you calibrate the compass before your first flight after installing the gimbal! (it is always advisable to calibrate the compass now and then). - Make sure you have installed the dampers well, (dampers will fit in square outcut under the plate).
Need help?
Do you have a question about the Phantom 2 Vision and is the answer not in the manual?
Questions and answers