Advertisement
Advertisement
Table of Contents

Related Manuals for DI Lusso OV604MS


Summary of Contents for DI Lusso OV604MS
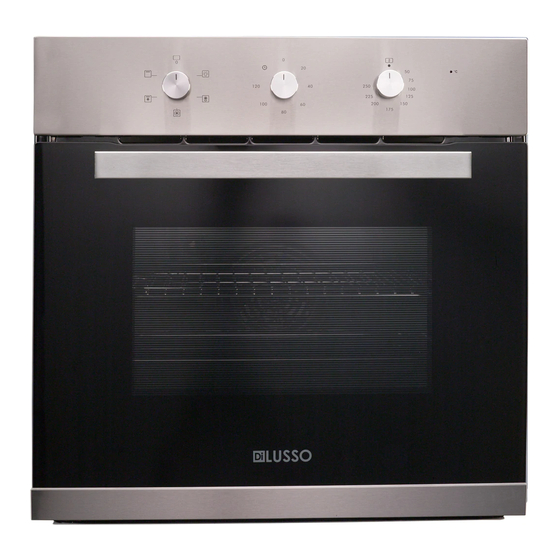
- Page 1 Built-in Oven OV604MS Installation and Operating Manual...
-
Page 3: Table Of Contents
CONTENTS Important Notes -------------------------------------------------------------------------------------------------------------------Page 2 Technical Specification ------------------------------------------------------------------------------------------------------------Page 2 Installation Instructions ----------------------------------------------------------------------------------------------------------Page 3 About the Oven --------------------------------------------------------------------------------------------------------------------Page 5 Oven Mechanical Timer ----------------------------------------------------------------------------------------------------------Page 6 Manual Mode -----------------------------------------------------------------------------------------------------------------------Page 6 Auto-off Timer ----------------------------------------------------------------------------------------------------------------------Page 6 Oven Cooking Function -----------------------------------------------------------------------------------------------------------Page 6 Cooking Time -----------------------------------------------------------------------------------------------------------------------Page 8 Cleaning and Maintenance ------------------------------------------------------------------------------------------------------Page 9 Warnings ---------------------------------------------------------------------------------------------------------------------------Page 12 Page 1... -
Page 4: Important Notes
REGULATIONS. INSTALLATION IS TO BE DONE ONLY BY AN AUTHORISED ELECTRICIAN. WARNING! THIS APPLIANCE MUST BE EARTHED. IMPORTANT! AN ISOLATION SWITCH COMPLETE WITH A 15A PLUG SOCKET MUST BE INCORPORATED IN THE FIXED WIRING. Technical Specifications Product : OV604MS Voltage : (220 – 240) Vac Frequency : 50Hz Maximum Power... -
Page 5: Installation Instructions
Before connecting to the mains, make sure that: The electric meter, safety valve, feeding line and socket are adequate to withstand the maximum load required (refer to product data label for maximum load). The supply system earth tested to ensure its working properly. ... - Page 6 Secure the appliance to the cabinet frame using the screws provided. Insert it together with the plastic washers into the 2 holes that can be seen in the frame of the oven when the door is open and cap it with the silicone washes.
-
Page 7: About The Oven
About The Oven The OV604MS oven offers extra large capacity of 70L and 4 cooking functions. User can do cooking on up to 5 shelves at a time or cook in large quantity which the traditional ovens do not allow. -
Page 8: Oven Mechanical Timer
Oven Mechanical Timer Manual Mode Step 1, Turn the "Timer Knob” in an anticlockwise direction to the " " symbol on the control panel. The oven operation is now set in manual mode. Step 2, Turn the "Function Knob" to select the desired cooking function and the "Temperature Knob"... - Page 9 Oven Light – Use this function to turn on the oven light when not cooking. Defrost – The fan operates without the heating elements. Can be used to defrost frozen food. The required time for defrosting depends on the type and quantity of food, and the room temperature. Always check food packaging for instructions.
-
Page 10: Cooking Time
Pizza or Focaccia Use a light aluminium tray with a maximum diameter of 30cm, placing it on top of the rack supplied. If the pizza has a lot of toppings, it is recommended to add the mozzarella cheese on top of the pizza halfway through the cooking process. -
Page 11: Cleaning And Maintenance
Cleaning and Maintenance CAUTION! PRIOR TO CLEANING OR MAINTAINANCE, ALWAYS DISCONNECT THE POWER SUPPLY. IMPORTANT! REGULARLY CHECK THE CONDITION OF THE SILICONE DOOR SEAL. CLEAN IF NECESSARY AND AVOID USING ABBRASIVE CLEANERS. SHOULD IT BE DAMAGED CONTACT THE AFTER SALES SERVICE CENTRE. 1) CLEANING OF STAINLESS STEEL In order to have your oven retains its new appearance;... -
Page 12: Warnings
WARNING! DO NOT USE HARSH OR ABRASIVE CLEARNERS, SHARP OBJECTS AND METAL SCRAPERS TO CLEAN THE OVEN DOOR GLASS AS THEY CAN SCRATCH THE SURFACE AND MAY RESULT IN THE GLASS SHATTERING. WARNING! DO NOT USE STEAM CLEANERS. 6) REPLACING THE OVEN BULB Once the oven has been electrically disconnected, unscrew the glass cover and pull out the halogen bulb. - Page 13 4. THE BOTTOM OF THE OVEN DOOR SHOULD BE HIGHER THAN 85MM FROM THE FLOOR. 5. AN ISOLATION SWITCH COMPLETE WITH A 15A PLUG SOCKET MUST BE INCORPORATED IN THE FIXED WIRING. THIS IS TO ENSURE THE APPLIANCE CAN BE SAFELY SWITCHED OFF AND DISCONNECTED FOR SERVICE.
Need help?
Do you have a question about the OV604MS and is the answer not in the manual?
Questions and answers
Where can I get the information to replace the door hinge brackets on a Di Lusso Ov604ms The door has been lent on and now won't close to seal. Thank you for your help David