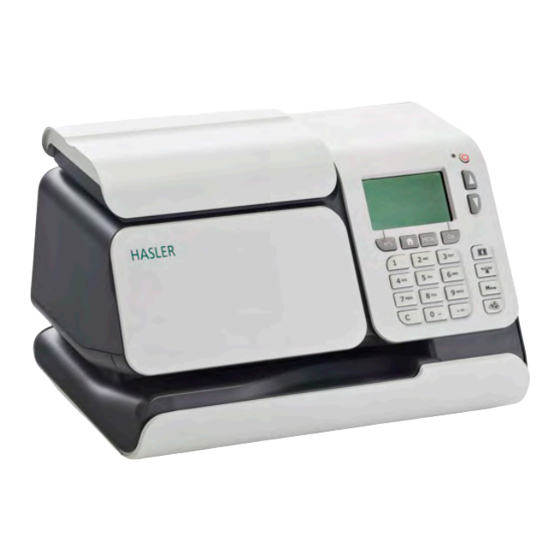
Summary of Contents for Hasler IM-280
- Page 1 INSTALLATION GUIDE IM-280 BROADBAND CONNECTION...
- Page 3 LAN Installation Overview The IS series mailing systems have the ability to connect to both the Postage Funding Server TMS and the Online Services Server via a LAN connection using a standard RJ45 Ethernet patch cable. When the machine connects to the Postage Funding Server or the Online Services Server it opens a secure communication over your Internet access based on SSL protocol via HTTPS on TCP port 443.
- Page 4 IP addresses. Proxy: If a Proxy is used to access the Internet, you can set-up the machine to use it when the machine tries to access the Hasler Servers through your Internet con- nection. Firewall: A network security system that allows businesses to closely control access between networks and network attached devices, such as your Mailing Ma- chine and Hasler.
- Page 8 The Mailing Machine will need the following fields completed during setup. (It may be advisable to have a member of your IT/Security teams present during installation to assist here). Proxy URL: This is the name or IP address of your Proxy Server. This will need to be provided by your IT department.
- Page 9 Manually configuring LAN communication settings In some unique instances, the LAN settings may have to be programmed into the IS series mailing machine in order to establish a valid connection via LAN. To manually configure LAN settings on an IS series mailing machine for a new install, the actions below are required.
- Page 10 Enter the supervisor pin code “09430”. Select “OK” to continue. Note: This pin code only applies when the PSD (meter) is not present. You will now be able to access the “LAN settings” via the “communication settings” option number “9” Note: Please ask a member of your IT administration staff to be present before adjusting these settings.
- Page 11 Installation process Proxy URL Proxy URL: This is the name of the proxy server. This will need to be pro- MY PROXY vided by your IT department. Installation process Proxy Port: This is the port number allo- Proxy Port cated on the network that communicated to the proxy server.
- Page 12 IP Configuration report A report can be obtained to assist your IT department when configuring your network firewall to allow traffic from the mailing system. To access the report please follow steps 1-3 in page 7 and 8 of this booklet “Manually configuring LAN communication settings”...


Need help?
Do you have a question about the IM-280 and is the answer not in the manual?
Questions and answers