Advertisement
Quick Links
Advertisement

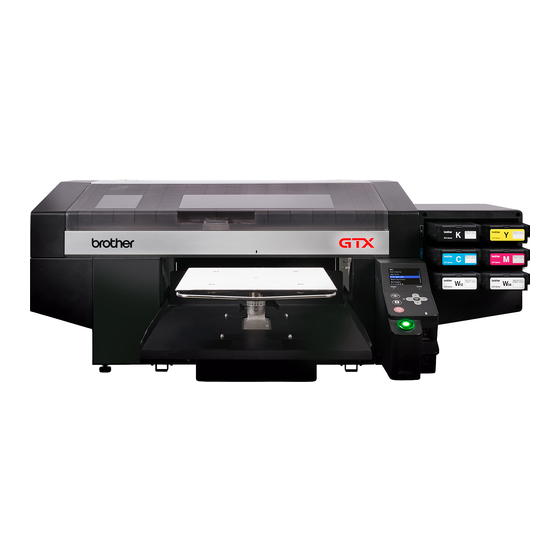
Related Manuals for Brother GTX


Summary of Contents for Brother GTX
- Page 1 UNCRATING: Step by Step Photo Instructions (Including Using a Move Kit)
- Page 2 Step 1 • After cutting and removing the strapping material. • Remove the top cover of the crate.
- Page 3 Step 2 • Remove the side paneling cardboard from each side of the crate.
- Page 4 KEEP THESE Step 3 • Remove the front and back paneling from the crate. • After removing the paneling; remove any pieces of cardboard inserts with the exception of the three items at the front of the printer. • Only empty cardboard inserts are to be removed like the ones indicated here in the photo to the left.
- Page 5 Step 4 • Remove the platen box from the crate. It is located at the front right of the printer on the crate. Also indicated in the top photo here. • NOTE: Do not dispose of this box it contains the platen for the printer.
- Page 6 KEEP Step 5 • Remove the large cardboard that has the Setup Manual attached to it. • Dispose of this piece of cardboard and keep the DISPOSE OF manual. • In total the three items in the bottom photo should now be available for a technician at the time of setup.
- Page 7 Step 6 • Make a rubber mallet ready for the next step. (Note: there are other ways to remove the items in the upcoming steps without the rubber mallet however this is a recommended item)
- Page 8 Step 7 • Take the hammer and tap the two back supports previously indicated until they come loose from the glue holding them. • The printer will still remain raised as it rests on several other cardboard supports. • You can now dispose of the two supports as well once removed.
- Page 9 Step 8 • With the hammer take and knock down the cardboard corner or slit with boxcutter. • Do this for both corners at the back of the printer as shown.
- Page 10 Step 9 • Ready the move kit: portable trolley and ratchet strap. • With the move kit ready mount the trolley in the manner shown...
- Page 11 Keep Both back cover Step 10 arms inside the wood • Keep the trolley centered in a manner that also keeps it from striking the arms that hold the back cover. • Also keep it so that the larger board further protects the platen.
- Page 12 Step 11 • Take the ratchet strap and secure it in the manner shown. • Note that the strap goes around the bottom board • Then over the printer and under the housing securing the platen rails.
- Page 13 Step 12 • Hook the two hooks together for the strap. The primary function is to keep the trolley tight against the back of the printer during the flip. • When tightening the strap tighten to firm but do not overtighten causing structural damage to the printer.
- Page 14 Step 13 • Confirm that the trolley is secured in the manner shown. • Ensure that two people are available for the process of flipping the printer one at the back of the printer and one at the front of the printer.
- Page 15 Step 14 • Person 1 should grab under the front cover in the center where the rails are covered as shown. • As person begins to bring the printer into contact with the ground; Person 2 needs to be in position to ensure the printer moves no further away from the pallet.
- Page 16 Step 15 • As Person 1 reaches the pinnacle of the rotation; Person 2 needs to keep pressure against the bottom. • Once the printer is upright Person 2 can pull the printer straight away from the crate bottom.
- Page 17 DO NOT LEAN ON THIS AREA Step 16 • Now each person should pick and end to help guide and push from. Never do this from the middle of the printer as this device is designed to PUSH AND GUIDE tip forward to set the printer back down.
Need help?
Do you have a question about the GTX and is the answer not in the manual?
Questions and answers