Table of Contents
Advertisement
Advertisement
Table of Contents

Related Manuals for NANO 3 series


Summary of Contents for NANO 3 series
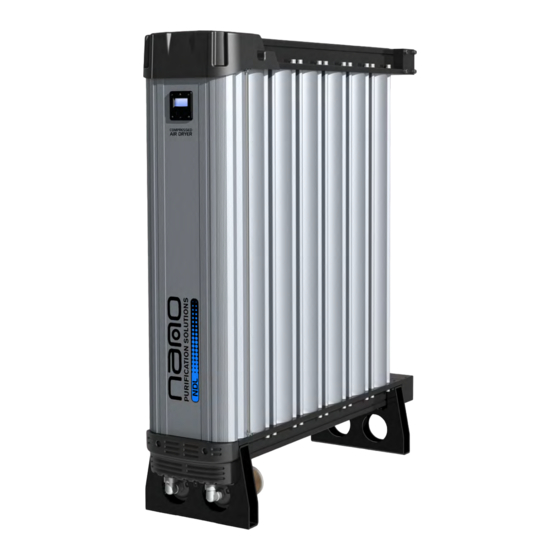
- Page 1 HEATLESS DESICCANT AIR DRYER SERIES 3 AIR DRYER USER GUIDE...
-
Page 2: Table Of Contents
Contents Page General information 1.1. Document introduction 1.2. North America Support Details | Manufacturers details 1.3. Warranty Guidelines 1.4. Packaging General safety 2.1. Intended Use 2.2. Personnel 2.3. Safe Handling Technical Description Technical Specification Product Contents Unpacking Guide... -
Page 3: General Information
The procedures illustrated in this document are only to be performed by authorized personnel. For further information regarding the procedures outlined in this document contact nano Read this document carefully before attempting to install or operate the dryer. This document should be permanently available at the dryer installation site and be kept in an easily accessible place alongside the dryer. -
Page 4: Warranty Guidelines
ES (Energy Saving) system and installed and maintained in accordance with the manufacturers guidelines. Only genuine service parts should be used and no modifications made. For further information please contact nano purification solutions. Packaging All products are securely packaged in a specifically designed wooden packing box. The dryer will be held in a horizontal position by wooden struts;... -
Page 5: General Safety
General safety For your own safety, when carrying out work on this product, all relevant national safety regulations must be complied with relating to pressurized and electrical systems. 2.1. Intended use of the Product The dryer is exclusively intended for the treatment of compressed air, which is free from bulk water, oil and solid matter constituents. -
Page 6: Technical Description
For dryer performance at other inlet conditions or -100°F (-70°C) dewpoint requirements, contact support@n-psi.com. • All dryers should be proceeded by a coalescing filter regardless of oil or oil free applications, a nano M01 grade coalescing filter must be installed on the inlet to the dryer. Page 6 17-110-0140... -
Page 7: Product Contents
Product Contents Series 3 Compressed Air Dryer Documentation • 1 x User Guide • 1 x Declaration of Conformity Packaging • 1 x Dryer support base and box cover Figure 1: Contents Layout 17-110-0140 Page 7... -
Page 8: Unpacking Guide
Unpacking Guide The dryer is supplied in a wooden crate. It is recommended that the crate be moved into position using a forklift truck or pallet truck. Remove the dryer from the wooden crate using an overhead crane. Use the following illustrations for correct guidance on safe handling and lifting techniques. -
Page 9: Product Dimensions
Product Dimensions WEIGHT MODEL (mm) (mm) (mm) (mm) (mm) (KG) NDL - 2110 2” NPT (678) (382) (1289) (400) (360) (166) NDL - 2120 2” NPT (678) (382) (1538) (400) (360) (200) NDL - 2130 2” NPT (678) (382) (1889) (400) (360) (248) -
Page 10: Equipment Overview
Equipment Overview Dryer Top Cover Controller Display Unit Front Shroud Dryer Column Air Outlet Air Inlet External Silencers/Mufflers Mains Power Remote Stop/Start Control (if required) Page 10 17-110-0140... -
Page 11: System Layout
System Layout Description Description Compressor Series 3 Dryer Wet air receiver Bypass line Water separator Oil / Water separator Dryer pre-filtration Pressure Relief Valve* *Note: It is the customers responsibility to fit pressure relief valves to the compressed air system. 9.1. Site Location When selecting an installation site for the dryer, ensure the following conditions are met: •... -
Page 12: Mechanical Installation
10. Mechanical Installation Once the dryer has been located into position, install ball valves and pipe work to ready the unit for connection to inlet and outlet pressure piping. The diameter of the pipes must be sufficient to allow unrestricted inlet air supply to the dryer and to the application as shown in the table below. -
Page 13: Electrical Installation
11. Electrical Installation Mains Power Connection To install the mains power cable: 1. Remove the two screws from the top cover and lift from the purifier. 2. Locate the two catches at the top and bottom of the shroud and pull them towards each other and open the shroud to expose the controller. -
Page 14: Dryer Operation
12. Dryer Operation Locate the electrical connector on the underside of the controller in the shroud. Dryer Remote Stop/Start Control (if required) • To set up for remote control eco mode. Remove the link between pins 1 and 4 (3) in the electrical connector plug. -
Page 15: Dryer Start Up
12.2. Dryer Start-up • Ensure the purifier is securely hardwired into the power source. Do not allow the dryer to flow air unless powered up, switched on and cycling. Resulting effect could be bed contamination; requiring replacement cartridges. Ensure that the external silencers/mufflers are re-installed before attempting to start the dryer. • Connect all pipe work. • Ensure the inlet operating pressure parameters are between 80 - 145 psig (5.5 - 10 barg). -
Page 16: Monitoring Dryer Performance
12.3. Monitoring dryer performance (Energy saving option) • The dew-point is displayed on the control panel. When the dew-point displayed is better than -54°F PDP the dryer will switch into economy mode and stop cycling. When the dew-point degrades to -43°F the dryer will restart cycling ensuring the dew-point is... -
Page 17: Maintenance
13. Maintenance Maintenance operations should only be carried out by authorized, suitably trained personnel. 13.1. Maintenance Guidelines • Maintenance operations only to be conducted when the system has been shut down and fully depressurized. • All connections must be undone with care, paying particular attention to the areas that become pressurized. -
Page 18: Servicing
14. Servicing Maintenance operations should only be carried out by authorized, competent and suitably trained personnel. 14.1. Serving Guidelines • Maintenance operations only to be conducted when the system has been shut down, fully depressurized and isolated completely from the compressed air and electrical supply. -
Page 19: Procedures
14.2. Service Procedures A dryer service should take place every 2 years or 12,000 hours of operation (whichever occurs first). Service kits are available which include: replacement desiccant, integral filters, seals and valves. Service A - 12,000 hours (or 2 years) service. •... -
Page 20: Troubleshooting
15. Troubleshooting Problem Problem Caused Solution Insufficient inlet pressure Inlet pressure min 58 psig (4 barg). If not adjust inlet presure settings. Electrical Fault Ensure the power is on and the dryer front panel is illuminated; check the dryer is cycling correctly. - Page 21 Notes 17-110-0140 Page 21...
- Page 22 Notes Page 22 17-110-0140...
- Page 23 Notes 17-110-0140 Page 23...
- Page 24 11330 Vanstory Drive Huntersville, NC 28078 Telephone: (704) 897-2182 Fax: (704) 897-2183 Internet:www.n-psi.com E-mail:support@n-psi.com...
Need help?
Do you have a question about the 3 series and is the answer not in the manual?
Questions and answers