
Related Manuals for Childcare Montana DL


Summary of Contents for Childcare Montana DL
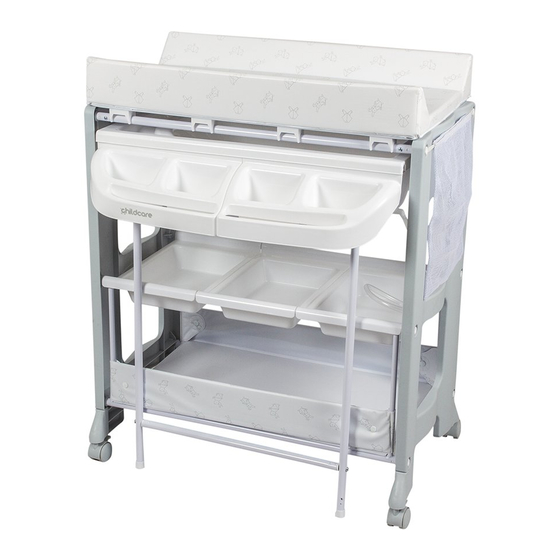
- Page 1 Montana DL Change Centre “Origami Bunny” Model # 057626-331 IMPORTANT: RETAIN FOR FUTURE REFERENCE, READ CAREFULLY...
- Page 2 SAFETY PRECAUTIONS Read all instructions before assembly and use of the change centre. Keep instructions for future use. WARNING FOLLOW THE MANUFACTURER’S INSTRUCTIONS. DO NOT LEAVE YOUR CHILD UNATTENDED. CHILDREN HAVE DROWNED WHILE USING BATH AIDS. THIS IS NOT A SAFETY DEVICE. ALWAYS KEEP YOUR BABY WITHIN ARM’S REACH.
- Page 3 Assembly contents list Assembly / Operating instructions How to care for your Montana DL Change Centre Due to variations in the style and design of our products, the photographs and illustrations shown in this instruction manual are generic, therefore product fabrics, colour and design may vary from images shown.
- Page 4 ASSEMBLY CONTENTS Check what you have received... You have received 1 box. Please check the contents of the box against the list below. If anything is missing, please contact Customer Service. In Australia, contact CNP Brands on 1300 667 137, in New Zealand contact Wainhouse Distribution on 0800 567 5000.
- Page 5 ASSEMBLY CONTENTS Supplied loose in box continued: Bottom shelf Castors Pre assembled Plastic assembly change pad tool frame Bath frame support legs with Drain tube floor protectors Assembly bolt x 12 Support tubes 44mm bolt for front frame bath Bath plug support...
- Page 6 ASSEMBLY / OPERATING INSTRUCTIONS To attach pre-assembled Change Pad Frame... PLEASE NOTE: You may need the help of another adult for assembly. Attach all four castors by pushing onto bottom of end panels. Insert pre-assembled change pad frame into one side of an end panel.
- Page 7 ASSEMBLY / OPERATING INSTRUCTIONS To attach Front and Rear Frames continued... Insert rear frame into both end panels. Using the same method as used for front frame assembly. To assemble Bath Support Frame... Insert bath frame support leg onto bath frame tube. Ensure pop pins lock into hole.
- Page 8 ASSEMBLY / OPERATING INSTRUCTIONS To attach Bottom Shelf... Place bottom shelf in position as shown. Ensure the cut-outs in the shelf align with the plastic clips on the frame. Fold up sides and attach end flaps around vertical bars of side panels, using press studs to secure as shown.
- Page 9 ASSEMBLY / OPERATING INSTRUCTIONS To assemble Plastic Components... Place the three storage containers into position on the upper rails of the front and rear frames, creating a shelf in the centre of the unit. Place the left component of the front tray into position, then place the right component ensuring it clips into the left component as shown.
- Page 10 ASSEMBLY / OPERATING INSTRUCTIONS To access Bath... To access bath, slide bath outwards. When finished, slide bath back inwards, ensuring the bottom of the slide out frame clips into the plastic clips as shown.
- Page 11 HOW TO CARE FOR YOUR CHILDCARE CHANGE CENTRE Cleaning This product has been designed and developed with safety, comfort and functionality in mind. Please take the time to read this manual carefully before using this product and keep it in a safe place for future reference.
- Page 12 Distributed in Australia by CNP Brands Distributed in New Zealand by Wainhouse 20 Calarco Drive, Distribution Derrimut, VIC, 3030 2-6 Argyle St, Morningside, Customer Service 1300 667 137 PO Box 41-014, St Lukes, Auckland, New Zealand W: www.cnpbrands.com.au Customer Service: 0800 567 5000 E: info@cnpbrands.com.au F: www.facebook.com/CNPBrands E: helpline@wainhousedist.co.nz...
Need help?
Do you have a question about the Montana DL and is the answer not in the manual?
Questions and answers