Advertisement
Start Here
Installing your Microtek ArtixScan F2
Step 1:
Unpack your scanner package and check
for major components.
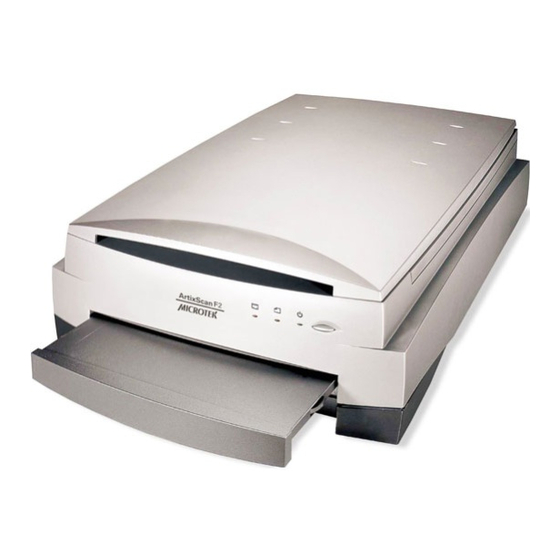
1. ArtixScan F2 scanner
2. Hi-Speed USB cable
3. Power cord
4. Vinyl Strips
5. Software CDs/DVDs
6. Film holders
Step 2:
Important:
Do not remove the yellow stickers from your scanner
until you are told to do so.
You must install software before connecting your scanner.
close any open programs, and turn off Anti-virus utilities before
installing software.
PC:
A. Place the Adobe DVD into a drive, and
install the software. Skip this step if you
have a newer version of Photoshop
Elements already installed on your
computer.
B. Place the Microtek Software CD/DVD into a
drive, and follow the on-screen instructions
to install the scanner driver and software.
C. Restart your computer at the end of all
software installation.
NOTE: If the Microtek Software Installer screen does not come
up automatically, double-click the following in succession: "My
Computer"; the CD/DVD-ROM icon; then cdsetup.exe to start the
installer program.
Copyright © 2013
Microtek International, Inc.
I49-004847 C, September 2013
Unpack Contents
1
2
Install Software
Always
http://www.microtek.com
4
5
3
MAC:
A. Place the Adobe DVD into a drive, and install
the software. Skip this step if you have a
newer version of Photoshop Elements already
installed on your computer.
B. Place the Microtek Software CD/DVD
(ScanPotter) into a drive, and double-click the
ScanPotter installer icon to install ScanPotter.
C. Install the remaining software components,
then restart your computer at the end of all
software installation.
NOTE: After rebooting your Macintosh, the Microtek software will
attempt to locate your scanner on the system. Since this is your
first install and you have not yet connected the scanner, simply
ignore the message that appears and proceed to the next step.
1
6
Advertisement
Table of Contents

Subscribe to Our Youtube Channel
Related Manuals for Microtek ArtixScan F2


Summary of Contents for Microtek ArtixScan F2
- Page 1 NOTE: If the Microtek Software Installer screen does not come NOTE: After rebooting your Macintosh, the Microtek software will up automatically, double-click the following in succession: “My attempt to locate your scanner on the system.
-
Page 2: Unlock Scanner
NOTE: To lock the scanner (for shipping and other reasons), refer to the ArtixScan F2 Supplement in the Microtek software CD/DVD. Step 4: Connect Scanner To the power adapter A. - Page 3 Position the Scan Material Position Transparencies A. To scan standard-size transparent film such as 35mm slides, 35mm filmstrips, 4” x 5” film, or medium format up to 6 x 17-cm panoramic film: Use the individual film holders provided with the scanner together with the Main Holder. The entire assembly is then inserted into the lower compartment (transparency bay) of the scanner.
- Page 4 ScanWizard Pro (for PC Users Only) ScanWizard Pro is the scanner controller software for the ArtixScan F2. The four windows of ScanWizard Pro are shown here to familiarize you with the interface and to prepare you for the material in the next section on “Scanning.”...
-
Page 5: Scanning Photos
• If prompted to set up Color Matching, click OK for now to accept the settings. You can always change the settings at a later time. For more details, see the ArtixScan F2 Supplement in the Microtek Software CD/DVD. 3. In the Preview window of ScanWizard Pro, choose Reflective from the Scan Material menu. - Page 6 Go to the Negative Scan Settings window, choose the film brand, film type, and ISO settings that match the film you use. For more details, refer to a PDF document called “ScanWizard Pro Reference Manual” in your Microtek Software CD/DVD and see the Addendum to ScanWizard Pro section.
- Page 7 9. Click the Scan button to start scanning. NOTE: For details on scanning photos and film, see the ArtixScan F2 Supplement in the Microtek software CD/DVD.
- Page 8 Basic Scanning for Mac Users (cont.) Click the Scan Settings button Scan frame to switch back to the default (enclosed by dotted lines) control panel of ScanPotter Click the Image Settings button to switch to a window where contains a composite display of nine-image-effects (Filter column) and additional image correction tools...
- Page 9 NOTE: This section is only available for the PC users who have installed the Microtek’s MSP utility, Calibration and use the IT8 color targets to generate scanner ICC profiles. The Microtek Scanner ICC Profiler (MSP) program included with your ArtixScan F2 is used to calibrate your scanner to achieve consistent and accurate color.
- Page 10 After you finish the installation of software, if you found that the installed drivers and software cannot run your product or your computer system properly later, please go to the Microtek Download Service site at ww7.microtek.com.tw/service.php to download and install any updates you may require.
Need help?
Do you have a question about the ArtixScan F2 and is the answer not in the manual?
Questions and answers