Advertisement
Quick Links
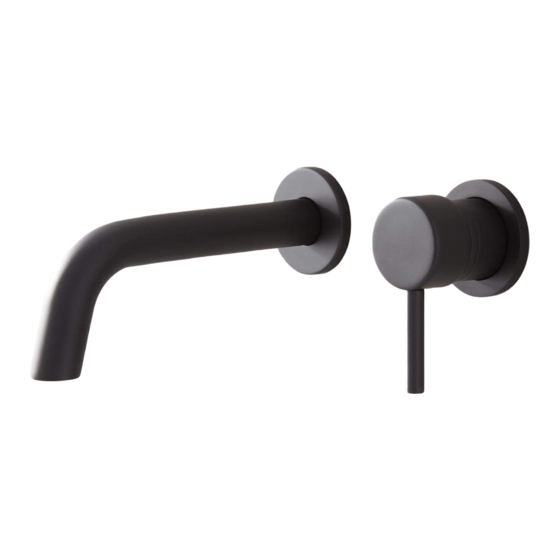
ROTUNDA WALL-MOUNT FAUCET INSTALLATION
BEFORE YOU BEGIN
We recommend consulting a professional if you are
unfamiliar with installing bathroom fixtures and
plumbing. Signature Hardware accepts no liability for
any damage to the floor, walls, plumbing, or personal
injury during installation.
For the following installation instructions, it is
assumed that any old fixture has been removed and
the main water supply is prepared for faucet installa-
tion.
Unpack and inspect the item for damage. If any
damage is found, contact our Customer Relations
team at 1-866-855-2284.
TOOLS AND MATERIALS:
Plumber's Tape
Tape Measure
Level
Flathead
Pipe Clamps
Screwdriver
Thread Sealant
Drill
Hex Wrench
(provided)
GETTING STARTED
Ensure that you have gathered all of the required
materials that are needed for the installation.
Shut off the main water supply where the new faucet
is being installed.
PLANNING
Use the faucet's PDF specification sheet as a refer-
ence when planning your installation. The specifica-
tion sheet can be found and downloaded from the
product page on our website.
Because the faucet specification
measurements are approximate and slight variations
may occur, we highly recommend performing any
rough-in procedures with the faucet on site.
Rotunda Wall-Mount Faucet Installation Instructions
SKU(s): 919045
1
Advertisement

Related Manuals for Signature Hardware ROTUNDA


Summary of Contents for Signature Hardware ROTUNDA
-
Page 1: Before You Begin
Ensure that you have gathered all of the required unfamiliar with installing bathroom fixtures and materials that are needed for the installation. plumbing. Signature Hardware accepts no liability for any damage to the floor, walls, plumbing, or personal Shut off the main water supply where the new faucet injury during installation. -
Page 2: Installation
Use a level to ensure that the valve is mounted straight. body. Important: Leave the protective plastic sleeves on the valve until your finished wall is completed. Rotunda Wall-Mount Faucet Installation Instructions... - Page 3 flow through the spout for approximately 60 seconds, and verify that hot and cold water are running properly. Reattach the aerator once testing is complete. Apply thread sealant or plumber’s tape 60 sec Rotunda Wall-Mount Faucet Installation Instructions...
-
Page 4: Drain Installation
Pop-Up Drain Flange Flat Rubber Gasket Tapered Rubber Gasket Plastic Friction Washer 3. Slide the flat rubber gasket up the tailpiece until it Lock Nut meets the lip of the pop-up drain flange. Tailpiece Rotunda Wall-Mount Faucet Installation Instructions... - Page 5 5. From under your counter, slide the tapered rubber gasket followed by the plastic friction washer onto the tailpiece until they meet your sink or countertop. Be sure that the tapered side of the rubber washer is facing up. COUNTERTOP COUNTERTOP Rotunda Wall-Mount Faucet Installation Instructions...
Need help?
Do you have a question about the ROTUNDA and is the answer not in the manual?
Questions and answers