Table of Contents
Advertisement
Quick Links
Download this manual
See also:
Instructions for Using
Advertisement
Table of Contents

Related Manuals for AEG Santo W 9 88 20-4i


Summary of Contents for AEG Santo W 9 88 20-4i
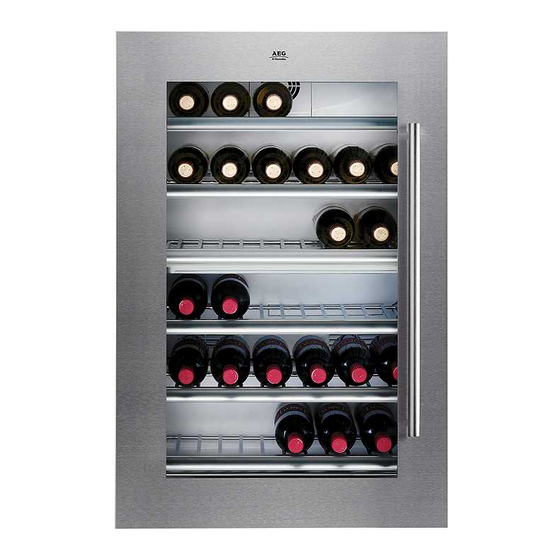
- Page 1 Built-in Wine Cooler Santo W 9 88 20 - 4i USER INSTRUCTIONS...
-
Page 2: Table Of Contents
Contents Safety Instructions / Standards Disposal of packaging and old appliances Installation / Installation site Your cooler needs air Installation Electrical connection Product description Interior fittings User panel Commissioning – setting temperature, switching off Adjusting storage racks Adjusting the temperature zone divider Changing the light fitting Proper loading Ideal drinking temperatures... -
Page 3: Safety Instructions / Standards
Dear Customer Please read these instructions carefully before starting to use your wine cooler. They contain important information about the safe operation, installation and maintenance of your appliance. Please keep them for reference and pass them on to any subsequent user. Safety Instructions This refrigerator conforms to recognised technical regulations and to the EC guide- line /EEC (low voltage guideline). -
Page 4: Disposal Of Packaging And Old Appliances
Disposal Information about the appliance packaging Dispose of your appliance packaging properly. None of the packaging materials used are harmful to the environment and they may be re-used. About the materials: the plastics may also be recycled and are identified as follows: >PE<... -
Page 5: Installation Installation Site
Installation Installation site The appliance should be positioned in a well-ventilated, dry room. The ambient tem- perature will influence energy consumption and the proper functioning of the unit. For this reason, the appliance . Should not stand in direct sunlight; . -
Page 6: Your Cooler Needs Air
The cooler needs air The cooler door seals the installation unit almost completely, so an air vent is provided in the base of the housing. Warmed air must be conducted via the ventilation shaft to the rear wall of the housing and then expelled upwards. The ventilation channels should measure at least 200 cm in cross-section. -
Page 7: Electrical Connection
After installing the unit, and particularly if the door hinge is reversed, please ensure that the door seal is tight all round. An imperfect door seal can lead to increased condensation and thus to higher energy consumption (see the section headed “Troubleshooting”). -
Page 8: Product Description
Product description Control panel Storage racks (adjustable) Temperature zone divider (adjustable) Control panel Appliance on/off Press for at least 3 seconds. Select upper zone temperature (5 to 18° C, adjustable) Recommendation: 5–12° C (ideal for white wine, see page 11) Press for at least 3 seconds indicator flashes The temperature can be adjusted in steps. -
Page 9: Adjusting Storage Racks
Supercool Press for 3 seconds the yellow pilot light illuminates. The appliance cools the upper zone for 24 hours at +5° C and then automatically at the set temperature. Interior light switched on permanently: Press for 3 seconds Interior light on only while the door is open: Press for 3 seconds If the door is kept open for longer than 5 minutes, an acoustic door alarm will sound. -
Page 10: Adjusting The Temperature Zone Divider
To adjust the temperature zone divider The temperature zone divider can be raised or lowered by 1 position. Pull forwards away from the rear wall, and lift on door side. Reverse this procedure to replace at a different level. Please ensure that the rear section of the temperature zone divider slots into the groove provided in the rear wall. -
Page 11: Proper Loading
Proper loading The appliance is separated into 2 adjustable temperature zones (both adjustable from 5 to 18° C): Top compartment white wine, champagne, sparkling wine, rosé wine. Bottom compartment red wine Please ensure that the temperature set for the bottom compartment is always at least the same as or higher than that in the top compartment. -
Page 12: Energy-Saving Tips
Never steam-clean the appliance. Dampness may penetrate the electrical compo- nents, creating the risk of an electric shock. Hot steam may damage the plastic components. The appliance must be dry before it is used again. Caution! Plastic components may be attacked by essential oils and organic sol- vents such as fruit juices and the acids in butter, as well as by detergents containing vinegar. - Page 13 Fault Possible cause Solution Appliance doesn’t work. Appliance is not switched Switch on. Mains plug is loose or Insert the mains plug. not plugged in. Fuse has triggered or is Check fuse and replace if defective. necessary. Socket is defective. Faults with the mains supply must be repaired by a qualified electrician.
-
Page 14: Guarantee
Guarantee The guarantee runs from the date on which the appliance is delivered to the end user. Under the terms of the guarantee, the customer service department will rectify any faults which may occur despite proper use during the guarantee period and which may be attributable to faulty materials or manufacture. - Page 15 Description Cause Comment Droning Cooling aggregate Normal operating noise of the cooling aggregate. The level is dependent on the size of cooler. Humming Normal operating noise of the fan. Gurgling Cooling circuit Normal operating noise as coolant Babbling flows through the circuit. Murmuring Hissing Cooling circuit...
- Page 16 168 058...
Need help?
Do you have a question about the Santo W 9 88 20-4i and is the answer not in the manual?
Questions and answers