Table of Contents
Advertisement
Advertisement
Table of Contents

Subscribe to Our Youtube Channel
Related Manuals for Chef UC-PS38SS-30


Summary of Contents for Chef UC-PS38SS-30
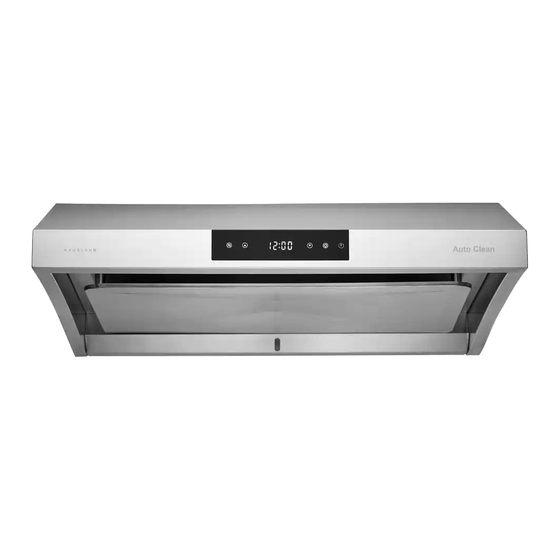
- Page 1 USER MANUAL Chef Kitchen Range Hood Model UC-PS38SS-30...
-
Page 2: Table Of Contents
INJURY, OBSERVE THE FOLLOWING: may ignite. Use this range hood only in the manner intended by the manufacturer. If you have the questions, contact Chef Kitch Heat oils slowly on low or medium settings. at 1-800-929-0168 or email at info@chefkitch.com. -
Page 3: Warranty Information
24"; any installation less than 24" may cause overheating and cause Please read product specification label on range hood damage to the range hood, CHEF KITCH does not warrant for further information and requirements. this improper installation. -
Page 4: Specifications
Specifications Dimentions UC-PS38SS-30 Volts Hertz Fan CFM Speeds Light Wattage Stainless Steel Grade 29.7” W 22.9” D 3W (LED) 8.2”H Package Contents Hood Philips Head Sheet Metal Screws Round Adapter Grease Collector (2) LED Light Water Tray Rubber Gasket User Manual Tools Needed Electric Drill &... -
Page 5: Preparation: What To Do Before Installation
Preparation: What to Do Before Installation Before installing your range hood, carefully follow these steps: 1. Read This Manual Read through all the steps. If you fail to read the instructions carefully, we will not be responsible for damages incurred on your part. - Page 6 Preparing the Cabinet Cabinet with recessed bottom Cabinet or soffit with flush bottom 30” cabinet (typical) 30” cabinet (typical) Cabinet with Cabinet with recessed bottom flush bottom 1” hole 1” hole 9” 9” 12” 12” (typical) (typical) 8” 2” 8” 2”...
-
Page 7: How To Install Your Range Hood
How to Install Your Range Hood When you’ve completed all the preparation steps, you’re ready to install your range hood. 1. Power the Range Hood Power the range hood and test all functions before proceed- ing with the installation. Plug the power cord into an outlet and ensure that the light, fan, and clock work properly. -
Page 8: Double-Check Installation & Remove Support
6. Double-Check Installation and Remove Support 8. Plug the Range Hood In Be sure that the hood is securely attached before removing Plug the power cable into an outlet. the cabinet jacks and plywood. 7. Connect Damper & Check for Airtightness Turn on the hood to make sure that the damper opens and closes freely. -
Page 9: How To Use Steam Auto-Clean
How to Use Steam Auto-Clean Towards the end of the process, dirty water will The auto-clean feature makes it easy to clean the fan wheel dispose into the plastic tray.garages. and internal housing of the UC-PS38 range hood. Use it every 2 weeks or as frequently as possible. -
Page 10: Basic Maintenance Instructions
Basic Maintenance Instructions Your range hood requires some easy routine maintenance to Maintaining the Lighting keep it running efficiently. This range hood uses two lamps of 3W. Maintaining the Grease Filter Turn off power. For halogen lights, let light bulbs cool Clean the grease filters frequently—we suggest cleaning every completely before removing, if needed (about 5 2 weeks. -
Page 11: Troubleshooting Tips
Troubleshooting Tips WARNING: Failure to maintain basic standards of care and cleaning will increase the risk of fire. Problem Solution My range hood won’t work. 1. Make sure the power supply and wiring are connected securely. 2. Double-check to see that the power breaker is on and the power supply is live. -
Page 12: Contact Chef Kitch
Contact Chef Kitch Extended Warranties If you are interested in an extended warranty, sign up on our website at www.chefkitch.com Parts and Accessories If you need replacement parts or accessories, visit www.chefkitch.com Contact Us We’d be happy to answer your questions or resolve any issues you may have.
Need help?
Do you have a question about the UC-PS38SS-30 and is the answer not in the manual?
Questions and answers