Sign In
Upload
Download
Table of Contents
Contents
Add to my manuals
Delete from my manuals
Share
URL of this page:
HTML Link:
Bookmark this page
Add
Manual will be automatically added to "My Manuals"
Print this page
×
Bookmark added
×
Added to my manuals
Manuals
Brands
Toro Manuals
Lawn and Garden Equipment
29517
Operator's manual
Toro 29517 Operator's Manual
24in stand-on aerator
Hide thumbs
Also See for 29517
:
Operator's manual
(60 pages)
,
Operator's manual
(52 pages)
1
2
Table Of Contents
3
4
5
6
7
8
9
10
11
12
13
14
15
16
17
18
19
20
21
22
23
24
25
26
27
28
29
30
31
32
33
34
35
36
37
38
39
40
41
42
43
44
45
46
47
48
page
of
48
Go
/
48
Contents
Table of Contents
Troubleshooting
Bookmarks
Table of Contents
Table of Contents
Safety
Safe Operating Practices
Aerator Safety
Safety and Instructional Decals
Setup
Checking Tire Pressure
Servicing the Engine Oil
Servicing the Battery
Servicing the Transmission Fluid
Servicing the Auxiliary Hydraulic Fluid
Product Overview
Controls
Specifications
Operation
Open the Fuel-Shutoff Valve
Starting the Engine
Lowering the Tines
Changing the Tine Depth Setting
Locking/Unlocking the Tine Depth Setting
Adjusting the Operator Weight Control Setting
Raising the Tines
Shutting off the Engine
Checking the Safety Interlock
Driving the Machine
Transporting the Machine
Loading the Machine
Adding Fuel
Adjusting the Front Reference/Speed Control Bar
Maintenance
Recommended Maintenance Schedule(S)
Pre-Maintenance Procedures
Preparing for Maintenance
Lubrication
Lubricating the Chains
Lubricating the Grease Fittings
Engine Maintenance
Service Air Cleaner
Servicing the Engine Oil
Servicing the Spark Plug
Checking the Spark Arrester
Electrical System Maintenance
Jump Starting the Machine
Checking the Battery Charge
Drive System Maintenance
Caster Pivot Bearings Pre-Load Adjustment
Checking the Air Pressure in the Tires
Checking the Wheel Hub Bolts
Checking the Torque of the Wheel Lug Nuts
Checking the Condition of the Chains
Checking the Sprocket Condition
Maintaining the Chain
Checking the Torque of the Transmission Output Shaft Nut
Adjusting the Motion Control Linkage
Adjusting the Motion Control Tracking
Brake Maintenance
Adjusting the Parking Brake
Belt Maintenance
Checking the Condition and Tension of Belts
Adjusting the Auxiliary Pump Drive Belt
Checking the Transmission Drive Belt Tension
Hydraulic System Maintenance
Maintaining the Auxiliary Hydraulic System
Maintaining the Transmission
Tine Maintenance
Checking the Tines
Adjusting the Tine Drive Chain
Adjusting the Return-To-Up Spring
Cleaning
Cleaning the Engine and the Exhaust System Area
Removing the Engine Shrouds and Cleaning the Cooling Fins
Cleaning the Debris from the Machine
Disposing of Waste
Storage
Troubleshooting
Advertisement
Quick Links
Download this manual
Register at www.Toro.com.
Original Instructions (EN)
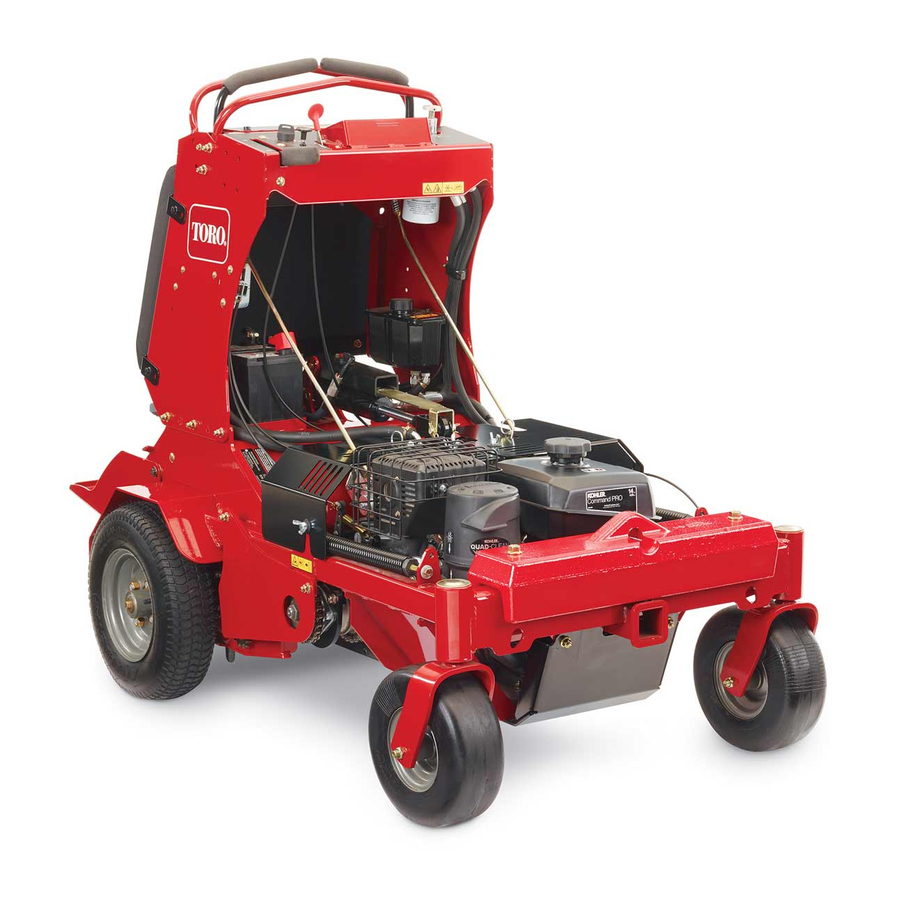
24in Stand-On Aerator
Model No. 29517—Serial No. 400000000 and Up
Model No. 39517—Serial No. 400000000 and Up
Form No. 3417-758 Rev B
*3417-758* B
Table of
Contents
Previous
Page
Next
Page
1
2
3
4
5
Advertisement
Table of Contents
Need help?
Do you have a question about the 29517 and is the answer not in the manual?
Ask a question
Questions and answers
Related Manuals for Toro 29517
Tiller Toro 29517 Operator's Manual
24in stand-on aerator (60 pages)
Irrigation System Toro 29516 Operator's Manual
24in stand-on aerator (52 pages)
Lawn and Garden Equipment Toro 33518 Operator's Manual
30in stand-on aerator (60 pages)
Lawn and Garden Equipment Toro 29519 Operator's Manual
30in stand-on aerator (60 pages)
Lawn and Garden Equipment Toro 29521 Operator's Manual
30in stand-on aerator (68 pages)
Lawn and Garden Equipment Toro 29516 Operator's Manual
24in stand-on aerator (60 pages)
Lawn and Garden Equipment Toro TimeMaster 21199 Operator's Manual
30in lawn mower, string trimmer and axial blower (68 pages)
Lawn and Garden Equipment Toro 22473 Operator's Manual
High-torque trencher head and high-speed trencher head, compact tool carrier (20 pages)
Lawn and Garden Equipment Toro 25520 Installation Instructions Manual
Rear steering indicator kit rt600 traction unit (8 pages)
Lawn and Garden Equipment Toro 22602 Operator's Manual
13 hp stump grinder (96 pages)
Lawn and Garden Equipment Toro 23208 Operator's Manual
Stump grinder (44 pages)
Lawn and Garden Equipment Toro Ultra Buggy 2500-TS Operator's Manual
(64 pages)
Lawn and Garden Equipment Toro 22611 Operator's Manual
Stump grinder (20 pages)
Lawn and Garden Equipment Toro 22673 Operator's Manual
Floor scraper (12 pages)
Lawn and Garden Equipment Toro TRX-20 Operator's Manual
Trencher (48 pages)
Lawn and Garden Equipment Toro 23702 Operator's Manual
Power box rake compact tool carrier (16 pages)
This manual is also suitable for:
39517
Table of Contents
Print
Rename the bookmark
Delete bookmark?
Delete from my manuals?
Login
Sign In
OR
Sign in with Facebook
Sign in with Google
Upload manual
Upload from disk
Upload from URL


Need help?
Do you have a question about the 29517 and is the answer not in the manual?
Questions and answers