Cembre Markingenius MG3 Operation And Maintenance Manual
Hide thumbs
Also See for Markingenius MG3:
- Operation and maintenance manual (29 pages) ,
- Operation and maintenance manual (56 pages) ,
- Operation and maintenance manual (56 pages)
Advertisement
ENGLISH
OPERATION AND MAINTENANCE MANUAL .............................................3
FRANÇAIS
NOTICE D'UTILISATION ET ENTRETIEN .................................................... 13
DEUTSCH
BEDIENUNGSANLEITUNG ............................................................................ 23
ESPAÑOL
MANUAL DE USO Y MANTENIMIENTO .................................................... 33
ITALIANO
MANUALE D'USO E MANUTENZIONE ...................................................... 43
MG3
. 1 .
Advertisement
Table of Contents

Related Manuals for Cembre Markingenius MG3


Summary of Contents for Cembre Markingenius MG3
- Page 1 ENGLISH OPERATION AND MAINTENANCE MANUAL ..........3 FRANÇAIS NOTICE D’UTILISATION ET ENTRETIEN ............ 13 DEUTSCH BEDIENUNGSANLEITUNG ................23 ESPAÑOL MANUAL DE USO Y MANTENIMIENTO ............ 33 ITALIANO MANUALE D’USO E MANUTENZIONE ............43 . 1 .
- Page 2 FIG. 1 / BILD 1 . 2 .
- Page 3 • Use only genuine Cembre media, printer ribbons, spare parts and cleaning kits with MG3. • We recommend cleaning the print head at each ribbon replacement, using only the genuine Cembre CLEANING KIT. This equipment has been tested and found to comply with the limits for a Class B digital device, pursuant to part 15 of the FCC Rules.
-
Page 4: General Characteristics
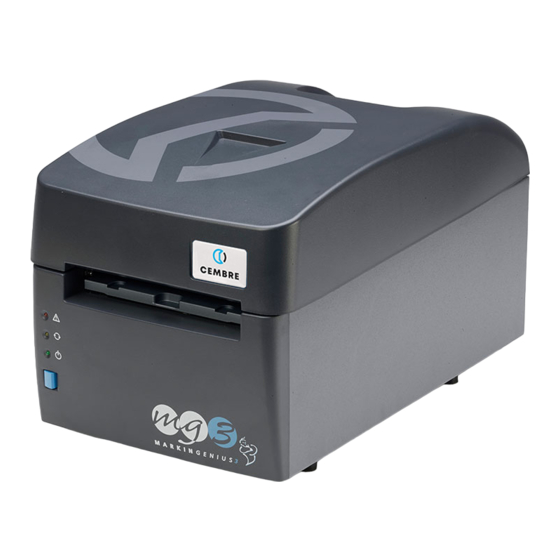
All Cembre MG media can be printed with Win- dows True Type fonts in black or colours at high speed. Markingenius MG3 will also reproduce Clipart images, drawings, barcodes and bitmaps down to very small sizes. Compact, ergonomic, clean and quiet Markingenius MG3 may be conveniently located in an offi... -
Page 5: Initial Setup
– The USB fl ash drive (FD-GENIUSPRO) contains the operating software “GENIUSPRO” and drivers necessary for the operation of the printer. Facility to receive software updates from the internet (www.cembre.com) by direct connection or via network or portable memory device. - Page 6 9 IMPORTANT: Rotate the media guide completely upwards, then replace the lid. Do not operate MG3 without the lid in place. • We recommend cleaning the print head at each ribbon replacement, using only the genuine Cembre MG2-CKP 991670 CLEANING KIT following the procedure in section 5.1.
- Page 7 Carriage fully open Support templates each have a protective PET blank on their upper side. If this needs to be replaced due to contamination, damage or wear, use only genuine Cembre spare parts. Do not use a template without its protective blank.
- Page 8 4.7.1) Position media sheets on the MG2-PLT support template All die-cut sheets of fl at media are printed on the MG2-PLT template and have two holes to locate on pins mounted on the template: – Press the BLUE button (4) to open the carriage already fi tted with the template (See section 4.7). –...
- Page 9 4.8) Printing cycle Ensure there is a genuine printable medium correctly positioned on the template then: – Set the data in the program, proceed via Print Setup to Print Preview (Consult user manual) then press F6 to start the printing cycle; the carriage will close then gradually open again automatically, until it stops fully open at the end of the cycle, with the sheet printed.
-
Page 10: Maintenance
Do not re-use cleaning pads, sets of 5 spare pads are available, order part code MG2-CNP 992150. WARNING: Use only genuine Cembre cleaning materials and methods with MG3. The use of any other materials or methods may cause irrevocable damage to the print head and/or void any remaining warranty. -
Page 11: Troubleshooting
Switch MG3 OFF and then ON again after a few seconds 12..MG3 electronic controller malfunction If the problem persists please contact Cembre, see section 7 BLUE BUTTON (4): authorised user only TEST mode, accessed by pressing BLUE BUTTON (4) for more than 6 seconds during the initial start up cycle, is indicated by the YELLOW and ORANGE LEDs blinking simultaneously. -
Page 12: Return To Cembre For Overhaul
In the case of a breakdown contact our Area Agent who will advise you on the problem and give you the necessary instructions on how to dispatch the tool to our nearest service Centre; if possible, attach a copy of the Test Certifi cate supplied by Cembre together with the tool or fi...
Need help?
Do you have a question about the Markingenius MG3 and is the answer not in the manual?
Questions and answers
how to adjust printable area on terminal markers