Table of Contents
Advertisement
Quick Links
INSTRUCTIONS AND ADVICE FOR THE
Use, INSTALLATION AND MAINTENANCE
OF OUR BUILT-IN ELECTRIC HOB
Dear Customer,
Thank you for having purchased one of our products.
We are certain that this new, modern, functional and practical appliance, built with the very
highest quality materials, will meet your requirements in the best possible way. This appliance is
easy to use. It is, however, important to thoroughly read the instructions in this handbook in order
to obtain the best results.
These instructions are only valid for the countries of destination, the identification symbols of
which are indicated on the cover of the instruction manual and on the appliance itself.
The manufacturer shall not be held responsible for any damages to persons or property
caused by incorrect installation or use of the appliance.
TIPO: PAZ04
MOD.: SA435X - 1
The Manufacturer shall not be held responsible for any inaccuracies in this handbook due to printing or
transcription errors; the designs in the figures are purely indicative. The Manufacturer also reserves the right
to make any modifications to the products as may be considered necessary or useful, also in the interests
of the user, without jeopardizing the main functional and safety features of the products themselves.
SMEG S.p.A.
Via Circonvallazione Nord, 36
42016 GUASTALLA - ITALIA
COD. 01101SM - 22.04.2004
Advertisement
Table of Contents

Summary of Contents for Smeg Built-in Electric Hob SA435X-1
- Page 1 SMEG S.p.A. Via Circonvallazione Nord, 36 42016 GUASTALLA - ITALIA...
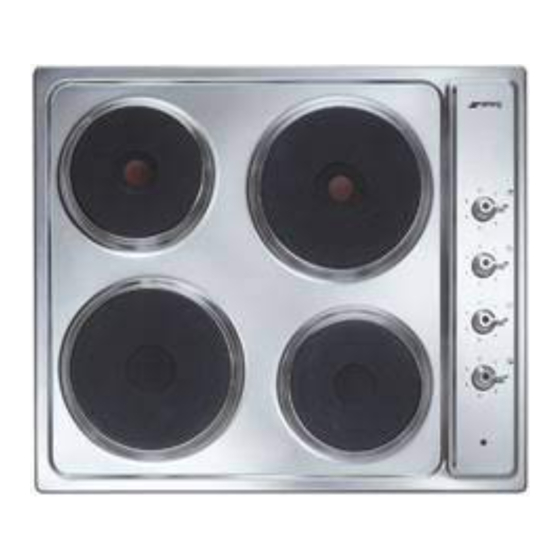
- Page 2 DESCRIPTION OF THE HOT PLATES 1 Normal plate Ø 145 of 2 Normal plate Ø 180 of 3 Rapid plate Ø 145 of 4 Rapid plate Ø 180 of 5 Thermostat plate Ø 145 of 6 Thermostat plate Ø 180 of 7 Control knob for electric plate n°...
- Page 3 1) SWITCHING ON THE ELECTRIC PLATES The hobs may be equipped with three types of electric plates: normal, thermostat and rapid plates indicated by a red mark. The normal plates and the rapid plates are controlled by a 7 - position switch (see fig.
- Page 4 WARNINGS: When the plate is switched on for the first time, or if it has remained unused for a long period, it should be dried for 30 minutes on switch position n° 1. This will eliminate any moisture that may have been absorbed by the insulating material.
- Page 5 Installation and maintenance must only be carried out by a qualified technician. Incorrect installation could cause damage to persons, property and animals for which the manufacturer cannot be held responsible. Check that the appliance is in a good condition after having removed the outer packaging and internal wrappings from around the various loose parts.
- Page 6 Disconnect the appliance from the mains supply prior to any conversions being carried out. 7) CHANGING THE TYPE OF POWER SUPPLY Although they leave our factory preset for single- phase connection, certain appliances may by converted to the threephase system. Comply with the following instructions: a) Remove the hotplate from the top of the cabinet, overturn it, unscrew screw "Z"...
- Page 7 Always disconnect the appliance from the electricity main before proceeding with any servicing operation. 8) REPLACING THE ELECTRICAL COMPONENTS For access to the various parts, remove the hotplate from the top of the cabinet. Then overturn it, unscrew screw “Z” and remove under part. (see fig. 8). After these actions is possible to work on the plates, commutators, clamps and input cable.
-
Page 8: Technical Data
2 RAPID PLATES + 2 THERMOSTAT PLATES VOLTAGE FREQUENCY TOT. RATING 2 RAPID PLATES + 2 NORMAL PLATES (with protector) VOLTAGE FREQUENCY TOT. RATING 3 NORMAL PLATES (with protector) + 1 THERMOSTAT PLATE VOLTAGE FREQUENCY TOT. RATING TECHNICAL DATA MODEL WITH MODEL WITH MODEL WITH 240 V~...


Need help?
Do you have a question about the Built-in Electric Hob SA435X-1 and is the answer not in the manual?
Questions and answers