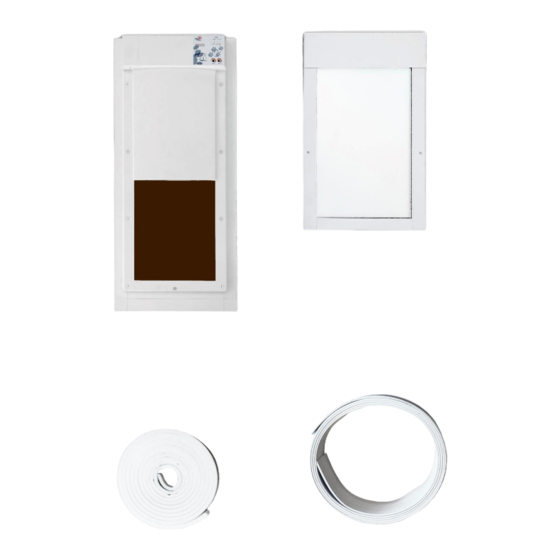
High Tech Pet POWER PET Installation And Operating Instructions Manual
Low-e automatic patio pet door
Hide thumbs
Also See for POWER PET:
- Installation & operating instructions manual (25 pages) ,
- Installation instructions manual (29 pages)
Advertisement
Quick Links
Advertisement

Related Manuals for High Tech Pet POWER PET


Summary of Contents for High Tech Pet POWER PET
- Page 1 POWER PET® Low-E Automatic Patio Pet Door Installation and Operating Instructions...
-
Page 2: Table Of Contents
Power Pet, Regular Height, Patio Door Assembly Steps Estimated assembly time: Under 1 hour STEP 1: Assemble the tools you will need: 1. Size #1 Phillips screwdriver 2. Electric drill 3. #32 (.117”) drill bit 4. 3/32” drill bit 5. 1/4 drill bit 6. - Page 3 Fig 3A...
- Page 4 Figure 3B...
- Page 5 Basic Door Assembly May be placed on left or right side of Patio Pet Door assembly. Fig 3A Figure 3C...
-
Page 6: Figure
STEP 4: Determine your patio track height Measure from the inside bottom of your sliding glass door track to the inside top as shown in Figure 4. 75” – 77” Remove Riser Extension (Step 5) 77” – 80 1/4” Do Not Remove Riser Extension (Skip Step 5) Fig 4... - Page 7 STEP 6: Insert Section Connectors Insert Section Connectors on the Bottom Frame Assembly panel using (2) 1/4-20 X 1/2 flat head machine screws for each Section Connector as shown in Figure 6. Fig 6 STEP 7: Put Top and Bottom Panel Assemblies together Insert Top Frame Assembly on to Bottom Frame Assembly as shown in Figure 7.
-
Page 8: Top Panel Assembly
STEP 9: Loosen the Top Slider set screws Loosen the Top Slider locking set screws on the left and right sides of the Top Panel Assembly using the 1/8” Allen wrench provided. If the Top Slider does not immediately release, push it up by hand so that it slides to its highest position. - Page 9 STEP 12: Mark the height of the House Lock Tab on your sliding glass door track Measure from the sliding rail at the base of your door track to a height of 46 5/8” if you are using the Riser Extension or 44 5/8” if you are not using the Riser Extension. Mark this height on the inside of your door track (Figure 12A).
- Page 10 STEP 15: Insert Round Hole Plug(s) The purpose of the Round Hole Plugs is to fill the unused Lock Knob hole. Lock Knob holes are provided on both sides of the Top Panel Assembly for left and right opening sliding glass doors.
- Page 11 STEP 17: Tighten the Top Slider set screw Once your Door Assembly is in place, you will have access to the Top Slider Set Screw on the side facing your sliding glass door. Tighten the set screw using the 1/8” Allen Wrench. This will lock the Top Slider in place.
-
Page 12: Door Lock Housing
STEP 19: Insert the Door Lock Housing Insert Door Lock Housing on the open side of the assembled pet door panel so that the Lock Arm is in the up position when open as shown in Figure 15. Fig 19 STEP 20: Install the Lock Knob Install the Lock Handle so that the handle is vertical when the lock is open (Lock Arm is in up... -
Page 13: Lock Hasp
STEP 22: Insert Lock Hasp into the Door Lock Housing Insert the Lock Hasp into the Door Lock Housing as shown in Figure 22A. Note that it is important that the vertical orientation of the Lock Hasp is as shown in the figure. Turn the Lock Handle counter- clockwise so that the Lock Hasp is trapped in the Door Lock Assembly. -
Page 14: Vacation Lock
STEP 24: Drill Lock Hasp mounting holes Using the 3/32” drill bit drill (2) holes within the slots of the Lock Hasp. Fig 26 Fig 24 STEP 25: Screw Lock Hasp to your sliding glass door Attach the Lock Hasp to your sliding glass door with (2) #6 X 1/2 round head sheet metal screws. -
Page 15: Figure
STEP 28: Drill the Vacation Lock bolt hole Position the Vacation Lock on the edge of your sliding glass door at the top or bottom with the Locking Bolt extended. The end of the bolt should be facing your stationary door track as shown in Figure 30. Using a pencil, trace around the circumference of the bolt on the stationary sliding glass door frame. - Page 16 CONGRATULATIONS! Your Power Pet patio pet door installation is complete. If you have any questions, comments or require customer support call us at 1-800-255-1279 (M-F 8:30 AM – 4:00 PM Pacific time). Or email us at support@HighTechPet.com.
Need help?
Do you have a question about the POWER PET and is the answer not in the manual?
Questions and answers