Sign In
Upload
Download
Table of Contents
Contents
Add to my manuals
Delete from my manuals
Share
URL of this page:
HTML Link:
Bookmark this page
Add
Manual will be automatically added to "My Manuals"
Print this page
×
Bookmark added
×
Added to my manuals
Manuals
Brands
3M Manuals
Racks & Stands
MA260MB
Owner's manual
3M MA260MB Owner's Manual
Monitor arm
Hide thumbs
1
Table Of Contents
2
3
4
5
6
7
8
9
10
11
12
page
of
12
Go
/
12
Contents
Table of Contents
Troubleshooting
Bookmarks
Table of Contents
Table of Contents
Specifications Spécifications
Safety Information Consignes de Sécurité
Parts List Liste des Pièces
Plaque de Fixation
Assembly Instructions Instructions D'assemblage
Clamp Mounting
Fixation du Support
Grommet Mounting
Fixation de L'anneau
Vis Mécanique
Ma240Mb Ma260Mb
Trim Ring Anneau de Garniture
Pole Support Ring
Anneau de Support
1/8" allen Key Clé Hexagonale
5/16" Screw
9/16" Socket
Douille 9/16 Po
Troubleshooting Dépannage
Warranty Information Information Sur la Garantie
Advertisement
Quick Links
1
Specifications Spécifications
2
Table of Contents
3
Assembly Instructions Instructions D'assemblage
4
Clamp Mounting
Download this manual
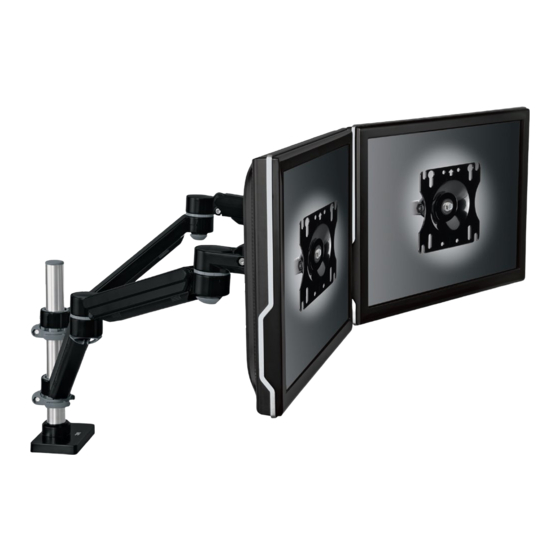
Monitor Arm
Bras du moniteur
OWNER'S MANUAL
MANUEL DE L'UTILISATEUR
MA240MB
MA260MB
Table of
Contents
Previous
Page
Next
Page
1
2
3
4
5
Advertisement
Table of Contents
Need help?
Do you have a question about the MA260MB and is the answer not in the manual?
Ask a question
Questions and answers
Related Manuals for 3M MA260MB
Racks & Stands 3M MA200MB Owner's Manual
Monitor arm (12 pages)
Racks & Stands 3M MA100MB Specifications
Monitor arm (2 pages)
Racks & Stands 3M MA100MB Owner's Manual
Monitor arm (9 pages)
Racks & Stands 3M MA240MB Owner's Manual
Monitor arm (12 pages)
Racks & Stands 3M MA140MB Owner's Manual
Monitor arm (5 pages)
Racks & Stands 3M MA245S Owner's Manual
Monitor arm (12 pages)
Racks & Stands 3M MA265S Owner's Manual
Monitor arm (12 pages)
Racks & Stands 3M MS110 Owner's Manual
Monitor stand (7 pages)
Racks & Stands 3M MS110MB Owner's Manual
Monitor stand (7 pages)
Racks & Stands 3M SLiC 530 Instructions Manual
(6 pages)
Racks & Stands 3M LX600MB Owner's Manual
Laptop / projector stand (10 pages)
Racks & Stands 3M LX600MB Brochure
Brochure (2 pages)
Racks & Stands 3M DBI-SALA Floor Mount Davit Base User Instructions
(16 pages)
Racks & Stands 3M MP8610 Quick Start Manual
Ceiling mount kit (2 pages)
Racks & Stands 3M AKT170LE Owner's Manual
Adjustable keyboard tray (10 pages)
Racks & Stands 3M CS200MB Owner's Manual
Cpu holder (8 pages)
This manual is also suitable for:
Ma240mb
Table of Contents
Print
Rename the bookmark
Delete bookmark?
Delete from my manuals?
Login
Sign In
OR
Sign in with Facebook
Sign in with Google
Upload manual
Upload from disk
Upload from URL


Need help?
Do you have a question about the MA260MB and is the answer not in the manual?
Questions and answers