Sign In
Upload
Download
Table of Contents
Contents
Add to my manuals
Delete from my manuals
Share
URL of this page:
HTML Link:
Bookmark this page
Add
Manual will be automatically added to "My Manuals"
Print this page
×
Bookmark added
×
Added to my manuals
Manuals
Brands
V-ZUG Manuals
Hob
GKD46TIMASZO
Operating instructions manual
V-ZUG GKD46TIMASZO Operating Instructions Manual
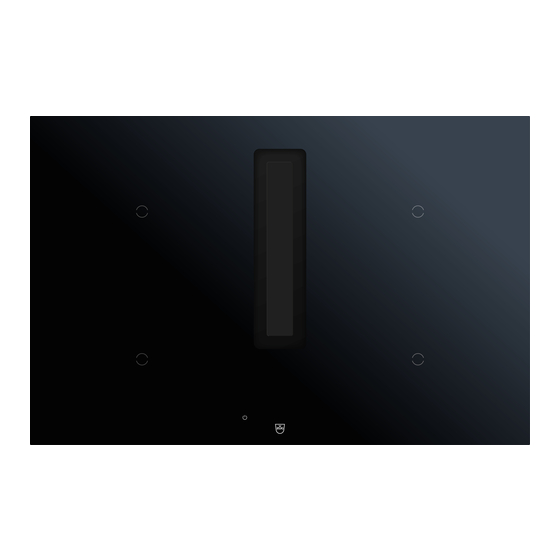
Induction hob with integrated range hood
Hide thumbs
1
2
Table Of Contents
3
4
5
6
7
8
9
10
11
12
13
14
15
16
17
18
19
20
21
22
23
24
25
26
27
28
29
30
31
32
33
34
35
36
37
38
39
40
page
of
40
Go
/
40
Contents
Table of Contents
Bookmarks
Table of Contents
Table of Contents
1 Safety Warnings
Symbols Used
General Safety Precautions
Appliance-Specific Safety Precautions
Instructions for Use
2 Using for the First Time
3 Appliance Description
Appliance Overview
Operating and Display Elements
How Induction Hobs Function
Flexible Cooking
Pan Detection
Cookware
Range Hood
4 General Operation
5 Operating the Hob
Switching the Appliance on
Setting the Power Level for a Cooking Zone
Overview of Power Levels
Switching a Cooking Zone off
Residual Heat Indicator
Power Management
Powerplus
Operating Time
Cooking Functions
Easy Cooking
Timer
Pause Cooking
Wipe Protection
Recall Function
6 Operating the Range Hood
Switching the Range Hood on Manually
Power Level "P
Switching the Range Hood off
Optilink
Cleanair
After-Running Time
Filter
7 User Settings
Childproof Lock
Languages
Brightness
Loudness
Button Signal
Ventilation
Factory Setting
8 Care and Maintenance
Glass Ceramic Surfaces
Range Hood
9 Trouble-Shooting
10 Accessories and Spare Parts
11 Technical Data
Hob
Range Hood
12 Disposal
13 Index
14 Service & Support
Advertisement
Quick Links
1
Trouble-Shooting
2
Technical Data
3
Accessories and Spare Parts
Download this manual
Operating instructions
GKD46TIMASZO | Fusion
Induction hob with integrated range hood
Table of
Contents
Previous
Page
Next
Page
1
2
3
4
5
Advertisement
Table of Contents
Need help?
Do you have a question about the GKD46TIMASZO and is the answer not in the manual?
Ask a question
Questions and answers
Related Manuals for V-ZUG GKD46TIMASZO
Hob V-ZUG GK46TI Operating Instructions Manual
Glass ceramic hob induction (4 zones) (40 pages)
Hob V-ZUG CookTopInduktion V4000 Installation Instructions Manual
(6 pages)
Hob V-ZUG GK46TIM Series Installation Instructions Manual
(9 pages)
Hob V-ZUG GK16TIWSF Operating Instructions Manual
Glass ceramic hob, induction wok (40 pages)
Hob V-ZUG GK46TIMAS Operating Instructions Manual
(32 pages)
Hob V-ZUG GK57TIMSZO Operating Instructions Manual
(32 pages)
Hob V-ZUG GK37TIMS Operating Instructions Manual
Induction with single slider (44 pages)
Hob V-ZUG Toptronic GK45TEBSC Installation Instructions Manual
Glass ceramic hob (9 pages)
Hob V-ZUG GK46TIGC/U/F Operating Instructions Manual
Glass ceramic hob, induction basic (32 pages)
Hob V-ZUG GK11TIFKZ Operating Instructions Manual
(36 pages)
Hob V-ZUG GK11TIFK Series Operating Instructions Manual
(36 pages)
Hob V-ZUG GK46TIGC Installation Instructions Manual
(9 pages)
Hob V-ZUG GK25TEZ Series Operating Instructions Manual
Toptronic hob (20 pages)
Hob V-ZUG GK43F Operating Instructions Manual
Quicklight hob (28 pages)
Hob V-ZUG GK21TTG Operating Instructions Manual
(32 pages)
Hob V-ZUG GK45TES Series Operating Instructions Manual
Toptronic hob (24 pages)
This manual is also suitable for:
Fusion
Table of Contents
Print
Rename the bookmark
Delete bookmark?
Delete from my manuals?
Login
Sign In
OR
Sign in with Facebook
Sign in with Google
Upload manual
Upload from disk
Upload from URL


Need help?
Do you have a question about the GKD46TIMASZO and is the answer not in the manual?
Questions and answers