Table of Contents
Advertisement
Advertisement
Table of Contents

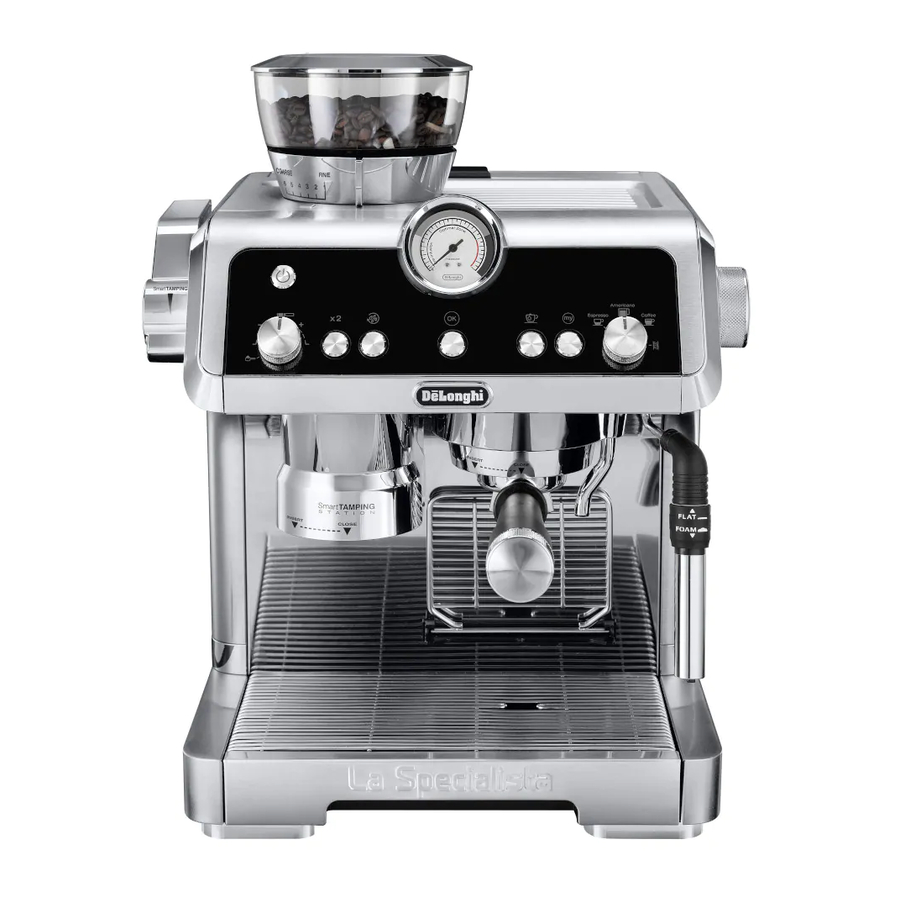
Summary of Contents for DeLonghi La Specialista EC933 Series
- Page 1 EC933X COFFEE MAKER Instructions for use...
- Page 4 0,5 L...
- Page 5 ✓ ✗ ✗...
-
Page 6: Preparing The Appliance
Before using the appliance, always read the safety warnings. B12. Energy saving light B13. General alarm light This appliance shall not be used by children. B14. Beans container empty/no beans container light Keep the appliance and its cord out of reach B15. -
Page 7: Menu Settings
with "INSERT" (fig. 10), then turn the handle to the right 3. Press the button corresponding to the desired selection as until it is aligned in the "CLOSE" position; shown in the following table: 6. Place a recipient under the filter holder and cappuccino Tasto Temperatura maker (A8) (fig. -
Page 8: Making Coffee
5.3 Auto-off 6. MAKING COFFEE Auto-off can be set so that the appliance goes off after 15 min- 6.1 Preparing the coffee mill utes, one and a half hours, or three hours. Proceed as follows: 1. Insert the beans container (A2), line up the printed marks 1. -
Page 9: Beverage Selection
Always check that the coffee quantity in the filter is correct (see the result may not be satisfactory. The next times you use the paragraph "6.8 Adjusting the quantity of ground coffee in the coffee mill, you can adjust the grinding level using the dial (B2) filter"). -
Page 10: Pressure Gauge
6.9 Delivering the coffee Cappuccino, Espresso Mac- 1. Attach the filter holder (C1) to the appliance. To attach cor- chiato, Hot Milk (frothed) rectly, align the filter holder handle with "INSERT" (fig. 10) 3. Place the jug (C9) containing the milk under the cappuccino then turn the handle to the right until it is aligned in the maker (A8) (fig. -
Page 11: Delivering Hot Water
3. To stop delivery, press again the button. You should not deliver hot water for more than 60 seconds. 11. CLEANING 11.1 Cleaning the machine The following parts of the machine must be cleaned regularly: drip tray (A13) complete with cup grille (A11) and drip tray grille (A12);... -
Page 12: Cleaning The Water Tank
11.5 Cleaning the boiler outlet 1. Remove the drip tray (fig. 35). 2. Remove the cup grille (A7), the drip tray grille (A12) and After every 200 coffees, rinse the boiler outlet: Press the rinsing the drip tray water level indicator (A14), empty the water button (B4) until around 500 ml of water is delivered. - Page 13 4. Turn the fineness selector anticlockwise as far as it will go • verify that the burr is well inserted by pulling it by the han- dle: the burr is correctly inserted if it does not move; (fig. 41). to the "REMOVE" position 8.
-
Page 14: Other Cleaning Operations
11.11 Other cleaning 11. When rinsing is complete, delivery stops. All the LEDs flash briefly and the appliance prepares to be used again. operations 12. Empty the recipient used to collect the rinse water. 1. Do not use solvents or 13. - Page 15 14. HOW TO MAKE PERFECT COFFEE PERFECT ESPRESSO UNDER-EXTRACTED COFFEE OVER-EXTRACTED COFFEE FROTH: nut-brown coloured FROTH: clear and thin with large FROTH: dark and thin, only at the edges with reddish lights and light coloured bubbles streaks, 3-4 mm thick BODY: dense, full-flavoured and BODY:...
-
Page 16: Explanation Of Lights
15. EXPLANATION OF LIGHTS LIGHTS EXPLANATION OF LIGHTS OPERATION All the lights flash briefly Turning the machine on Self-diagnosis Insufficient water in tank or water tank Fill the tank or extract the tank and put it not inserted correctly back correctly Energy saving is enabled See section "5.5 Energy saving"... - Page 17 16. ALARMS LIGHTS ALARM SOLUTION General alarm Contact Customer Services The drip tray (A13) is missing or has not Extract the drip tray then put back cor- on steadily been inserted correctly rectly in the appliance Descaling must be performed Proceed as described in section "12.
-
Page 18: Troubleshooting
18. TROUBLESHOOTING PROBLEM CAUSE SOLUTION Espresso coffee is not delivered any No water in the tank (A17) Fill the tank more Press the button corresponding to the light is on and the light. light is flashing to indicate that the cof- fee or steam circuit is empty. - Page 19 PROBLEM CAUSE SOLUTION After grinding, the coffee filter is empty The coffee mill coffee guide is clogged Clean as described in section "11.10 Cleaning the "tamping station"". If the problem per- After grinding, there is too much coffee sists, access the guide by opening the hatch in the filter and free it using the brush(fig.


Need help?
Do you have a question about the La Specialista EC933 Series and is the answer not in the manual?
Questions and answers