Cisco ATA 191 Administration Manual
Analog telephone adapter
Hide thumbs
Also See for ATA 191:
- Administration manual (142 pages) ,
- User manual (40 pages) ,
- Quick start manual (13 pages)
Table of Contents
Advertisement
Quick Links
Install the ATA 191
•
•
•
•
•
•
•
•
•
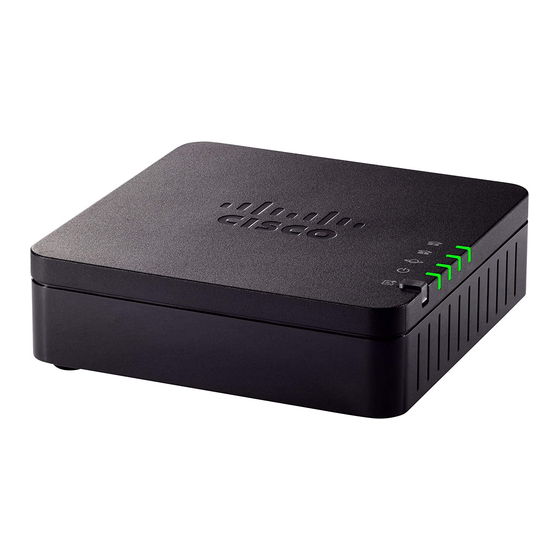
ATA 191 Installation Information
You connect the ATA 191 hardware and configure the ATA 191 by loading the QED and firmware files.
Install the QED file first, then install the firmware file. For more information about loading the QED and
firmware files, see the "Installation Notes" section of the "Release Notes for Cisco ATA 191 Analog Telephone
Adapter".
Network Requirements
The ATA 191 acts as an endpoint on an IP telephony network. The following equipment is required:
• Call Control system
• Voice packet gateway—Required if you are connecting to the Public Switched Telephone Network
• Ethernet connection
ATA 191 Installation Information, page 1
Network Requirements, page 1
Safety Recommendations, page 2
Package Contents, page 2
Install Your Cisco ATA , page 2
Attach a Phone to the ATA 191, page 3
Startup Process Verification, page 3
Configure Startup Network Settings, page 4
Security on the ATA 191, page 4
(PSTN). A gateway is not required if an analog key system is in effect.
Cisco ATA 191 Analog Telephone Adapter Administration Guide for Cisco Unified Communications Manager
1
Advertisement
Table of Contents

Related Manuals for Cisco ATA 191


Summary of Contents for Cisco ATA 191
-
Page 1: Network Requirements
ATA 191 Installation Information You connect the ATA 191 hardware and configure the ATA 191 by loading the QED and firmware files. Install the QED file first, then install the firmware file. For more information about loading the QED and firmware files, see the "Installation Notes"... -
Page 2: Safety Recommendations
(TNV) circuits. LAN ports contain SELV circuits, and WAN ports contain TNV circuits. Some LAN and WAN ports both use RJ-45 connectors. Use caution when connecting cables. For translated warnings, see the Regulatory Compliance and Safety Information for the Cisco ATA 191 document. - Page 3 3 The LED for Phone 1 flashes while the Phone1 port boots, followed by the LED for Phone 2. After the Phone1 and Phone2 ports register with Cisco Unified CM successfully, the corresponding LEDs are lit with solid green. If a phone port fails to register, the LED rapidly flashes in green three times, then repeats.
- Page 4 For more information about the security features, see the Security Guide for Cisco Unified Communications Manager. You can start the installation of a Locally Significant Certificate (LSC) on the device profile from Cisco Unified Communications Manager. Use the Device > Phone > Phone Configuration menu option. You can also use this menu option to update or remove an LSC.
Need help?
Do you have a question about the ATA 191 and is the answer not in the manual?
Questions and answers