Table of Contents
Advertisement
Quick Links
Get Started with Your New ATA
•
•
•
•
•
Your New ATA
Your analog telephone adapter (ATA) allows you to connect an analog device, such as an analog phone or
fax machine, to your network. The connected device can then function like the IP phones in your network.
Your new analog telephone adapter (ATA) has two interfaces:
• Two RJ11 ports for analog devices
• A RJ45 port for Ethernet
Light-emitting diodes (LEDs) on the ATA provide status.
You'll perform these tasks:
• Install your ATA with the components in the box.
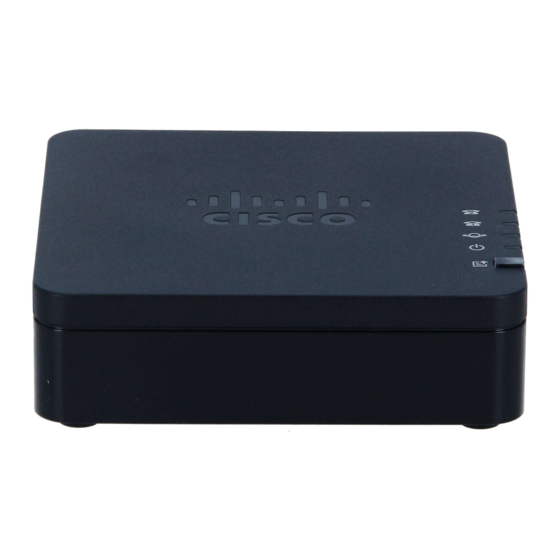
Cisco ATA 191 Hardware
The ATA 191 and ATA 192 are compact, easy to install devices.
The unit provides these connectors:
• 5V DC power connector.
• Two RJ-11 FXS (Foreign Exchange Station) ports—Your ATA has two RJ-11 ports that work with any
• One WAN network port—An RJ-45 10/100BASE-T data port to connect an Ethernet-capable device to
Your New ATA, on page 1
Devices Associated With Your Ata, on page 4
Install Your New Ata, on page 4
Mount Your Ata, on page 6
Supported Ata Call Features, on page 7
standard analog phone device. Each port supports either voice calls or fax sessions, and both ports can
be used simultaneously.
the network.
Get Started with Your New ATA
1
Advertisement
Table of Contents

Related Manuals for Cisco ATA Series


Summary of Contents for Cisco ATA Series
- Page 1 Light-emitting diodes (LEDs) on the ATA provide status. You'll perform these tasks: • Install your ATA with the components in the box. Cisco ATA 191 Hardware The ATA 191 and ATA 192 are compact, easy to install devices. The unit provides these connectors: •...
- Page 2 Get Started with Your New ATA ATA 191 Top Panel Note The ATA network port performs autonegotiation for duplex and speed. It supports speeds of 10/100 Mbps and full-duplex. ATA 191 Top Panel The top panel of your ATA has several LEDs that are used to show the device's status. Figure 1: ATA 191 Top Panel The following table describes the LEDs located on your ATA.
- Page 3 Get Started with Your New ATA ATA 191 Back Panel Item Description Problem Report Tool (PRT) Button Press this button to create a problem report using the Problem Report Tool. This is not a power button. When you press this button, a Note problem report is generated and uploaded to a server for the system administrator.
- Page 4 Get Started with Your New ATA Devices Associated with Your ATA Devices Associated with Your ATA Use your ATA to connect these types of devices to your network: • Analog phones • Analog phones have no softkeys. • The information that analog phones display depends on the model you have. •...
- Page 5 Get Started with Your New ATA Install Your New ATA Step 2 Connect the phone cable to the PHONE 1 port on the ATA and to your analog device (phone or fax machine). If connecting a fax machine, connect it directly to the ATA. Do not connect an extension to a fax machine, and do not use a splitter.
- Page 6 Get Started with Your New ATA Mount Your ATA Mount Your ATA You can place the ATA on a desktop or mount it on a wall. Caution To prevent the ATA from overheating, do not operate it in an area that exceeds an ambient temperature of 104°F (40°C).
- Page 7 Get Started with Your New ATA Supported ATA Call Features Note Insecure mounting might damage the ATA or cause injury. Cisco is not responsible for damages incurred byinsecure wall-mounting. Procedure Step 1 Determine where you want to mount the unit. Verify that the surface is smooth, flat and dry.
- Page 8 Get Started with Your New ATA Supported ATA Call Features • Transfer (attended or supervised)—In this type of transfer, you talk to the receiving party before you complete the transfer. • Transfer (unattended or unsupervised)—In this type of transfer, you complete the transfer and hang up before the receiving party answers.
Need help?
Do you have a question about the ATA Series and is the answer not in the manual?
Questions and answers