Advertisement
Quick Links
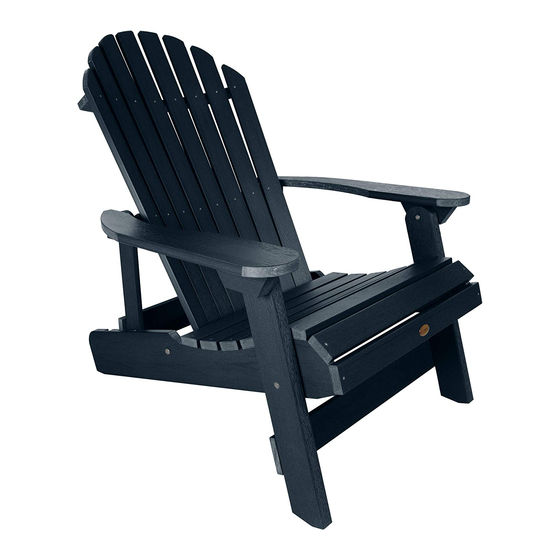
Adirondack Collection
King Hamilton Folding & Reclining Adirondack Chair
Assembly Guide
1) Attach Seat to Back using bolt C.
2) Repeat on other side.
3) Attach Back Support Rail (Shorter Board)
to Back Support Sides with four A screws.
highwood
NATURE'S CLOSEST RIVAL
BACK
SEAT
C
Position Leg With
A
Washer Facing
For information on Care and Cleaning or to register your
highwood product, please visit www.highwood-usa.com.
B
This Direction
4) Attach Leg to Arm
Assembly using bolt B.
5) Repeat on other side.
HARDWARE
A
#7 x 1-5/8"
B
1/4"-20 x 2"
C
1/4"-20 x 3"
IMPORTANT!
DO NOT fully tighten the bolts until all
bolts are started. Once all bolts are inserted,
go back & tighten all the bolts.
Retain these instructions for future reference
INCLUDED TOOLS
5/32" HEX KEY
T-15 TORX BIT
CUSTOMER-SUPPLIED TOOLS
Cordless screwdriver/drill OR
Multi-bit handle for the Torx bit.
x10
x4
x4
AD-KING1
07.22.2016
PAGE 1 OF 2
Advertisement

Related Manuals for highwood King Hamilton Folding & Reclining Adirondack Chair


Summary of Contents for highwood King Hamilton Folding & Reclining Adirondack Chair
- Page 1 Back Support Sides with four A screws. 5) Repeat on other side. Multi-bit handle for the Torx bit. AD-KING1 highwood For information on Care and Cleaning or to register your 07.22.2016 highwood product, please visit www.highwood-usa.com. PAGE 1 OF 2 NATURE'S CLOSEST RIVAL...
- Page 2 10) Attach Front Leg Support to Front Leg with three A screw. 11) Repeat on other side. AD-KING1 highwood For information on Care and Cleaning or to register your 07.22.2016 highwood product, please visit www.highwood-usa.com. PAGE 2 OF 2 NATURE'S CLOSEST RIVAL...
Need help?
Do you have a question about the King Hamilton Folding & Reclining Adirondack Chair and is the answer not in the manual?
Questions and answers