
Related Manuals for TDK-Lambda CPFE500


Summary of Contents for TDK-Lambda CPFE500
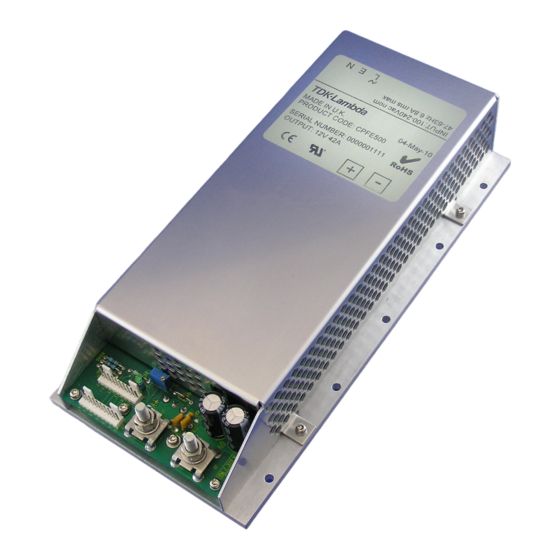
- Page 1 CPFE500 AC/DC Power Supply Series APPLICATION NOTE CPFE500F Application Note Document Number : 61066 iss 2 Page 1 of 17...
-
Page 2: Table Of Contents
INDEX 1. INPUT.................................. 3 AC INPUT LINE REQUIREMENTS........................3 2. DC OUTPUT ............................... 3 OUTPUT VOLTAGES ............................3 REMOTE SENSE ..............................3 OUTPUT OR-ING DIODE ........................... 3 OUTPUT VOLTAGE TRIM ..........................4 OUTPUT GOOD LED ............................5 EFFICIENCY ............................... 5 CAPACITIVE LOAD OPERATION ........................ -
Page 3: Input
0.5V max OUTPUT OR-ING DIODE CPFE500 series PSU maybe specified with or without integral OR-ing diode. For models with OR-ing diode, the diode is fitted in the +ve output terminal of the PSU. On 12V,24V & 28V models, the OR-ing diode is a schottky type rectifier. -
Page 4: Output Voltage Trim
Internally, the TRIM terminal is connected to the voltage reference of the output voltage control amplifier – see figure 1 below :- Figure 1 – CPFE500 TRIM terminal Internal Circuit The output voltage can be decreased from the adjusted set-point by connecting an external resistance between TRIM and –S. -
Page 5: Output Good Led
Larger capacitive loads should be evaluated as required in the end application. SERIES CONNECTION It is possible to connect two CPFE500 psu outputs in series to provide higher voltage or split rail outputs. Note that SELV outputs connected in series may create a non-SELV output. - Page 6 Figure 5). Additional voltage drop across this 10Kohm series resistor will change the voltage programming calculation – refer to Figure 1. For N+1 redundant systems, individual voltage source circuits would be advisable for each PSU to maintain the system redundancy. Figure 3 –...
-
Page 7: Output Characteristics
3. OUTPUT CHARACTERISTICS RIPPLE / NOISE Ripple and noise is defined as periodic or random signals over a frequency range of 10Hz to 20MHz. Measurements are to be made with an 20MHz bandwidth oscilloscope. Measurements are taken at the end of a 150mm length of a twisted pair of cables, terminated with a 100nF ceramic capacitor and a 120µF electrolytic capacitor (see Figure 6). -
Page 8: Power Supply Timing
POWER SUPPLY TIMING Figure 7 – Timing Diagram 4. CONTROL SIGNALS Control signals are available on two 10-way 2.5mm pitch header connectors (Molex 22-04-1101). The pin functions of each connector are identical, see Figure 8 below :- Figure 8 – Connector J2,J3 Pinout J2,J3 Pin Function +VE REMOTE SENSE... -
Page 9: Auxiliary Supply (Aux)
AUXILIARY SUPPLY (AUX) AUX is a 19~14VDC output for external circuits that is not affected by the remote on/off control. Ground for AUX output is the COM terminal which is internally connected to –ve sense terminal. Maximum load current for AUX output is 20mA. Avoid overload or short circuit of the AUX terminal as this may cause internal damage to the PSU. - Page 10 Internally, the remote on/off terminals are connected to an optocoupler LED via a 4K7 series resistor – see Figure 9. Figure 9 – Remote on/off control internal circuit The on/off control is designed to be operated directly from the 12V Auxiliary supply. When connecting to higher voltages, fit an external series resistor to limit the current as follows :- ON/OFF Terminal current Output Voltage...
-
Page 11: Output Protection
Figure 13 – Method to permanently enable the PSU 5. OUTPUT PROTECTION NO LOAD OPERATION There is no minimum load required for correct output voltage regulation. OVER CURRENT OPERATION (OCP) The PSU has constant current limiting with automatic recovery. The OCP threshold is fixed and cannot be adjusted. Note that continuous short circuit or overload for more than 30seconds might result in damage to the PSU. -
Page 12: Cooling Requirements
6. COOLING REQUIREMENTS CPFE500F is designed to mounted in any orientation except horizontal with baseplate uppermost. The PSU requires a combination of conduction cooling for the baseplate and convection cooling for the PCB mounted components. The PSU maybe specified with or without factory fitted cover. Convection cooling is best achieved with the PSU mounted in a vertical plane allowing convected air to flow through the cover side or end ventilation slots and across the PCB mounted components. -
Page 13: Psu Mounting
7. PSU MOUNTING The PSU baseplate flatness is specified to be within 0.2mm across the width or length. A thermal interface material should be used between the baseplate and system heatsink. The thickness of this material will depend on the relative flatness of the two surfaces and should be chosen to provide thermal contact across the whole area of the PSU baseplate. -
Page 14: Reliability
8. RELIABILITY Calculating Model Telcordia issue 1 Method 1 case 3 Caluclation Method GB, GC - ground Benign, Controlled Environment Power 504w Duty Cycle 100% Baseplate MTBF MTBF temperature ° c (hours) (million hours) 887826 0.888 533421 0.533 115896 0.116 MTBF CPFE500F 1.000 0.100... -
Page 15: Electromagnetic Compatibility
9. ELECTROMAGNETIC COMPATIBILITY Figure 16 – Typical conducted EMC measurement (12V model, 230Vac 100% load) Figure 17 – Typical conducted EMC measurement (24V model, 230Vac 100% load) Figure 18 – Typical conducted EMC measurement (48V model, 230Vac 100% load) CPFE500F Application Note Document Number : 61066 iss 2 Page 15 of 17... -
Page 16: Installation Guidelines For Emc
INSTALLATION GUIDELINES FOR EMC Mounting Good EMC performance comes through careful consideration of the power supply installation. All equipment should be mounted inside an earthed metal box, with joints sealed with EMC gasket material where possible. If this is not possible then use an earthed metal plane to mount the power supply and load. Earth Starpoint The earth connection from the AC supply should be routed to a chassis mounted ‘star-point’, located as close as possible to the AC inlet. -
Page 17: Connection
All models with cover = 1375g nominal 12. TEST RESULTS Production test results are available online from: - http://testcert.emea.tdk-lambda.com/ The serial number and product code of the unit will need to be entered to retrieve test results from the online database.
Need help?
Do you have a question about the CPFE500 and is the answer not in the manual?
Questions and answers