Table of Contents
Advertisement
Quick Links
Advertisement
Table of Contents

Related Manuals for RAB Lighting Gotcha! Plus GT500


Summary of Contents for RAB Lighting Gotcha! Plus GT500
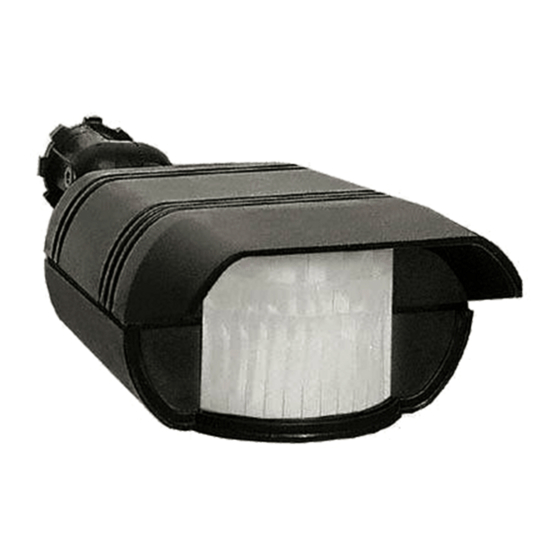
- Page 1 Installation Manual GT500 GT500R...
-
Page 2: Specifications
SPECIFICATIONS: CONTENTS: GT500 GT500 Voltage: • 3 Wire Nuts 120V - 277VAC, 50-60Hz • Sensor UL Listing: Suitable for wet locations, raintight. Time Adjustment: 5 sec to 15 minutes Test Mode: Set Time Adjustment knob on sensor to Test mode. GT500R Switching Capacity: 500W Incandescent @ 120V... - Page 3 How Does Gotcha Work? The Gotcha infrared sensor “sees” small temperature changes caused by the motion of people or cars within its Detection Zone and turns on lights automatically. It welcomes visitors and may deter intruders. How long do the lights stay on? How are the Time, Sensitivity and Lights remain on as long as there Test mode adjusted?
- Page 4 Gotcha! Mounting and Wiring Cautions • All wiring MUST comply with local • Line Carrier Remote Control Systems electrical codes and should be installed such as X-10, Leviton or Radio Shack by qualified electrician. are incompatible with sensors and can cause false activations.
- Page 5 GT500R Recessed Junction Box Installation: Discard the Surface Adaptor Plate when mounting to a Recessed Junction Box. Attach Cross Bar to junction box using the screws supplied. Make connections to the supply wires in the junction box according to the “Basic Kit Wiring”...
- Page 6 Basic Kit Wiring (GT500R) Easy Wiring Tip: Use “S” shaped EZ Hang Hook to hold the cover plate and sensor for hands free wiring. • Strip incoming supply wires 3/8” to 1/2”. • Make connections shown left of the dotted line. •...
-
Page 7: Location Considerations
Picking A Location Location Considerations: Detection Pattern • Choose a location from which the sensor can “see” all the paths of movement that will be illuminated by its lights. • If wall mounting, locate 8-10’ high for 70Ft optimum range and detection. Lower mounting height will reduce range. -
Page 8: Test Period
Aiming and Walk Testing Test Period: Walk Test: The sensor has a Test mode which allows The purpose of the Walk Test is to check it to be aimed and walk tested day or and adjust the coverage pattern. night. 1. -
Page 9: Troubleshooting
Troubleshooting Technical Tips: Lights Do Not Turn Off 1. Make sure sensor is not aimed at Problem: Passing cars activate sensor. something that would move or change temperature such as waving branches, water, air conditioners, windows or heating vents - even on neighboring property. - Page 10 Lights Turn Off Technical Tips: Too Quickly Lights Do Not Turn On 1. Check that lamps and fixtures work. 1. Make sure the Time control is not set Compare wiring to the Wiring to test mode or set to the minimum Diagram in this manual.
- Page 11 Technical Tips: Technical Tips: Range appears limited Lights Turn On and Off Incorrectly 1. Check that the sensor is level from 1. Make sure the sensor is installed side to side and pointed at the area on its own dedicated circuit free of you desire.
- Page 12 8. Self ballasted PL lamps may cause your sensor (freight prepaid and insured) directly to us (at RAB Lighting Inc. 170 Ludlow cycling (on-off ). Ave. Northvale, NJ 07647) with a check for 9.
- Page 13 RAB Lighting Product Warranties The following warranties apply to RAB Lighting, Inc. (“RAB”) York and buyer agrees that such courts are a convenient products that meet all of the following conditions: (a) the forum for adjudication. In the event that suit is necessary...
Need help?
Do you have a question about the Gotcha! Plus GT500 and is the answer not in the manual?
Questions and answers