
Related Manuals for IOGear GCS1808H


Summary of Contents for IOGear GCS1808H
- Page 1 Quick Start Guide 8/16-Port USB HDMI KVMP Switch ® GCS1808H/GCS1816H/GCS1808HKITU/GCS1816HKITU PART NO. Q1571/Q1572/Q1582/Q1583 www.iogear.com...
-
Page 2: Package Contents
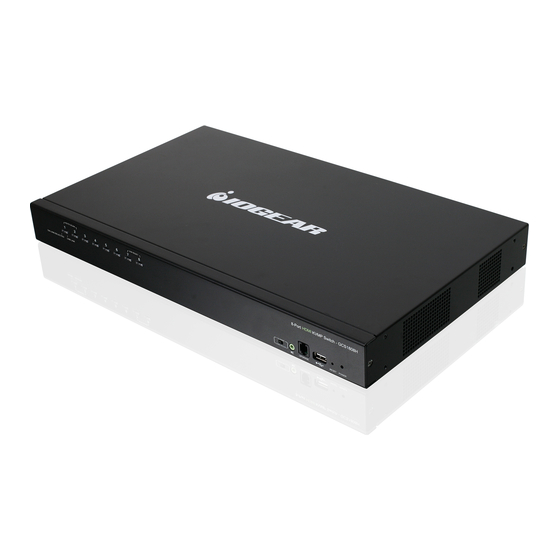
Package Contents GCS1808H/GCS1816H 1 x GCS1808H/1816H 8/16-port USB HDMI KVMP Switch 2 x Custom USB HDMI KVM Cable Sets 1 x Firmware Upgrade Cable 1 x Power Adapter 1 x Foot Pad Set (4 pcs) 1 x Quick Start Guide... - Page 3 Overview Overview GCS1808H Front View & ON LINE/SELECTED USB LINK GCS1816H Front View & ON LINE/SELECTED USB LINK Front View 1. Port Selection Pushbuttons 2. Port LEDs 3. Firmware Upgrade Recovery Switch 4. Audio Port 5. Firmware Upgrade Port 6. USB 2.0 Port 7.
- Page 4 Overview GCS1808H Rear View GCS1816H Rear View Rear View 1. Power Jack 2. Console Ports 3. Grounding Terminal 4. USB 2.0 Port 5. KVM Port Sections...
- Page 5 Hardware Installation Rack Mounting - Front 1. Remove the screws, one each from the left and the right sides of the switch, near to the front of the switch 2. Use the M3 x 8 Phillips hex head screws supplied with the rack mount kit to screw the rack mount brackets into the sides near the front of the switch 3.
-
Page 6: Hardware Installation
Hardware Installation Single Stage Installation (GCS1808H) ON LINE/SELECTED USB LINK USB HDMI KVM Cable Set USB HDMI KVM Cable... - Page 7 Hardware Installation Single Stage Installation (GCS1816H) ON LINE/SELECTED USB LINK USB HDMI KVM Cable Set USB HDMI KVM Cable...
- Page 8 Hardware Installation Single Stage Installation To setup single stage GCS1808H/GCS1816H installation, please follow below steps: 1. Connect the USB keyboard and USB mouse into the USB console ports located on the switch’s rear panel. 2. Connect the HDMI monitor into the HDMI console port and power ON.
-
Page 9: Operation
Operation IOGEAR’s GCS1808H/GCS1816H provides 3 port selection methods to access the connected computers: Manual, OSD (On-Screen Display) menu, and Hotkey combinations. Manual Port Switching Use the front panel pushbutton switches to manually switch to a port. OSD Port Switching The On-Screen Display (OSD) is menu driven method to control computer and switching operations, using mouse and keyboard. - Page 10 Sets the port OS to Windows. [F1] [F2] Sets the port OS to Mac. [F3] Sets the port OS to Sun. Invokes Video DynaSync™, IOGEAR’s exclusive technology that eliminates boot-up display problems and optimizes resolution when switching between ports. Enables/Disables mouse emulation.
-
Page 11: Compliance Information
Compliance Information EMC Information FEDERAL COMMUNICATIONS COMMISSION INTERFERENCE STATEMENT: This equipment has been tested and found to comply with the limits for a Class A digital device, pursuant to Part 15 of the FCC Rules. These limits are designed to provide reasonable protection against harmful interference when the equipment is operated in a commercial environment. -
Page 12: Limited Warranty
Product Model ___________________ Serial Number ___________________ Contact WE’RE HERE TO HELP YOU! NEED ASSISTANCE SETTING UP THIS PRODUCT? Make sure you: 1. Visit www.iogear.com for more product information 2. Visit www.iogear.com/support for live help and product support IOGEAR https://iogear.custhelp.com support@iogear.com www.iogear.com...
Need help?
Do you have a question about the GCS1808H and is the answer not in the manual?
Questions and answers