Table of Contents
Advertisement
Advertisement
Table of Contents

Related Manuals for Grundfos 5SQ-90


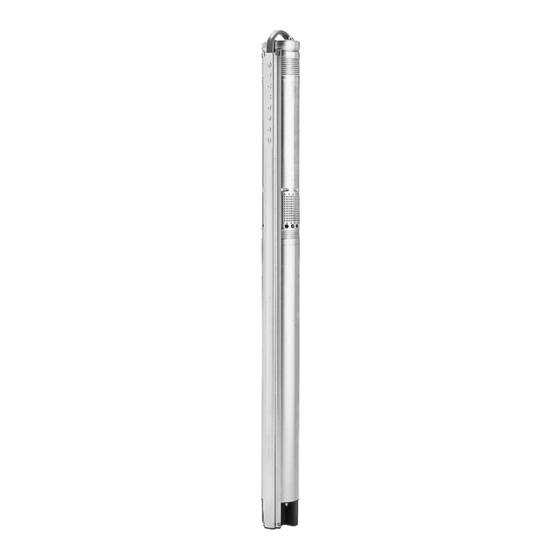
Summary of Contents for Grundfos 5SQ-90
- Page 1 GRUNDFOS INSTRUCTIONS SQ, SQE Installation and operating instructions...
- Page 2 Grundfos’ liability under this warranty shall be limited to repairing or replacing at Grundfos’ option, without charge, F.O.B. Grundfos’ factory or authorized service station, any product of Grundfos’ manufacture. Grundfos will not be liable for any costs of removal, installation, transportation, or any other charges which may arise in connec- tion with a warranty claim.
- Page 3 SQ, SQE Installation and Page operating instructions...
-
Page 4: Table Of Contents
Fitting the cable plug to the motor should be fully developed and bailed or blown free of cuttings and sand. Fitting the cable guard The construction of the Grundfos SQ/SQE submersi- Piping bles makes them resistant to abrasion; however, no Installing the pump pump made of any material can forever withstand the 10.1... -
Page 5: Motor Cooling Requirements
Maximum The submersible motors are factory-filled with a spe- past the motor liquid temperature cial Grundfos motor liquid, type SML 2, which will pro- 0.0 f/s tect the motor liquid down to 4°F (–20°C) and prevent 86°F (30°C) (free convection) the growth of bacteria. -
Page 6: Installation Positions
The supply voltage, rated maximum current and power factor (PF) appear on the motor nameplate. Pump and motor The required voltage for Grundfos submersible MS 3/MSE 3 motors, measured at the motor termi- nals, is –10%/+6% of the nominal voltage during con- tinuous operation (including variation in the supply voltage and losses in cables). -
Page 7: Cable Sizing
5. Cable sizing Single-phase 60 Hz maximum cable length motor service to entrance: Motor rating Copper wire size Volts 1050 1680 1210 1930 3060 4870 0.75 1190 1890 3010 4800 1420 2260 3600 4540 1320 2110 3360 4230 6. Splicing the cable 7. -
Page 8: Fitting The Cable Guard
8. Fitting the cable guard 9. Piping To fit the cable guard, proceed as follows: • The pump should only be gripped by the two flats at the top of the pump, see fig. 9. 1. Make sure that the motor lead lies flat in the cable guard. -
Page 9: Installing The Pump
10. Installing the pump 5. When the pump has been installed to the required depth, the installation should be finished by means of a well seal. 10.1 Installation depth Note that the dynamic water level should always The dynamic water level should always be above the be above the pump. -
Page 10: Starting The Pump For The First Time
12.3 Minimum flow rate The Grundfos Service Manual is available on request. To ensure the necessary cooling of the motor, the The pumps can be serviced at a Grundfos service cen- pump flow rate should never be set to a value lower ter. -
Page 11: Assembly Of Pump And Motor
13. Assembly of pump and motor To assemble pump end and motor, proceed as fol- lows: 1. Place the motor horizontally in a vice and tighten it, see fig. 12. 2. Pull the pump shaft out to the position shown in fig. -
Page 12: Troubleshooting
14. Troubleshooting Fault Cause Remedy 1. The pump does a) The fuses are blown. Replace the blown fuses. If the new fuses not run. blow too, check the electrical installation and the drop cable. b) The GFI circuit breaker has tripped. Reset the circuit breaker. -
Page 13: Instruments Not Allowed
Grundfos company or service center. -
Page 14: Technical Data
Liquid temperature The temperature of the pumped liquid must not ex- ceed 104°F. Note: If liquids with a viscosity higher than that of water are to be pumped, please contact Grundfos. Discharge port 5 SQ/SQE: 1" NPT. 10-15 SQ/SQE: 1¼" NPT. - Page 15 Pump models Power P Voltage Flow range Pump type Min. well dia. Disch. [hp] [gpm] 5SQ/SQE-90 230/115 1.5-7.5 3" 1" NPT 5SQ/SQE-140 230/115 1.5-7.5 3" 1" NPT 5SQ/SQE-180 230/115 1.5-7.5 3" 1" NPT 5SQ/SQE-230 0.75 1.5-7.5 3" 1" NPT 5SQ/SQE-270 0.75 1.5-7.5 3"...
- Page 16 Canada Mexico U.S.A. GRUNDFOS Canada Inc. Bombas GRUNDFOS de Mexico GRUNDFOS Pumps Corporation 2941 Brighton Road S.A. de C.V. 17100 West 118th Terrace Oakville, Ontario Boulevard TLC No. 15 Olathe, Kansas 66061 L6H 6C9 Parque Industrial Stiva Phone: +1-913-227-3400 Phone: +1-905 829 9533...
- Page 18 Being responsible is our foundation Thinking ahead makes it possible Innovation is the essence L-SP-TL-017 R 5/06 www.grundfos.com...
Need help?
Do you have a question about the 5SQ-90 and is the answer not in the manual?
Questions and answers
How yo set for manual dosing