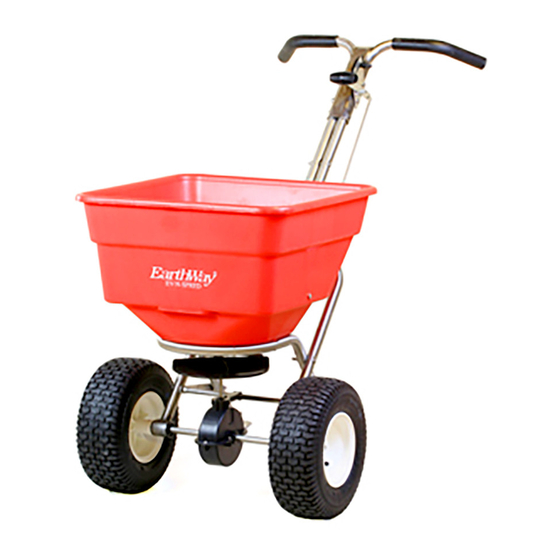
EarthWay EV-N-SPRED C24HD Assembly And Operating Instructions Manual
Hide thumbs
Also See for EV-N-SPRED C24HD:
- Assembly and operating instructions manual (6 pages) ,
- Assembly and operating instructions manual (9 pages)
Advertisement
C24HD & C24HDS
A
ssembly And
PLEASE CONTACT US: IF YOU ARE MISSING ANY PARTS, HAVE ANY DIFFICULTY IN ASSEMBLY, OR HAVE ANY
QUESTIONS REGARDING THE SAFE OPERATION OF THIS SPREADER. THIS MODEL INCLUDES LIFETIME
TECHNICAL SUPPORT. SUPPORT HOT LINE: 574-848-7491 or 800-294-0671, email: techsupport@earthway.com
HELPFUL HINTS:
; If your spreader does not spread evenly, be sure the FRONT on the gear box points to the front of the spreader. The
impeller must turn clockwise. Reversing the gearbox will cause the impeller to turn counter clockwise. Clean the impeller
after each use as some fertilizer may become stuck on the impeller blades and will cause uneven spreading.
; Your spreader is designed to be pushed at three miles per hour, which is a brisk walking speed. Slower or faster speeds
will change the spread patterns. Wet fertilizer will also change the spread pattern and flow rate. Clean and dry your
spreader thoroughly after each use, wash between the shut-off plate and bottom of the hopper regularly. To prevent
rust, coat all metal parts (inside and out) including the chassis tubes with a light oil or corrosion preventative spray. Wash
between the shut off plate and bottom of the hopper and allow to dry before next use..
; Gears are permanently lubricated at the factory. Do not open the gearbox or dirt may enter.
; If you use Rock Salt remove the agitator to prevent damage to the gearbox and remove salt from the hopper daily. Rock
Salt will reconstitute back into a solid block if left in the hopper overnight and will damage your gearbox if pushed with the
block in place.
IF YOUR SPREADER COMES SEMI ASSEMBLED, SKIP TO STEP #7
Upper Handle
Gauge & Lever
Handle
Shaft
Frame
Impeller
Brace
Pivot
Rod
Frame
Foot
1. Remove and identify all of the loose parts from carton.
(Qty 4 #36214)
1/4-20 X 1½"
Phillips Panhead
MADE IN THE USA
O
i
perAting
nstructiOns
READ THE DIRECTIONS BEFORE ASSEMBLY
Cross
Brace
Control
Rod
Lower
Handles
Pivot
Axle
Gearbox
(Qty 4 #36300)
1/4-20 SS Locknut
2. Position hopper on side. Install frame using (4) 1/4-20 x 1 ½" Pan Head Phillips machine
screws and (4) 1/4-20 nylon insert locknuts. First put bolts through holes in frame then through
holes in bottom of hopper. Secure with locknuts. TIGHTEN THESE LOCKNUTS NOW.
WARNING
Do not use air tools to assemble. To prevent
seizing, spray all nuts & bolts with oil, grease,
wax, or other lubricant.
Gauge Overlay is snapped
over the metal gauge. Replace
the stop bolt assembly to se-
cure overlay on the gauge.
ROCK SALT AND POWDERED MATERIALS SHOULD
NOT BE USED IN THIS SPREADER AS IT WILL DAMAGE
GEARBOX AND CAN VOID WARRANTY.
USE ONLY GRANULAR MATERIALS.
36305
36300
Qty 2
Qty 17
36210
Qty 2
36214
36200
Qty 4
Qty 4
33117
Qty 1
36404
Qty 18
36105
Qty 1
36209
36103
Qty 4
Qty 1
36205
Qty 3
36207
Qty 2
8-2014 Pt# 52142
For
C24HD
Only
36104
Qty 1
PAGE 1
Advertisement
Table of Contents

Related Manuals for EarthWay EV-N-SPRED C24HD


Summary of Contents for EarthWay EV-N-SPRED C24HD
- Page 1 PLEASE CONTACT US: IF YOU ARE MISSING ANY PARTS, HAVE ANY DIFFICULTY IN ASSEMBLY, OR HAVE ANY QUESTIONS REGARDING THE SAFE OPERATION OF THIS SPREADER. THIS MODEL INCLUDES LIFETIME TECHNICAL SUPPORT. SUPPORT HOT LINE: 574-848-7491 or 800-294-0671, email: techsupport@earthway.com HELPFUL HINTS: READ THE DIRECTIONS BEFORE ASSEMBLY ;...
- Page 2 Pinion GEARBOX ASSEMBLY Shaft 1/8 x 1-1/4” Impeller Cotter Pin (#36105) Cross Brace Gearbox Brace 3. Install impeller onto pinion shaft. Insert 1/8” x 1¼” cotter pin through impeller then through pinion shaft. Use hole nearest gear box. Spread cotter pin to prevent from falling out. Next, install the Cross Brace through the Gearbox Brace Support as shown above.
- Page 3 Drive wheel side 2” Cotter Pin Install the axle as shown above Coast wheel side 1” Cotter Pin 6. Install the axle through the lower handle and then the gearbox and finally, through the other lower handle. Now install the drive wheel to axle using pin hole nearest to lower handles as shown. Insert 2” cotter pin through wheel and through axle.
-
Page 4: Calibration Point
10. Install handle shaft to lower handles and pivot & bracket assembly as shown. Using (4) 1 ¾” bolts with cupped washers (C24HD) and (4) locknuts (2) cupped washers (C24HD). [TIP: Attach right side first with cupped washers on both nuts and bolts, then attach left (Pivot Bracket) side with washers only on the bolt side] TIGHTEN BOLTS AND NUTS NOW. -
Page 5: Year Limited Warranty
Products, Inc. To seek remedy under this warranty, contact Earthway Products, Inc. at 574-848-7491, techsupport@earthway. com or write to Earthway Products, Inc. P.O. Box 547 Bristol, Indiana 46507 and describe the nature of the manufacturing defect. SPECIFIC LIMITATIONS: This warranty covers only the part(s) or product; any labor charges associated with repair or replacement of non-conformances are specifically excluded. - Page 6 Earthway Products, Inc. P.O. Box 547 Bristol, Indiana 46507 (574) 848-7491 or 1-800-294-0671 77002 OPTIONAL Heavy-Duty Rain Cover 60060R OPTIONAL Heavy-Duty Rain Cover 1” & Side Deflector Kit 1-1/2” 2” 2-1/4” 2-3/4” 60166R OPTIONAL 3-Side Deflector Kit Standard Settings (12196) Gauge Overlay and OPTIONAL Lesco Settings (12195) Gauge Overlay C24HD &...
- Page 7 50’ measuring tape, a small scale to weigh the material, bucket or container to hold the material for re-weighing, chalk or a line marking device, and (7) low baking tins. Using the EarthWay ® Bag Calibrator #77016 can greatly reduce the time needed for Gauge &...
-
Page 8: Coverage Area
You may need to repeat this process to acquire the exact rate. The EV-N-SPRED Dual Port PRO Adjustable Shut-Off System ensures ® that EarthWay Professional spreaders evenly spread all types of fertilizers, seed, ice melt, or other granular ® products, and is only available from EarthWay ®...
Need help?
Do you have a question about the EV-N-SPRED C24HD and is the answer not in the manual?
Questions and answers