Sign In
Upload
Download
Table of Contents
Contents
Add to my manuals
Delete from my manuals
Share
URL of this page:
HTML Link:
Bookmark this page
Add
Manual will be automatically added to "My Manuals"
Print this page
×
Bookmark added
×
Added to my manuals
Manuals
Brands
Uovision Manuals
Security Camera
HomeGuard WiFi
Instructions manual
Uovision HomeGuard WiFi Instructions Manual
Hide thumbs
Also See for HomeGuard WiFi
:
Instructions manual
(58 pages)
1
2
3
4
5
6
7
8
9
10
11
12
13
14
15
16
17
18
19
20
21
22
23
24
25
26
27
28
29
30
31
32
33
34
35
36
37
38
39
40
41
42
43
44
45
46
47
48
49
50
51
52
53
54
55
56
57
58
Table Of Contents
59
page
of
59
Go
/
59
Contents
Table of Contents
Troubleshooting
Bookmarks
Table of Contents
Table of Contents
Device Introduction
How Homeguard Works
Scenario Suggestions
Camera Components
Specification
Preparation
Quick Guide
Set up
Installing the Batteries and SD Card
Camera Main Panel Symbol Instruction
Connect to Wifi Network
Send a Test Photo
Mount up Devices
Mount up Tips
Camera Button Instruction
Up and down
Left
Right Button
Quick Example: Take a Photo and Send It
Slide Setup
Common Troubleshooting
Device Setting Methods
Camera Setting Menu Instruction
NET Tab
Important: Update Firmware
CAM Tab
PIR Tab
Time Frame Setting Further Explanation
System Tab
Cloud Server Instruction
Cloud Web Portal
Cloud Web Portal Add a Device
Setting Device with Web Portal
Add Phone Number for Host Device
Apply to Device
Photo and Video Management with Web
Quick Operation Buttons
Account Management
Notification Settings
Cloud APP Instruction
Linkeazi APP Instruction
Main Panel Introduction
Linkeazi APP Add a Device
Setting Device
Photo and Video Management
FAQ and Feedback
Appendix
Policies and Disclaim
CE Caution
Warranty Card
Advertisement
Quick Links
1
Table of Contents
2
Device Introduction
3
Quick Guide
4
Device Setting Methods
5
Camera Settings Instruction
6
Cloud Server Instruction
7
Linkeazi App Instruction
8
Appendix
Download this manual
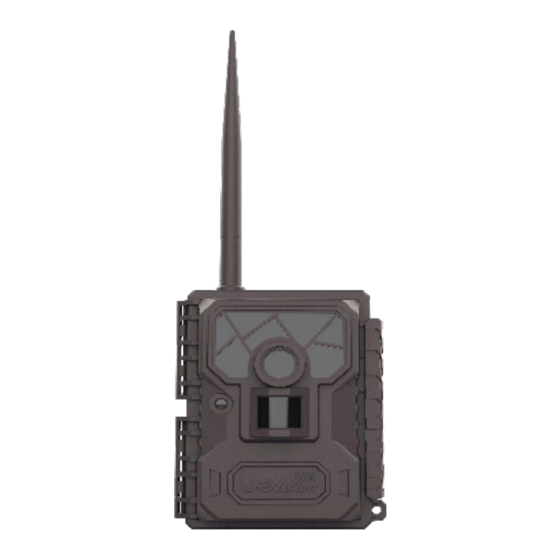
HomeGuard WiFi
WiFi Camera Instruction
1
Table of
Contents
Previous
Page
Next
Page
1
2
3
4
5
Advertisement
Table of Contents
Need help?
Do you have a question about the HomeGuard WiFi and is the answer not in the manual?
Ask a question
Questions and answers
Related Manuals for Uovision HomeGuard WiFi
Security Camera Uovision HomeGuard WiFi Instructions Manual
(58 pages)
Security Camera Uovision uv565 User Manual
Digital scouting camera 12mp hd (12 pages)
Security Camera Uovision um565-3g User Manual
12mp wireless sms controlled scouting camera (26 pages)
Security Camera Uovision UV595-HD Instruction Manual
Extreme hd scouting camera (15 pages)
Security Camera Uovision UV572 12MP HD User Manual
Wide angle scouting camera (14 pages)
Security Camera Uovision GLORY UVL4 User Manual
(14 pages)
This manual is also suitable for:
W1
Table of Contents
Print
Rename the bookmark
Delete bookmark?
Delete from my manuals?
Login
Sign In
OR
Sign in with Facebook
Sign in with Google
Upload manual
Upload from disk
Upload from URL


Need help?
Do you have a question about the HomeGuard WiFi and is the answer not in the manual?
Questions and answers