Advertisement
Quick Links
Tools and Materials Needed
1. 101 12V Power Reel Control Box Assembly for
Water Level Meter (Spare) (#111427), Includes:
• Control Box Assembly with Power Cord and Mounting Bracket
• 2 x Butt Splice Crimp Terminals
• 1 x Ring Terminal
• 4 x Cable Ties
2. Wire Cutter and Stripper
3. 7/16" Hex Wrench
4. Phillips Screwdriver
5. Adjustable Wrench (to 1-1/2")
6. Crimping Tool (see photo on page 2)
Instructions
1. Disconnect the Power Reel from the power source.
2. To remove the Control Box, cut the motor cord and power cord
from the old Control Box.
3. Use the 7/16" hex wrench to remove the four retaining nuts from
each corner of the Control Box mounting bracket. Remove the
Control Box.
4. If you would like to re-use the mounting bracket, flip the Control
Box over. Use the Phillips screwdriver to remove the four screws
from the mounting bracket, and remove it from the Control Box.
Note: The Replacement Control Box Assembly comes with a mounting
bracket attached, but can be removed, and the old mounting
bracket used in its place.
Newer Style
Mounting Bracket
(After Oct., 2012)
5. Mount the new Control Box to the Power Reel, using either the
attached mounting bracket, or remove and use the old mounting
bracket shown above (if applicable).
(Page 1 of 2)
Power Reel Control Box Assembly Replacement
Old Style
Mounting Bracket
(Prior to Oct., 2012)
High Quality Groundwater and Surface Water Monitoring Instrumentation
6. Reuse the four nuts, bolts, and washers to secure the Control Box
to the Power Reel, using either the current style mounting bracket
that comes with the replacement assembly, or the old style bracket.
See photo below for connections.
Mounting Bracket
Connects Here
7. Use the Phillips screwdriver to open the panel on the bottom of the
motor.
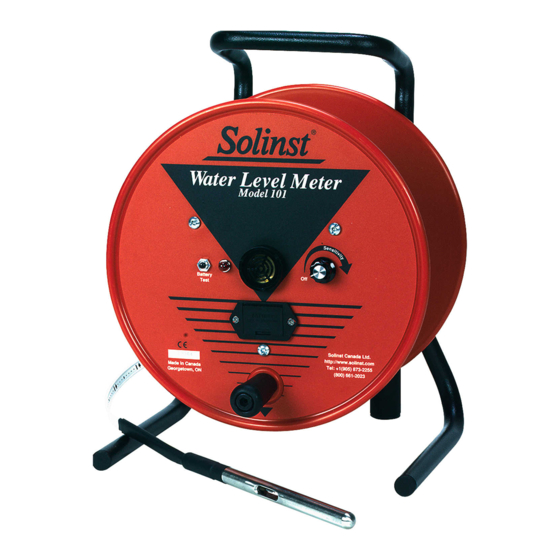
Model 101 12V Power Reel
Old Style
Mounting Bracket
Connects Here
Continued overleaf...
Advertisement

Related Manuals for Solinst 101


Summary of Contents for Solinst 101
- Page 1 Power Reel Control Box Assembly Replacement Model 101 12V Power Reel Tools and Materials Needed 1. 101 12V Power Reel Control Box Assembly for Water Level Meter (Spare) (#111427), Includes: • Control Box Assembly with Power Cord and Mounting Bracket •...
- Page 2 20. Once you are sure all correct connections have been made, and that they are very secure, test the new Control Box (see 12V Power Reel Operating Instructions). ® Solinst is a registered trademark of Solinst Canada Ltd. Printed in Canada For further information contact: Solinst Canada Ltd.
Need help?
Do you have a question about the 101 and is the answer not in the manual?
Questions and answers