Table of Contents
Advertisement
Contents
Introduction ................................................................................ 2
Front Panel Functions ................................................................. 3
Rear Panel Functions................................................................... 3
Precautions .................................................................................. 5
Placement & Ventilation ............................................................. 5
Installation & Operation ............................................................. 5
Care & Maintenance .................................................................... 7
Troubleshooting .......................................................................... 8
Specifications .............................................................................. 9
Index ............................................................................................. 10
All operational, technical and descriptive material in this publication
is subject to change at any time without notice. For further product
information or queries, please contact your Plinius dealer.
Plinius products are designed and manufactured by
Plinius Audio Limited, New Zealand.
Advertisement
Table of Contents

Summary of Contents for Plinius P100
-
Page 1: Table Of Contents
All operational, technical and descriptive material in this publication is subject to change at any time without notice. For further product information or queries, please contact your Plinius dealer. Plinius products are designed and manufactured by Plinius Audio Limited, New Zealand. -
Page 2: Introduction
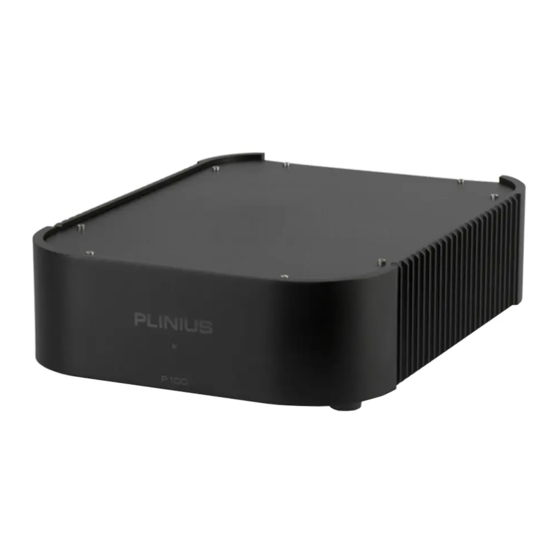
With a little care and a full understanding of the operating recommendations in this manual, your Plinius P100 Phono Preamplifier will provide years of high-quality, trouble-free performance. Please take the time to read this manual thoroughly before using your P100. SERIAL NUMBER FINAL TEST CERTIFIED BY... -
Page 3: Front Panel Functions
Please remember that your Plinius P100 phono preamplifier is a high quality electronic instrument, capable of exceptional performance. Be sure you understand your system’s requirements fully before making connections. - Page 4 3. OUTPUT TERMINALS Your P100 has RCA and XLR output connectors. RCA or XLR cables can be used to connect to your preamplifier or integrated amplifier. The XLR pin configuration used in all Plinius product is: PIN 1 to GND...
-
Page 5: Precautions
FOR PLACEMENT & OPERATION OF THIS PRODUC T. CONNEC TIONS Connections to your P100 should be made in the same order as they are listed below. DO NOT attempt to connect your P100 until you have read and fully understood these instructions. - Page 6 Check the P100 is switched OFF, and connect the IEC end of the cable to the IEC socket at the back of the P100. With the cord fully connected, switch the wall outlet ON.
-
Page 7: Care & Maintenance
From time to time you may wish to clean the surface of your Plinius equipment to remove dust, or any material build up from the atmosphere or on commonly used controls. Your Plinius product is made up of parts that have a hard anodised or a powder coat finish and will clean easily without being damaged. -
Page 8: Troubleshooting
Plinius dealer. The mains / line fuse is fitted within the mains connector on the rear of the P100. Following removal of the IEC plug, a small drawer may be removed by levering it out with a flat blade screwdriver. -
Page 9: Specifications
Gain = 50dB and Load = 22Ω Available in black or silver INPUT DIMENSIONS RCA Unbalanced Height: 72mm (3") Width: 225mm (8.85") OUTPUTS RCA Unbalanced Depth: 350mm (13.75") XLR Balanced Weight: 3kg (6.6lbs) POWER CONSUMPTION ADJUSTABLE INPUT CAPACITANCE 100pF, 570pF PLINIUS P100... -
Page 10: Index
Fuse Protection ..............8 Input Terminals ..............3 Mains/Line Fuse ...............8 Mains Supply Connection ..........9 Mains Switch ..............7 Operating Temperature ..........3 Phase .................8 Placement .................5 Rear Panel Layout ............3 Safety Precautions ............5, 6 Serial Number ..............2 Terminations ..............6 Troubleshooting ..............8 Ventilation ................5 PLINIUS P100... - Page 11 PLINIUS P100...
- Page 12 PLINIUS P100...


Need help?
Do you have a question about the P100 and is the answer not in the manual?
Questions and answers