Table of Contents
Advertisement
Quick Links
Advertisement
Table of Contents

Summary of Contents for BITMAIN C1
- Page 1 BITMAIN C1 Manual...
-
Page 2: Table Of Contents
C1 Manual Last updated: 10/30/2014 Page 2 of 9 Contents Overview ............................3 Connect to Server..........................3 Server Configuration ........................4 3.1 Pool Setting ..........................4 3.2 Advanced Setting ........................5 Server Status ............................ 5 System Configuration and status ....................6 System Upgrading ....................... -
Page 3: Overview
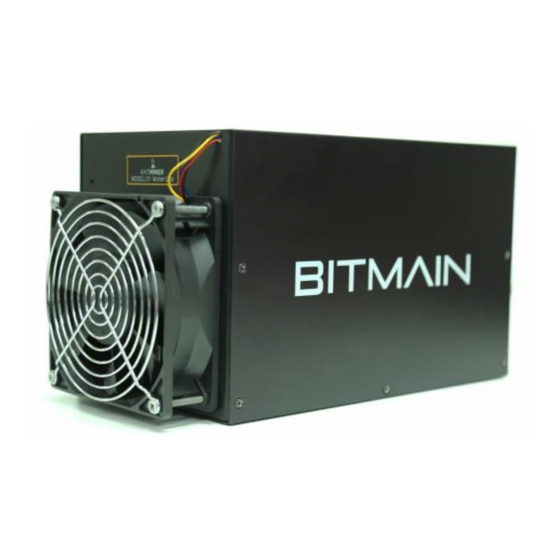
Last updated: 10/30/2014 Page 3 of 9 1 Overview Bitmain’s first Liquid Cooled Server – the C1: This manual is only for C1’s set up, Cooling Kit is direct supported by the third-party recommended. Note: 1. You must prepare your own ATX Power Supply. There are 4 PCI-e connectors for +12V DC input and all are required. -
Page 4: Server Configuration
C1 Manual Last updated: 10/30/2014 Page 4 of 9 3 Server Configuration 3.1 Pool Setting Through ‘ Configuration-> General Settings ‘, you will be able to configure your server. Pool URL-In this field you should enter the URL of your desired pool. -
Page 5: Advanced Setting
C1 Manual Last updated: 10/30/2014 Page 5 of 9 3.2 Advanced Setting We added the “Advanced Settings” under “Configuration” to change the frequency. The default frequency is 250MHz. For the voltage option, ‘0725’ means the operating voltage of chip is 0.725V. Voltage needs to be modified when adjusting the frequency. -
Page 6: System Configuration And Status
C1 Manual Last updated: 10/30/2014 Page 6 of 9 ASIC#: ASIC number in the chain Frequency: ASIC setting frequency Temp: Temperature, centigrade ASIC status: o stands for OK, x stands for error. 5 System Configuration 5.1 System Upgrading Through ‘System->Upgrade’ you will be able to upgrade your server. -
Page 7: Password Modification
C1 Manual Last updated: 10/30/2014 Page 7 of 9 Choose ‘Reboot’ button, Server will restart and run the new system. Choose ‘Go Back’, Server will continue running with the old system, but it will run new system when it power on next time. -
Page 8: Restore Initial Setting
C1 Manual Last updated: 10/30/2014 Page 8 of 9 5.4 Restore Initial Setting Press the ‘Reset’ button on top of the Ethernet port and hold it on for 3 seconds, Red LED flashing every one second/ 1S. Then release ‘Reset’ button, Server will restore the initial setting and restart automatically. -
Page 9: Page2
C1 Manual Last updated: 10/30/2014 Page 9 of 9 Page 9/ 9...


Need help?
Do you have a question about the C1 and is the answer not in the manual?
Questions and answers