Advertisement
Step 1. Remove snow thrower from carton and
place control panel behind it.
Step 2. Install the lower and upper handlebars.
1. Remove the 4 bolts and washers attached to the rear of the frame and install lower
handle bars there.
2. Attach upper and lower handle bars using the set of 4 curved bolts, washers, and
knobs. Tighten firmly.
NOTICE: Do not bend or kink the control cables. The cables should be routed under the
handle assembly and not wrapped around the handle or knobs. The cables must move
freely and not bind.
Step 3. Installing the chute.
1. Remove the bolts and nuts from the bracket at the base of the chute.
2. Position the chute arm next to the bracket and use the bolts to secure it.
3. Replace the nuts inside the bracket and tighten firmly.
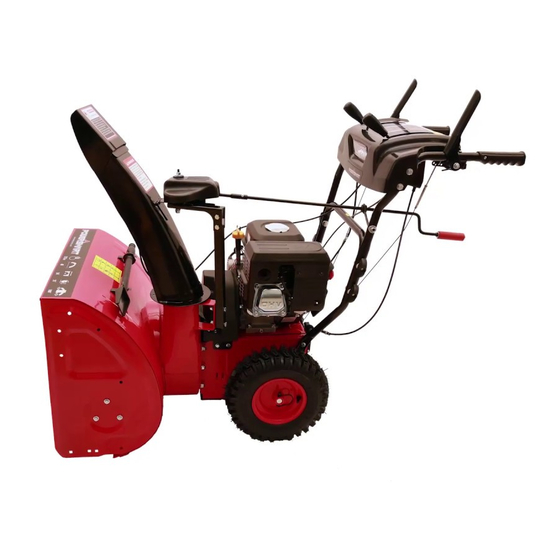
Quick Set-up Guide
Model: DB7103/DB7103PA
Advertisement
Table of Contents

Related Manuals for Powersmart DB7103


Summary of Contents for Powersmart DB7103
- Page 1 Quick Set-up Guide Model: DB7103/DB7103PA Step 1. Remove snow thrower from carton and place control panel behind it. Step 2. Install the lower and upper handlebars. 1. Remove the 4 bolts and washers attached to the rear of the frame and install lower handle bars there.
- Page 2 Step 4. Installing the chute handle. 1. Attach holder to the left side of upper handle bars by removing a washer and nut from the end, inserting into the hole, then reattaching. 2. 1. Remove the screw from the end of the handle then insert into the sleeve. Insert screw and tighten.
Need help?
Do you have a question about the DB7103 and is the answer not in the manual?
Questions and answers