Table of Contents
Advertisement
Quick Links
Download this manual
See also:
User Manual
Advertisement
Table of Contents

Summary of Contents for Mira Eco
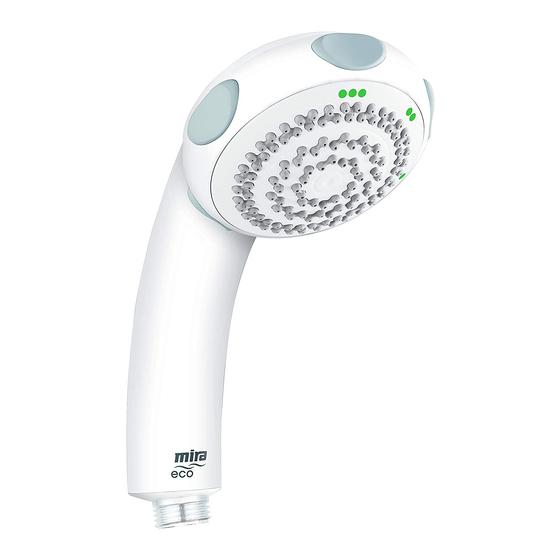
- Page 1 MIRA ECO SHOWER FITTINGS INSTALLATION & USER GUIDE These instructions are to be left with the user...
-
Page 2: Table Of Contents
CONTENTS INTRODUCTION Introduction Thank you for purchasing a quality Mira product. To enjoy the full potential of your new product, please General take time to read this guide thoroughly, having Pack Contents done so, keep it handy for future reference. -
Page 3: Pack Contents
PACK CONTENTS Tick the appropriate boxes to familiarise yourself with the part names and to confirm that all of the parts are included. 2 x Slide Bar End Supports 2 x Fixing Screws 2 x Wall Plugs 2 x Slide Bar End Caps 1 x Applicator 1 x Showerhead 1 x Slide Bar... -
Page 4: Pack Contents
PACK CONTENTS Tick the appropriate boxes to familiarise yourself with the part names and to confirm that all of the parts are included. Only supplied with Built-In Variable (BIV) fitting. 1 x Wall Plate 2 x Wall Plugs 1 x Backplate 1 x Olive 2 x Wall Plate Screws 1 x Backplate Nut... -
Page 5: Specifications
Flow Rates SPECIFICATIONS These are the typical flow performance graphs Pressures for the Mira Eco shower fittings. There will be an additional pressure loss through the shower Min maintained pressure: 0.5 bar (50 kPa). control. Max maintained pressure: 5.0 bar (500 kPa). -
Page 6: Installation
4. For solid wall installations or stud partition INSTALLATION installations without rear access go to instruction 9. RAC Assembly For stud partition installations with access to the rear of the partition continue with The RAC assembly is supplied with built-in mixer instruction 5. - Page 7 9. Loosely attach the RAC backplate to the RAC 16. Place the backplate over the outlet pipe with wallplate, using the two backplate screws the arrow pointing vertically up and tighten the provided. two backplate screws. Make sure that the foam seal abuts the finished wall surface.
-
Page 8: Mira Eco Shower Fittings
Slide Bar two slide bar supports to the ends of the slide bar. Make sure that each support is pushed firmly home. Note! If replacing an existing Mira Slide Bar Wall Plug go to instruction 8. Top Slide Bar Support 6. -
Page 9: Operation
Start, Soothe and Force. 1. Start Turn the spray plate anticlockwise until it ‘clicks’ (one click from the eco setting). Water will flow from the outer set of holes. 2. Soothe Turn the spray plate anticlockwise until it ‘clicks’... -
Page 10: User Maintenance
Cleaning USER MAINTENANCE Many household cleaners contain abrasives and If you require a Mira trained service engineer or chemical substances, and should not be used for agent, refer to section: ‘Customer Services’. cleaning plated or plastic fittings. These finishes should be cleaned with a mild... -
Page 11: Spare Parts
SPARE PARTS 450.17 Slide Bar Wall Fixing Pack 1668.026 Adjustable Showerhead (White) 1668.025 Adjustable Showerhead (Chrome) 450.10 Slide Bar White 450.28 Slide Bar Chrome 450.08 Seal Pack 450.21 Right Angle Connector White 450.22 Right Angle Connector Chrome 1668.029 Spray Plate Pack (Chrome) 1668.030 450.20... -
Page 12: Customer Service
fi lters) or where no fault has been found with guarantee period and beyond. You have the assurance of a the product. fully trained Mira Technician, genuine Mira spare parts and Water or electrical supply, waste and isolation issues. a 12 month guarantee on any chargeable work done.


Need help?
Do you have a question about the Eco and is the answer not in the manual?
Questions and answers