Table of Contents
Advertisement
Quick Links
Advertisement
Table of Contents

Subscribe to Our Youtube Channel
Related Manuals for Nordmende HGX703IX


Summary of Contents for Nordmende HGX703IX
- Page 1 Hob / User Manual HGX703IX...
- Page 2 Thank you for choosing this product. This User Manual contains important safety information and instructions on the operation and maintenance of your appliance. Please take the time to read this User Manual before using your appliance and keep this book for future reference. Icon Type Meaning...
-
Page 3: Table Of Contents
CONTENTS 1. SAFETY INSTRUCTIONS ....................4 1.1. General Safety Warnings ....................4 1.2. Installation Warnings .....................6 1.3. During Use........................7 1.4. During Cleaning and Maintenance ................8 2.INSTALLATION AND PREPARATION FOR USE ............10 2.1. Instructions for the Installer ..................10 2.2. Installation of the Hob ....................11 2.3. -
Page 4: Safety Instructions
1. SAFETY INSTRUCTIONS • Carefully read all instructions before using your appliance and keep them in a convenient place for reference when necessary. • This manual has been prepared for more than one model therefore your appliance may not have some of the features described within. - Page 5 • For models which incorporate a hob lid, clean any spillages off the lid before use and allow the cooker to cool before closing the lid. • Do not operate the appliance by means of an external timer or separate remote-control system. • Do not use harsh abrasive cleaners or scourers to clean oven surfaces.
-
Page 6: Installation Warnings
Particular attention should be given to the relevant requirements regarding ventilation. • If the burner has not lit after 15 seconds, stop operating the device and open the compartment door. Wait at least 1 minute before attempting to ignite the burner again. • These instructions are only valid if the correct country symbol appears on the appliance. -
Page 7: During Use
technician. The manufacturer is not responsible for any damage that might be caused by defective placement and installation by unauthorised people. • When the appliance is unpacked, make sure that it has not been damaged during transportation. In the case of a defect do not use the appliance and contact a qualified service agent immediately. -
Page 8: During Cleaning And Maintenance
valve off when a gas appliance is not in use. • Make sure the appliance control knobs are always in the “0” (stop) position when the appliance is not in use. CAUTION: The use of a gas cooking appliance results in the production of heat, moisture and products of combustion in the room in which it is installed. - Page 9 room) is improper and dangerous. The operating instructions apply to several models. You may notice differences between these instructions and your model. Disposal of your old machine This symbol on the product or on its packaging indicates that this product should not be treated as household waste.
-
Page 10: Installation And Preparation For Use
2. INSTALLATION AND PREPARATION FOR USE Air inlet section min. 100 cm WARNING : This appliance must be installed by an authorised service person or qualified technician, according to the instructions in this guide and in compliance with the current local regulations. -
Page 11: Installation Of The Hob
• If a cooker hood or cupboard is to be no access to the base of the appliance. installed above the appliance, the safety • The appliance can be placed close to distance between cooktop and any other furniture on condition that, in the cupboard/cooker hood should be as area where the appliance... -
Page 12: Gas Connection
Separator Separator • Place the hob in the cut out. Mark the location of the hob on the cooktop. Marker t>20 Worktop 2.3. GaS ConneCtion Assembly of gas supply and leakage • Remove the hob. Place the gasket on check the line you marked. -
Page 13: Gas Conversion (If Available)
Points that must be checked during country for which it has been produced. flexible hose assembly: The main country of destination is marked on the rear cover of the appliance. If you • If the gas connection is made by a need to use it in another country, any flexible hose fixed onto the gas inlet of of the connections in the figure below... -
Page 14: Electrical Connection And Safety (If Available)
the appliance from the mains electrical towards the flame to see if the flames are supply. stable. The bypass screw must be loosened for • Remove the burner caps and the conversion from LPG to NG. For conversion adapters. from NG to LPG, the bypass screw must be • Use a 7 mm spanner to unscrew the tightened. - Page 15 supply voltage, and the mains electric wiring should be capable of handling the appliance’s power rating (also indicated on the identification plate). • During installation, please ensure that isolated cables are used. An incorrect connection could damage your appliance. If the mains cable is damaged and needs to be replaced this should be done by a qualified personnel.
-
Page 16: Product Features
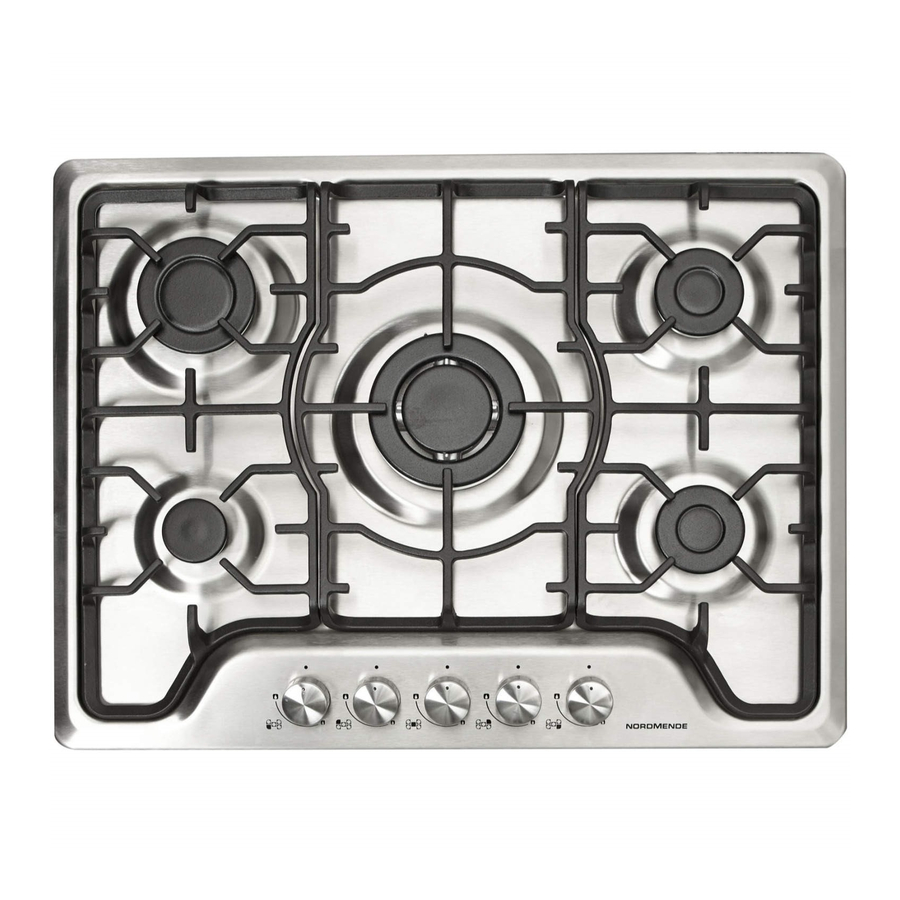
3. PRODUCT FEATURES Important: Specifications for the product vary and the appearance of your appliance may differ from that shown in the figures below. List of Components 1. Gas Burner 2. Control Panel EN - 16... -
Page 17: Use Of Product
4. USE OF PRODUCT 4.1. uSe of GaS burnerS Ignition of the burners The position symbol above each control knob indicates the burner that the knob controls. Manual Ignition of the Gas Burners OFF position MAX position If your appliance is not equipped with an ignition aid, or in case there is a failure in the electric network, follow the procedures listed below. -
Page 18: Cleaning And Maintenance
Accessorries Rapid / Wok Burner 22-26 cm Semi-rapid Burner 14-22 cm 5. CLEANING AND MAINTENANCE Auxiliary Burner 12-18 cm Make sure that the tips of the flames do not spread out from the outer circumference 5.1. CleaninG of the pan, as this may harm plastic WARNING: Switch off the appliance accessories, such as handles. -
Page 19: Maintenance
Cleaning the Glass Parts (if available) • Clean the glass parts of your appliance on a regular basis. • Use a glass cleaner to clean the inside and outside of the glass parts. Then, rinse and dry them thoroughly with a dry cloth. -
Page 20: Troubleshooting&Transport
6. TROUBLESHOOTING&TRANSPORT 6.1. troubleShootinG If you still have a problem with your appliance after checking these basic troubleshooting steps, please contact an authorised service person or qualified technician. Problem Possible Cause Solution The burners may be in the ´off` Check the position of oven and/or grill burner’s position. -
Page 21: Technical Specifications
7. TECHNICAL SPECIFICATIONS 7.1. injeCtor table G30 28-30 mbar G20 20 mbar G30/G31 11.1 Kw 807 g/h 28-30/37 mbar II2H3+ IE Class:3 LARGE BURNER DIA. of INJECTOR (1/100mm) NOMINAL RATING (KW) CONSUMPTION 285,7 l/h 218,1 g/h MEDIUM BURNER DIA. of INJECTOR (1/100mm) NOMINAL RATING (KW) 1.75 1.75... -
Page 22: Energy Fiche
7.2. enerGy fiChe Brand Model HGX703IX Type of Hob Number of Cooking Zones Heating Technology-1 Size-1 Auxiliary Energy Efficiency-1 Heating Technology-2 Size-2 Semi-Rapid Energy Efficiency-2 59.0 Heating Technology-3 Size-3 Semi-Rapid Energy Efficiency-3 59.0 Heating Technology-4 Size-4 Rapid Energy Efficiency-4 57.0... - Page 23 52237305...
Need help?
Do you have a question about the HGX703IX and is the answer not in the manual?
Questions and answers