Table of Contents
Advertisement
Quick Links
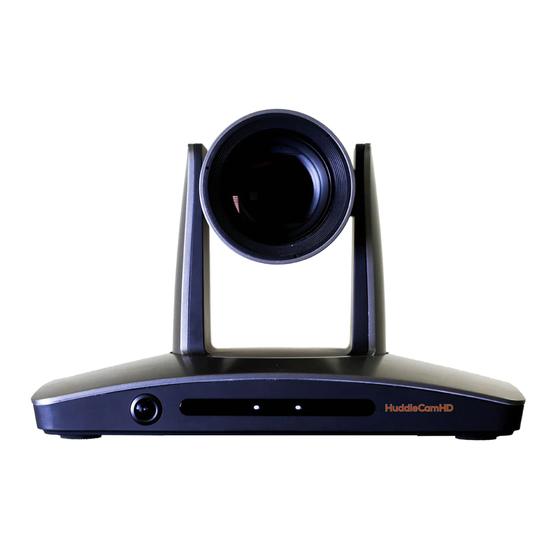
SimplTrack 2 Auto Tracking Camera
Step 1: The first thing to do when you receive your SimplTrack 2 is read through the included
manual.
Step 2: As you unbox your HuddleCamHD SimplTrack 2 you will find the camera, a power
supply, an IR remote control, the user manual, a 10' USB 3.0 A-B cable, and a serial control
cable used for joystick controllers.
set. You can try moving the camera and calling a preset quickly to test out the cameras
movement operations.
Quick Start Guide
Step 3: Now it is time to plug your camera into
power with the included power supply. Let's put the
included AAA batteries inside our remote control
and take a look at the features. You can pan, tilt
and zoom your camera using the up/down/left/right
arrow keys on your remote. You can also, set a
specific PTZ camera preset by clicking the "preset"
button and than entering the number you want to
Advertisement
Table of Contents

Related Manuals for HuddleCamHD SimplTrack 2


Summary of Contents for HuddleCamHD SimplTrack 2
-
Page 1: Quick Start Guide
SimplTrack 2 Auto Tracking Camera Quick Start Guide Step 1: The first thing to do when you receive your SimplTrack 2 is read through the included manual. Step 2: As you unbox your HuddleCamHD SimplTrack 2 you will find the camera, a power supply, an IR remote control, the user manual, a 10’... - Page 2 DHCP server. Once the camera is turned on and connected to the network we can install the HuddleCamHD SimplTrack control software. Step 4: You can download the HuddleCamHD SimplTrack control software from HuddleCamHD.com/Resources Note:...
- Page 3 Step 6: You may want to connect your camera to a meeting room computer or in room display. You can connect the camera to a computer using the USB 3.0 output, to any standard television using a DVI to HDMI cable, and to an SDI monitor using a standard SDI cable. Note:...
- Page 4 Step 8: The PTZ Controls section serves two functions: first, to provide manual Pan and Tilt controls, the other is to control the OSD using the Menu button. You can start and stop the cameras auto-tracking capabilities at any time using the Start and Stop buttons under Tracking Control.
- Page 5 Step 9: Let’s click the “Settings” button at the bottom right of this application. When entering the Advanced Parameters settings interface, the live preview will switch to a split-screen showing the images from both the reference camera and the tracking camera. This is where all features relating to auto-tracking can be setup.
- Page 6 Step 10: Use the Tracking Parameters section to cater the tracking for your room & presenter. Tracking sensitivity defines how much motion is required from the subject to trigger the tracking capabilities. The higher the sensitivity, the less motion is required. Pan & Tilt Speed allows customization over the speed at which the camera tracks.
- Page 7 You can also submit a support ticket at any time at help.huddlecamhd.com. Enjoy!
Need help?
Do you have a question about the SimplTrack 2 and is the answer not in the manual?
Questions and answers