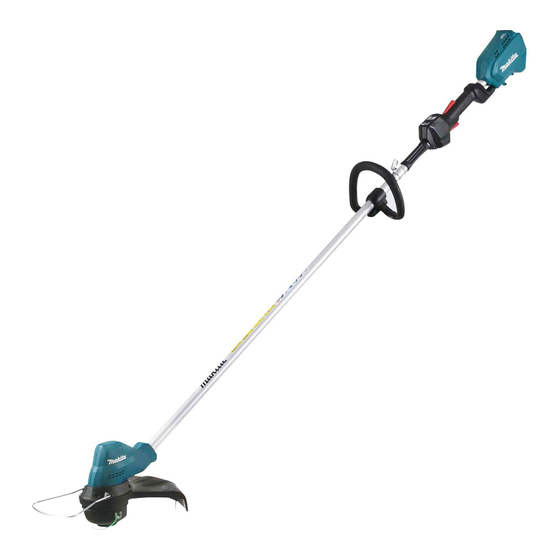
Makita DUR187U Instruction Manual
Cordless grass trimmer
Hide thumbs
Also See for DUR187U:
- Instruction manual (112 pages) ,
- Original instructions manual (20 pages) ,
- Instruction manual (113 pages)

Subscribe to Our Youtube Channel
Related Manuals for Makita DUR187U


Summary of Contents for Makita DUR187U
- Page 1 INSTRUCTION MANUAL Cordless Grass Trimmer DUR187U DUR187L DUR188U DUR188L Read before use.
- Page 2 SPECIFICATIONS Model: DUR187U DUR187L DUR188U DUR188L Type of handle Bike handle Loop handle Bike handle Loop handle No load speed 4,000/5,000/6,000 min Overall length 1,791 mm (without cutting tool) Nylon cord diameter 2.0 - 2.4 mm Applicable cutting tool and...
- Page 3 NOTE: The declared vibration emission value has been measured in accordance with the standard test method and may be used for comparing one tool with another. NOTE: WARNING: The vibration emission during actual use of the power tool can differ from the declared emission value depending on the ways in which the tool is used.
- Page 4 Operate the tool only if you are in good phys- ical condition. Perform all work calmly and nated battery packs. Use of any other battery carefully. Use common sense and keep in mind that the operator or user is responsible for When battery pack is not in use, keep it away accidents or hazards occurring to other people from other metal objects, like paper clips,...
- Page 5 Method of operation Turn off the motor and remove the battery cartridge before carrying out maintenance, Never operate the machine with damaged replacing the cutting tool and cleaning the guards or without the guards in place. tool. Only use the tool in good light and visibility. After use, disconnect the battery cartridge During the winter season beware of slippery from the tool and check for damage.
-
Page 6: Save These Instructions
CAUTION: Only use genuine Makita batteries. Use of non-genuine Makita batteries, or batteries that have been altered, may result in the battery bursting also void the Makita warranty for the Makita tool and charger. Tips for maintaining maximum battery life Charge the battery cartridge before completely discharged. - Page 7 PARTS DESCRIPTION 9 10 Battery cartridge Lock-off lever Hanger Handle Protector (cutting tool Lock lever guard) (DUR188U and DUR188L only) Joint cover Auto speed control (DUR188U and (DUR188U and indicator DUR188L only) DUR188L only) Power lamp Main power button Reverse button * The shape of the protector varies depending on the country.
- Page 8 Status Indicator lamps FUNCTIONAL Blinking DESCRIPTION Overload WARNING: Always be sure that the tool is switched off and the battery cartridge is removed before adjusting or checking function on the tool. Overheat Failure to switch off and remove the battery cartridge start-up.
- Page 9 Press the check button on the battery cartridge to indi- DUR187U and DUR188U cate the remaining battery capacity. The indicator lamps light up for few seconds. Indicator lamps Remaining capacity Lighted Blinking 75% to 100% 50% to 75% 25% to 50% 0% to 25% 1.
- Page 10 Operation of the tool in a partially assembled state may result in serious per- Installing the handle For DUR187U and DUR188U only Insert the shaft of the handle into the grip. Align the screw hole in the grip with the one in the shaft.
- Page 11 1. Grip 2. 3. Handle 1. Lock lever 2. Joint cover 3. Pipe Place handle between handle clamp and handle Make sure that the surface of the lock lever is parallel to the pipe. Turn the lever to the direction of the arrow shown socket head bolts.
- Page 12 NOTE: The shape of the protector varies depending on the country. grooves of the motor housing. Installing the wire guard CAUTION: Before adjusting the wire guard, 1. Protector 2. Groove 3. wait for the cutting head comes to standstill. Do not adjust the wire guard with your foot.
- Page 13 Make sure to remove the hex wrench after installation. CAUTION: Make sure to remove the hex wrench after installation. NOTICE: Be sure to use genuine Makita nylon cutting head. NOTICE: Be sure to use genuine Makita plastic blade. 13 ENGLISH...
- Page 14 Adjusting the handle/hanger position 2. Handle able handling of the tool. For DUR187U and DUR188U the hanger to a comfortable working position and then tighten the bolt. handle holder. Move the handle to a comfortable work- ing position and then tighten the bolts.
- Page 15 DUR187U and DUR188U DUR187L and DUR188L For DUR187L and DUR188L only Attachment of shoulder harness 1. Handle 2. CAUTION: Always use the shoulder harness attached. Before operation, adjust the shoulder harness according to the user size to prevent fatigue. OPERATION Connect the hook of the shoulder harness to the hanger and put the shoulder harness on.
- Page 16 The shoulder harness features a means of quick ommended nylon cord only, otherwise it may cause release. damage to the tool and result in serious personal DUR187U and DUR188U WARNING: Make sure that the cover of the nylon cutting head is secured to the housing properly as described below.
- Page 17 1. Arrow on the protector 2. Arrow on the blade 2. Housing 3. Align the protrusion on the underside of the cover Centers, always using Makita replacement parts. onto the housing to secure it. 17 ENGLISH...
- Page 18 CAUTION: These accessories or attachments are recommended for use with your Makita tool The use of any other accessories or attachments might present a risk of for its stated purpose.
- Page 20 Jan-Baptist Vinkstraat 2, M a k i t a E u r o p e N . V . 3070 Kortenberg, Belgium 3-11-8, Sumiyoshi-cho, M a k i t a C o r p o r a t i o n Anjo, Aichi 446-8502 Japan 885546C221 w w w .
Need help?
Do you have a question about the DUR187U and is the answer not in the manual?
Questions and answers