
Related Manuals for Stern TRENDY SOAP DISPENSER B


Summary of Contents for Stern TRENDY SOAP DISPENSER B
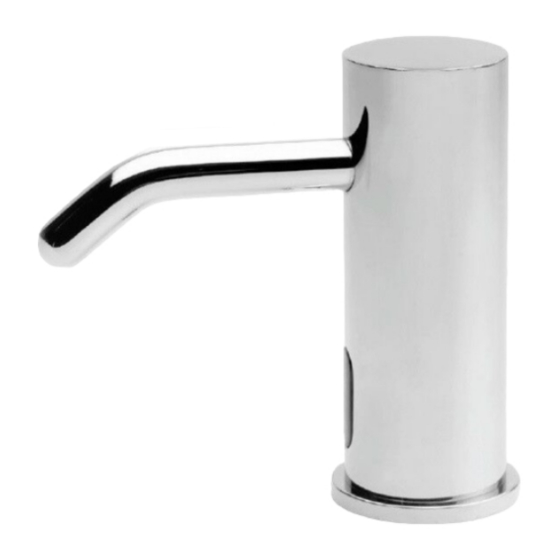
- Page 1 TRENDY EXTREME ELITE TOUCH FREE DECK MOUNTED SOAP DISPENSERS I n s t a l l a t I o n a n d m a I n t e n a n c e g u I d e...
-
Page 2: Table Of Contents
The tradenames, trademarks, logos and service marks presented in this document, including their design, are the property of Stern Engineering Ltd or other third parties and you are not permitted to use them without the prior written consent of Stern Engineering Ltd or such... -
Page 3: Technical Data
TECHNICAL DATA TRENDY EXTREME ELITE 239910 237920 236110 SOAP DISPENSER B SOAP DISPENSER B SOAP DISPENSER B TRENDY EXTREME ELITE 239900 237900 236100 SOAP DISPENSER E SOAP DISPENSER E SOAP DISPENSER E TRENDY SD 1.6 E EXTREME SD 1.6 E ELITE SD 1.6 E 239916 237916... -
Page 4: Pre-Installation Info
Stern liquid soap dispensers are suitable for use with any generic liquid soap of the correct viscosity and pH. The pH level of all soap used in Stern liquid soap dispensers should be between 6.5 to 8.5. Lower levels will cause corrosion to the metal dispenser and even the rubber and plastic components. -
Page 5: Pack Contents
PACK CONTENTS Familiarize yourself with the part names and confirm that the parts are included. 1 X SOAP TANK wITH BOTTLE SUPPORT AND PUMP ASSEMBLY 1 X BATTERY BOX FOR 6XD ALKALINE 1 X BODY AND FIXINg ACCESSORIES BATTERIES \ 12V TRANSFORMER... - Page 6 INSTALLATION STEP 1 – REMOVE ALL MOUNTINg HARDwARE Drill a hole in the deck or lavatory according to the recommended hole size. Remove the nut, the disk and the gasket from the base of the soap dispenser body. RECOMMENDED HOLE SIzE If your dispenser is supplied with anti-rotation solution, drill an additional hole for anti-rotation pin.
- Page 7 INSTALLATION Snap the soap pipe from the dispenser body into the quick connection fitting of the pump. STEP 3 – CONNECTINg THE POwER SOURCE Remove the protective sticker covering the sensor. Keep away from the sensor range. Connect the motor connector to its matching connector coming from O-RING VISIBLE –...
- Page 8 INSTALLATION ImPortant: the 4 contacts connector should be connected properly so that the white o-ring is not visible and a clicking sound is heard. Pay attentIon: If the 4 contacts connectors is not connected properly, the motor will work continuously. For battery versions: install the battery box on the wall FROM THE SOAP DISPENSER...
-
Page 9: Filling The Soap Tank
FILLINg THE SOAP TANK If your model is an MF model, please refer to the Multifeed installation guide. Unscrew the soap tank from the pump assembly and pull it out of the bottle support. Fill in the liquid soap up to the top line. Insert the bottle inside the bottle support. -
Page 10: Settings Adjustment
SETTINgS ADJUSTMENT wITH A REMOTE CONTROL If desired, use the remote control to adjust the soap dispenser settings. Hold the remote control straight in front of the sensor in a distance of about 4-6” (10-15cm). Attention: Holding the soap dispenser remote control out of the recommended range (too close or too far) may interfere with the remote activation. -
Page 11: Battery Replacement
BATTERY REPLACEMENT Battery models only When the battery weakens, the red indicator light will blink at a constant rate when the user’s hands are within the sensor range. The battery must be replaced within two weeks. To replace the battery in battery models: 1. -
Page 12: Spare Parts List
SPARE PARTS LIST 10-PACK SENSOR KIT - ELITE, TRENDY, EXTREME 07220279 SEALS AND SCREWS KIT ELITE, TRENDY, EXTREME 07210088 SOAP DISPENSER PUMP ASSEMBLY 07222028 6-PACK SOAP BOTTLE 1L 07100035 6-PACK 1L BOTTLE SUPPORT KIT 07100037 IP67 BATTERY BOX FOR 6 XD ALKALINE BATTERIES 06530041 12V SWITCHING TRANSFORMER (EU) 06522081... -
Page 13: Limited Warranty
If a defect is found in normal use, Y. Stern Engineering Ltd. will, at its discretion, repair, provide a replacement part or product, or make appropriate adjustments. Damage caused by accident, misuse, or abuse is not covered by this warranty. - Page 14 TROUBLESHOOTINg Indication Investigation Cause Solution Illustration False Continuous AUX connector not The connector should be inserted fully until activation: discharge from the fully inserted white o-ring is not visible. Remove the o-ring if O-RING VISIBLE – NOT CONNECTED PROPERLY Soap nozzle necessary dispensing...
- Page 15 TROUBLESHOOTINg Indication Investigation Cause Solution Illustration Soap not Pump is Sensor is AUX connector not The connector should be inserted fully dispensing not making blinking fully inserted until the white o-ring is not visible. sound when when hand Remove the o-ring if necessary O-RING VISIBLE –...
- Page 16 777 Passaic Avenue, Clifton NJ,07012, USA 777 Passaic Avenue, Clifton NJ,07012, USA Tel: +1-973 773 8011 | Fax: +1-973-779-8768 Tel: +1-973 773 8011 | Fax: +1-973-779-8768 Toll Free: 1-800-4364410 Toll Free: 1-800-4364410 info@sternfaucets.com | tech@sternfaucets.com info@sternfaucets.com | tech@sternfaucets.com Distributed by: T 04 568 9898 E sales@plumbline.co.nz www.plumbline.co.nz...
Need help?
Do you have a question about the TRENDY SOAP DISPENSER B and is the answer not in the manual?
Questions and answers