
Related Manuals for Stern TUBULAR


Summary of Contents for Stern TUBULAR
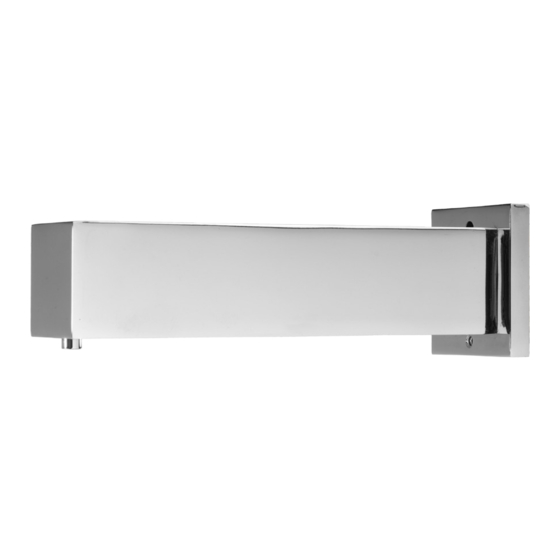
- Page 1 TUBULAR QUADRAT TOUCH FREE WALL MOUNTED SOAP DISPENSERS I n s t a l l a t I o n a n d m a I n t e n a n c e g u I d e...
-
Page 2: Technical Data
PACK CONTENTS 5-10 INSTALLATION FILLING THE SOAP TANK SETTINGS ADJUSTMENT WITH A REMOTE CONTROL TUBULAR SOAP DISPENSER B 350920 TUBULAR SOAP DISPENSER 2030 B 350922 TUBULAR SD 1.6 E 350116 BATTERY REPLACEMENT TUBULAR SOAP DISPENSER E 350925 TUBULAR SOAP DISPENSER 2030 E... -
Page 3: Pre-Installation Info
To prevent reflection problems, it is recommended to keep a minimum distance of 300 mm between the soap dispenser and any other objects. 1 X BODy ASSEMBLy FOR TUBULAR SOAP DISPENSER B / E iMPorTAnT: Keep in mind that when using the faucet installed next to the soap dispenser, the user hands should not interfere with the soap dispenser sensor detection area. -
Page 4: Installation
16mm 0.63” Drill a small hole (2 to 3 mm) just above the previous one for the anti-rotation pin, 1 X BODy ASSEMBLy FOR TUBULAR SOAP according to the diagram. DISPENSER B / E 23-24mm remove the hexagonal nut and the disk from 0.90-0.94”... - Page 5 INSTALLATION INSTALLATION TuBuLAr/QuADrAT SoAP DiSPenSer TuBuLAr/QuADrAT SoAP DiSPenSer IMPORTANT: the 4 contacts connector should be connected properly so that the white o-ring is not visible and a clicking sound is heard. PAY ATTENTION: if the 4 contacts connectors will not be connected properly, the pump will work continuously.
- Page 6 INSTALLATION INSTALLATION TuBuLAr/QuADrAT 2030 SoAP DiSPenSer TuBuLAr/QuADrAT 2030 SoAP DiSPenSer STEP 1 – INSTALLINg THE MF SOAP DISPENSER Cut an adequate opening in the wall for the dimensions of the soap dispenser Assemble the corrugated tube to the base (where you want to install the soap dispenser base and make sure spout) and the corrugated tube.
-
Page 7: Filling The Soap Tank
FILLINg THE SOAP TANk INSTALLATION TuBuLAr/QuADrAT 2030 SoAP DiSPenSer if your model is an MF model, please refer to the Multifeed installation guide. STEP 3 – CONNECTINg THE POWER SOURCE unscrew the soap tank from the pump assembly and remove the protective sticker pull it out from the bottle support. -
Page 8: Settings Adjustment With A Remote Control
BATTERy REPLACEMENT SETTINgS ADJUSTMENT WITH A REMOTE CONTROL if available, the soap dispenser remote control can adjust the dispenser’s settings. To Battery models only use the remote control hold it in front of the sensor at a distance of 10-15cm (4-6”). When the battery weakens, the red indicator light will blink at a constant rate when the user’s hands are within the sensor range. -
Page 9: Spare Parts List
LIMITED WARRANTy SPARE PARTS LIST the manufacturer warrants that its electronic products will be free of defects in 10-PACK SenSor KiT 07220280 material and workmanship during normal use for two years from the date the product is purchased. SoAP DiSPenSer PuMP 07222032 if a defect is found in normal use, the manufacturer will, at its discretion, repair, provide 6-PACK SoAP BoTTLe 1L... -
Page 10: Troubleshooting
TROUBLESHOOTINg TROUBLESHOOTINg indication investigation Cause Solution illustration indication investigation Cause Solution illustration False Continuous Aux connector not The connector should be inserted fully until Soap not Pump is Sensor is Aux connector not The connector should be inserted fully activation: discharge from the fully inserted white o-ring is not visible. - Page 11 01.18 01500467-C...
Need help?
Do you have a question about the TUBULAR and is the answer not in the manual?
Questions and answers