
Related Manuals for Hausmann Powermatic 1440 Series


Summary of Contents for Hausmann Powermatic 1440 Series
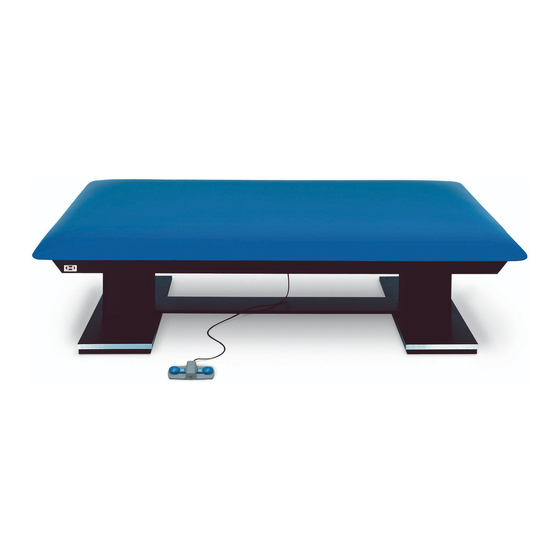
- Page 2 5’ x 7’, 4’ x 7’ 45” 4’ x 6’ 39 3/8” Underside of top (on blanket) 110V Power Foot Control Cord Control Box A1 Actuator Wire A2 Actuator Wire (Hard Connection) (Hard Connection) Base Base Assembly Assembly rev. 09.09.2009 cjr ©2009 HAUSMANN INDUSTRIES, INC.
- Page 3 110V Power Cord Detail of Control Box Port for Port for Actuator A1 Actuator A2 110 V Power Green Light Cord Underside of Control Box Foot Control Cord and Plug rev. 09.09.2009 cjr ©2009 HAUSMANN INDUSTRIES, INC.
- Page 4 Total of sixteen 1/4” - 20 x 7/8” machine screws needed for all (4) black angle irons. Upholstered top placed on base assembly. See page 7 for attachment of wires Hole 1 Hole 2 Hole 3 See page 7 for attachment of control Hole 4 box (next step) rev. 09.09.2009 cjr ©2009 HAUSMANN INDUSTRIES, INC.
- Page 5 Use cable zip ties to properly secure actuator wire to underside of top. First secure wire with cable tie closest to actuator then bundle excess wire and secure with cable tie located between base assembly and control box. Repeat procedure for Actuator A2. Cable Zip Tie rev. 09.09.2009 cjr ©2009 HAUSMANN INDUSTRIES, INC.
- Page 6 Secure shelf with (3) 1 3/4” x #8 fl at head phillips head screws per each side (total of six screws needed). Apply pressure as holes are not pre-drilled in base plate. Cord from Actuator A1 Cord from Actuator A2 110V Power Control Box Cord Foot Control Shelf “C” rev. 09.09.2009 cjr ©2009 HAUSMANN INDUSTRIES, INC.
-
Page 8: Troubleshooting
5. Check all wires and connections to make sure wires are nut cut and all connections are in fi rmly and operative. rev. 09.09.2009 cjr ©2009 HAUSMANN INDUSTRIES, INC. - Page 9 Please join Hausmann’s effort to reduce paper use and keep the planet green by using our paperless Warranty Registration form. Visit www.hausmann.com and click on Warranty Registration. If you do not have web access or prefer the form be mailed or faxed to you, please call Hausmann Customer Service.
- Page 10 30° to the right as far as the stop by means of special plastic wrench to lock. If this is not done, strain relief and water tightness are not guaranteed. rev. 09.09.2009 cjr ©2009 HAUSMANN INDUSTRIES, INC.
Need help?
Do you have a question about the Powermatic 1440 Series and is the answer not in the manual?
Questions and answers