
Related Manuals for Vega DSGH


Summary of Contents for Vega DSGH
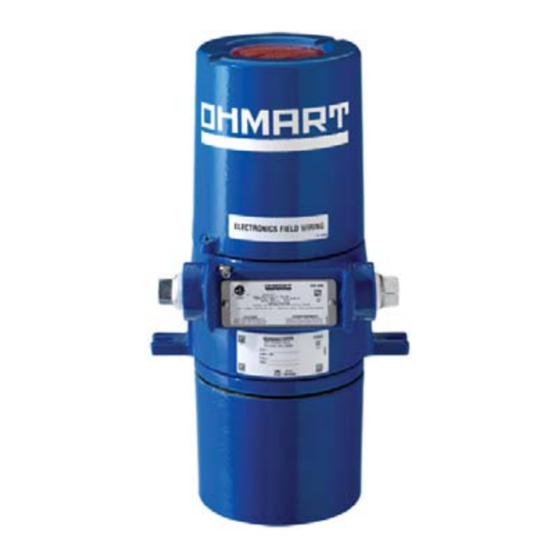
- Page 1 Quick Reference Guide DSGH ® Radiation-Based Detector with GEN2000 ® Electronics for Density Measurement Document ID: 31524 Nuclear...
-
Page 3: Revision History
111121 Changed page layout to A5 130403 This document contains proprietary information of VEGA Americas, Inc. It shall not be reproduced in whole, or in part, in any form, without the expressed written permission of the VEGA Americas, Inc. The material in this document is provided for informational purposes only and is subject to change without notice. - Page 4 Notes NOTES...
-
Page 5: Table Of Contents
Table of Contents Table of Contents Revision History ................3 Table of Contents ................5 Wiring ....................7 Current Loop Output ..................9 Auxiliary Input Frequency Signal ..............9 Relay ......................9 RS-485 ......................10 Setup and Calibration ..............11 Current Loop (analog output calibration) ............. - Page 6 Notes NOTES...
-
Page 7: Wiring
Wiring Wiring Follow the diagram and the steps below for wiring connections. Make connections at the removable terminal strips mounted on the power board. Access the power board by removing the explosion-proof housing cap. Connect the power earth ground wire with the internal and external ground screw. Access the ground screws by removing the top cover. - Page 8 Wiring DSGH Exploded View Power Supply Board CPU Board DSGH Perforated View Customer Earth Ground and Ground to Housing Do not apply power until thoroughly checking all the wiring. Not all connections are required for operation. For example, Terminal 10 (-6V, Auxiliary Input Power) may not be used with newer electronics.
-
Page 9: Current Loop Output
Wiring The AC power source voltage input is 100 - 230 VAC ±10% (90 - 250 VAC) at 50/60 • Hz, at 15 VA (or 25 VA with optional heater) maximum power consumption. Do not share the AC power with transient-producing loads. Use an individual AC •... -
Page 10: Rs-485
Wiring RS-485 The CPU board contains clearly labeled RS-485 connections. Use shielded wire per local code at a maximum length of 2,000 ft. (609 m). Connect positive terminals together. Connect negative terminals together. Connect ground terminals together. -
Page 11: Setup And Calibration
Setup and Calibration Setup and Calibration Before using the gauge to make measurements, you must: Calibrate it to relate the detection of radiation from the source to the level of the • process material. Calibrate the current loop to a reference ammeter or the DCS. •... -
Page 12: Select Linearity
Data used in the initial calibration • Absorption co-efficient • For information on linearity options, see the DSGH Installation and Operation Guide. Click Setup, Gauge Setup, Linearizer Type. Click Equation. Calibrate Gauge To calibrate your gauge, you must complete the Standard Method (2-point) or the Two-Point Process Calibration steps. - Page 13 Setup and Calibration The accuracy of the calibration depends upon the accuracy of the sample. Obtain an accurate reading, from a laboratory, of the sample read by the gauge. Two Point Process Calibration (Preferred Method) You must provide the high and low process conditions when performing a two-point calibration.
- Page 14 Notes NOTES...
-
Page 15: Maintenance And Diagnostics
Maintenance and Diagnostics Maintenance and Diagnostics The transmitter system alerts you to detector problems by: Posting messages on the Ohmview 2000 message screen. • De-energizing the output relay. • Distinctly changing the current loop output. • Tracking the current status and history in the Gauge status screens. •... -
Page 16: Gauge Status
Maintenance and Diagnostics Excessive radiation fields at the detector can permanently damage the gauge. The device has a protection feature that safeguards against excessive radiation fields. The procedure for activating this protection is firmware dependent. Please consult the factory to activate this feature on your device. - Page 17 Cycle power sensor pre-amp board EEPROM may to unit. not be resolved internally. If alarm If it recurs, contact VEGA Field recurs, suggests hardware problem. Service. Real Time Clock Real time clock failed/Can cause Reset time and date.
- Page 18 Perform shutter check. Acknowledge - No/Yes on Source Functions tab. New Hardware New hardware found?/CPU board Contact VEGA Field Service first. If Found - No/Yes detects configuration mismatch. CPU they concur, click Diagnostics, New board or sensor assembly may have...
-
Page 19: Troubleshooting
Maintenance and Diagnostics Troubleshooting Two circuit boards are field-replaceable. Power Supply Board and CPU Board Test points Power Supply Board Label Description HART connection HART connection Isolated ground Loop current test point 200 mV/mA loop current, referenced to isolated ground... -
Page 20: Led Indicators
Jumpers JP1 and JP2 on the power supply board set the current loop source or sink mode. The gauge does not use jumpers J1 through J4 on the CPU board. Do not change the jumpers from the current setting without calling VEGA Field Service. - Page 21 They are visible when you remove the explosion-proof housing pipe cap. LED Indicators – CPU Board If the LED band displays the Memory Corrupt pattern, call VEGA Field Service to report this condition. The gauge does not operate if the FLASH chip is corrupt.
-
Page 22: Field Repair Procedures
Use appropriate electrostatic discharge procedures to prevent damage to the electrical components of the gauge. Before replacing a circuit board, call VEGA Field Service. The sensor EEPROM contains a backup of the CPU board EEPROM. After replacing the CPU board, you must perform a memory backup to update the CPU board’s... -
Page 23: Replace Cpu Or Power Supply Board
Maintenance and Diagnostics Replace CPU or Power Supply Board Turn off power to the gauge. Remove the housing cover. Remove the plastic electronics cover. Remove the terminal wiring connector. Remove the three (3) screws holding the electronics package in place. Carefully pull the electronics package out of the housing. - Page 24 Notes NOTES...
-
Page 25: Customer Service
Customer Service Customer Service VEGA has Field Service Engineers or Radiation Safety Officers available for onsite service, emergency services, or equipment start up. Contact Information Telephone Number Monday through Friday 8:00 A.M. - 5:00 P.M. EST 1-513-272-0131 (Eastern Standard Time) - Page 26 Notes NOTES...
- Page 28 All statements concerning scope of delivery, application, practical use, and operating conditions of the sensors and processing systems correspond to the information available at the time of printing. 2013 VEGA Americas, Inc. Cincinnati, Ohio, USA © Subject to change without prior notice 31524-US-130403...
Need help?
Do you have a question about the DSGH and is the answer not in the manual?
Questions and answers