Table of Contents
Advertisement
Quick Links
Please read these instructions completely before proceeding with installation
1. All goods come with a one year manufacturer's warranty against defects.
2. Warranty will be void if the strut is altered for any reason and/or adapted to
applications other than those suggested.
3. Any abrasions or rub marks on the spring portion of the strut will not be
covered under warranty. The customer is responsible for all repair charges.
4. Driving at low PSI can cause the strut to bottom out. Repeated bottoming
out can cause the strut to fail. Failure resulting from repeated bottoming out is
not covered under warranty.
5. The customer is responsible for all shipping costs to Air Lift Company for all
warranty claims.
6. Please call tech support at 1-800-248-0892 before shipping a product to Air
Lift Company.
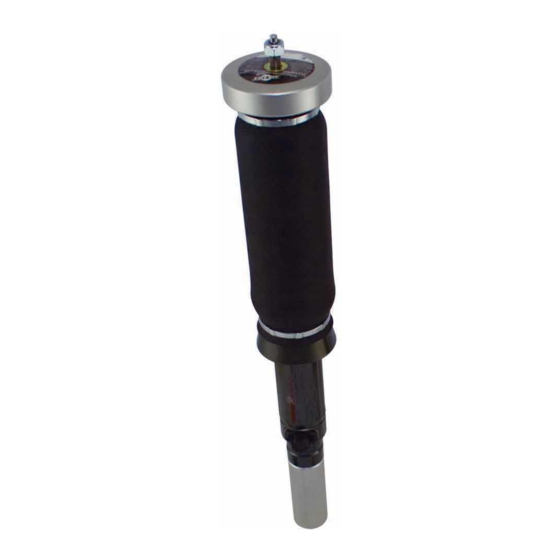
'98-'02 Honda Accord
Rear Kit Part No. 75670
www.airliftperformance.com
Warranty Information
MN-535
(09409)
ECR 4815
Advertisement
Table of Contents

Subscribe to Our Youtube Channel
Related Manuals for Air Lift 75670


Summary of Contents for Air Lift 75670
-
Page 1: Warranty Information
Failure resulting from repeated bottoming out is not covered under warranty. 5. The customer is responsible for all shipping costs to Air Lift Company for all warranty claims. 6. Please call tech support at 1-800-248-0892 before shipping a product to Air... - Page 2 Hardware Item Description Qty. 35059 Accord Strut Assembly 07076 Upper Bracket 17197 3/8” x 1” Counter Sunk Bolt 18427 3/8” Lock Washer 18430 3/8” Hex Nut 13002 Rubber Bushing 09333 Rubber Spacer 26372-070 Aluminum Spacer 10069 Heim Joint 18246 Jam Nut Figure 1 IMPORTANT: Always keep safety in mind when working on your vehicle.
- Page 3 IV. Installing the Air Fitting 1. Insert the air fitting (M) into the strut. Tighten the fitting finger-tight plus one and a half turns, being careful to tighten the metal hex nut only. NOTE: To avoid a possible bag puncture, the fitting must be turned so the base of the hex nut is parallel to the end cap (Figure 10).
- Page 4 bolts at this time. Finished installation is shown in Figure 9. VI. Before Operating 1. Tighten and visually inspect all hardware after 100 miles. 2. The struts for this vehicle come with a nine-position damping dial (shown below) for added adjustability. To start, we recommend setting the dial at the third position for the most versatility.
- Page 5 3. Should it become necessary to raise the vehicle by the frame or do any service work, make sure the system is at minimum pressure (10 p.s.i.) for safety and to reduce the tension on the suspension/brake components. Thank you for purchasing Air Lift Performance Products Mailing Address:...
Need help?
Do you have a question about the 75670 and is the answer not in the manual?
Questions and answers