Sign In
Upload
Download
Table of Contents
Contents
Add to my manuals
Delete from my manuals
Share
URL of this page:
HTML Link:
Bookmark this page
Add
Manual will be automatically added to "My Manuals"
Print this page
×
Bookmark added
×
Added to my manuals
Manuals
Brands
Cardiac Science Manuals
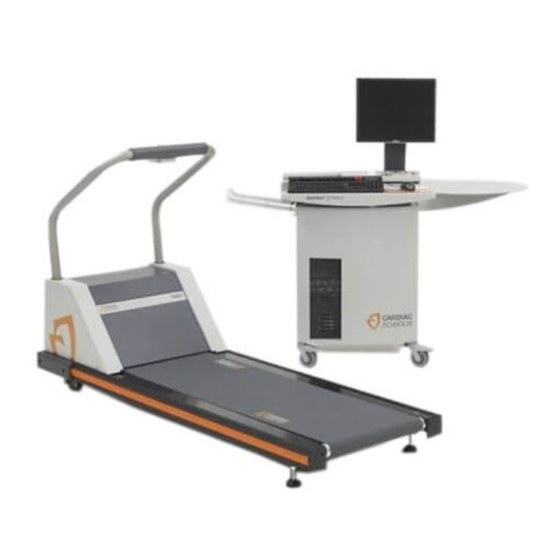
Treadmill
ST 55
Service manual
Cardiac Science ST 55 Service Manual
Stress treadmills
Hide thumbs
1
2
3
Table Of Contents
4
5
6
7
8
9
10
11
12
13
14
15
16
17
18
19
20
21
22
23
24
25
26
27
28
29
30
31
32
33
34
35
36
37
38
39
40
41
42
43
44
45
46
47
48
49
50
51
52
53
54
55
56
57
58
59
60
61
62
63
64
65
66
67
68
69
70
71
72
73
74
75
76
77
78
79
80
81
82
83
84
85
86
87
88
89
90
91
92
93
94
95
96
97
98
99
100
101
102
103
104
105
106
107
108
109
110
page
of
110
Go
/
110
Contents
Table of Contents
Bookmarks
Table of Contents
Table of Contents
Chapter 1 : Safety
Safety Terms and Definitions
Warnings and Cautions
Safety Notes
Symbol Definitions
EMC Declaration Tables
Electromagnetic Emissions
Electronic Immunity
Recommended Separation Distances
Chapter 2 : Introduction
Controls
Operation
Power
Emergency Stop Button
Indicators
Installation
Chapter 3 : Theory of Operation
Overview
Headframe Assembly
Deck and Roller Assembly
Stress Monitor to Treadmill Interface
Headframe Assembly
Input Power Module
Drive Board
Transformer Assembly
Drive Motor Assembly
Grade Motor Assembly and System
Deck and Roller Assembly
Chapter 4 : Preventative Maintenance
Recommended Service
Routine Maintenance
Visual Inspection
Cleaning the Treadmill Surfaces
Disinfection
Vacuuming under the Treadmill Hood
Frequency
Replacement Schedules
Electrical Testing
Chapter 5 : Repair/Replacement and Calibration
Electrical Shock
Burns
Mechanical Hazards
Tools
Removing the Treadmill Hood
TM 55/65 Treadmill 4.0 70-00298-01 a
Replacing the Configuration Plate
Replacing the Power Cord
Hard-Wired Cords on Low Voltage Units
Detachable Cords on High Voltage Units
Replacing the AC Drive Module
Bus Recovery System (BRS)
Replacing the Tensioner
Replacing the Poly-V Drive Belt
Replacing the Drive Motor
Replacing the Transformer
Replacing the Grade Motor
Replacing the Grade Motor Chain
Replacing the Grade Potentiometer (Pot)
Grade Pot Wires
Removing the Rack Gears
Reassembling the Rack Gears
Replacing a Jammed Rack Gear
Replacing the Pinion Shaft
Adjusting the Grade Limit Switches
Walking Deck Assembly
Replacing Rollers
Removing the Deck Assembly from Headframe
Replacing the Walking Belt
Removing the Deck
Adjusting the Walking Belt
Belt Tension
Walking Belt Tracking
Replacing the Emergency Stop Switch
Replacing the Emergency Stop Cable
Calibration Procedures
Grade Potentiometer (Pot) Calibration
Chapter 6 : Troubleshooting
Diagnosis
Electrical Problems
Tools
Electrical Problems
Electronic Problems
Error Codes
Mechanical Problems
Walking Belt
Drive Belt
Treadmill Noise
Error Flow Charts
Bus Voltage Flow Chart
Grade Error Flow Chart
Drive Motor Flow Chart
Communications Link Flow Chart
Grade Problems Flow Chart
Appendix A: Specifications
Cardiac Stress Treadmills Specifications
Power Requirements
Speed Vs. Weight Range
Appendix B: Part Numbers
Final Assemblies
Spares
Placement of Spare Parts
Wiring Diagrams
Wiring Diagram, High Voltage Treadmill
Advertisement
Quick Links
1
Installation
2
Cardiac Stress Treadmills Specifications
Download this manual
70-00298-01 A
Service Manual
Cardiac Stress Treadmills
Table of
Contents
Previous
Page
Next
Page
1
2
3
4
5
Advertisement
Table of Contents
Need help?
Do you have a question about the ST 55 and is the answer not in the manual?
Ask a question
Questions and answers
Related Manuals for Cardiac Science ST 55
Treadmill Cardiac Science Cardiac Stress User Manual
(62 pages)
This manual is also suitable for:
Tm55
Tm65
St65
Table of Contents
Print
Rename the bookmark
Delete bookmark?
Delete from my manuals?
Login
Sign In
OR
Sign in with Facebook
Sign in with Google
Upload manual
Upload from disk
Upload from URL


Need help?
Do you have a question about the ST 55 and is the answer not in the manual?
Questions and answers