Table of Contents
Advertisement
Advertisement
Table of Contents

Related Manuals for NAMCO POINT BLANK


Summary of Contents for NAMCO POINT BLANK
-
Page 1: Operators Manual
™ POINT BLANK Operators Manual Part No. 90500078... - Page 2 No part of this publication may be reproduced by any mechanical, photographic or electronic process, or in the form of phonographic recording, nor may it be stored in a retrieval system, namco transmitted or otherwise copied for public or private use, without permission from Ltd.
-
Page 3: Table Of Contents
Contents Operators Manual ....................1 SPECIFICATIONS ..................4 PRECAUTIONS..................5 2-1 Cautions When Installing..................5 2-2 Caution when Handling..................5 2-3 Cautions when Transporting................... 5 ADJUSTMENTS ..................6 3-1 Turning on the Power ..................... 6 3-2 Switches for Adjustments ..................6 3-3 Volume Adjust ...................... -
Page 4: Specifications
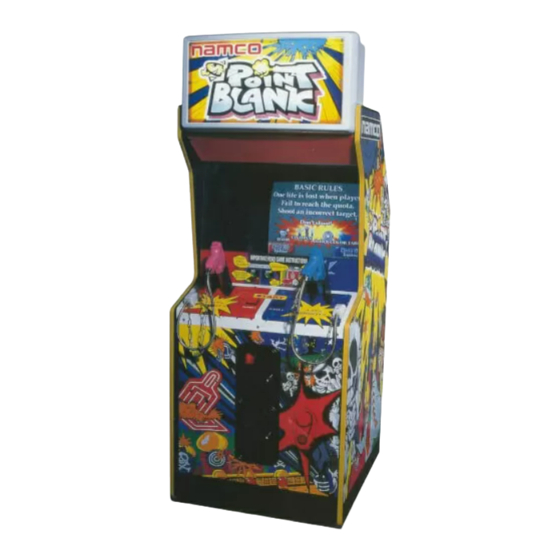
1. SPECIFICATIONS POWER SUPPLY :- 220/240volts AC MONITOR :- Hantarex 28" Polo Colour Monitor with auto degauss. DIMENSIONS :- 780(w) x 900(d) x 2080(h) WEIGHT :- 165kg. ACCESSORIES :- Keys: (Cash Door) ..... 2 (Coin Door) ...... 2 (Back Door) ..... 2 Hex Tamper-Proof Wrench ..... -
Page 5: Precautions
2. PRECAUTIONS 2-1 Cautions When Installing. This game is designed for indoor use only. The game must not be installed outdoors or under the following conditions:- In areas directly exposed to sunlight, high humidity, direct water contact, dust, high heat or extreme cold. In locations that would present an obstacle in the case of an emergency, i.e. -
Page 6: Adjustments
3. ADJUSTMENTS 3-1 Turning on the Power After installing the product, turn on the power. The power switch is located above the mains inlet on the rear of the cabinet. 3-2 Switches for Adjustments Open the front door to find the switches for adjustments. Service Switch Press this switch to obtain game credits without incrementing the coin counter. -
Page 7: Test Mode
3-4 Test Mode Open the coin door for access to the service bracket, then slide the test switch to "ON". The "Switch Test Screen" appears on the monitor display. Pressing the service button steps through the test screens. When testing is finished ensure that the test switch is returned to the "OFF" position to return to Game Screen The Test Switch must always be "OFF"... -
Page 8: Game Menu
3-4-3 Game Menu Advance to the Game Menu Screen by GAME MENU pressing the service button. Pressing the 1 Player Start Button selects the LIFE test required. The selected test will change MUSIC IN ATTRACT to red. Pressing the 2 Player Start Button will INITIALIZE HI SCORE change the settings. -
Page 9: Sound Test
3-4-6 Sound Test Advance to the Game Menu Screen by pressing the service button. SOUND TEST Pressing the 1 Player Start Button changes the request No. REQUEST No Pressing the 1 Player gun trigger will generate a sound. A different LEFT/RIGHT CHECK=REQUEST No 1H sound will be produced each time the request No. - Page 10 CABINET DESCRIPTION PART No. Front Glass - Toughened (748x580x6) 31000020 Mirror (735x660x3) 31000021 Monitor 28" Hantarex Polo 84000012 Speaker 4½" 20w (with shield can) 62000006 Switch Mode Power Supply 83000040 Schaffner Mains In Assy 66000016 Schaffner Boot 66000017 Fuse 5amp 20mm Slo-Blo 63500600 Interlock Switch 60000006...
-
Page 11: Schematic
5. SCHEMATIC Page... - Page 12 Page...
Need help?
Do you have a question about the POINT BLANK and is the answer not in the manual?
Questions and answers