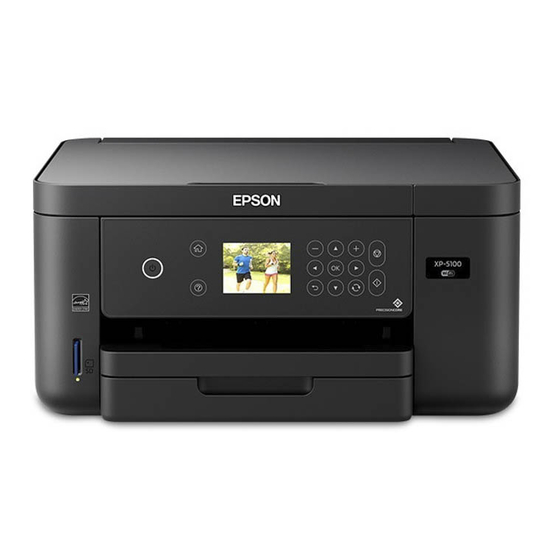
Epson XP-5100 Start Here
Hide thumbs
Also See for XP-5100:
- User manual (274 pages) ,
- User manual (195 pages) ,
- Quick manual (21 pages)
Advertisement
Quick Links
Download this manual
See also:
User Manual
XP-5100
Start Here
Read these instructions before using your product.
Note for Spanish speakers/Nota para hispanohablantes:
Para obtener instrucciones de configuración en español, consulte la Guía
de instalación en www.epson.com/support/xp5100sp (requiere una
conexión a Internet).
1
Unpack
Note:
Do not open ink cartridge packages until you are ready to install
the ink. Cartridges are vacuum packed to maintain reliability.
1
Remove all protective materials from the product.
2
Lift up the scanner unit and remove all protective
materials from inside the product.
Caution:
Do not touch the flat white cable.
3
Lower the scanner unit.
2
Turn on and configure
1
Connect the power cord to the back of the product and to
an electrical outlet.
Caution:
Do not connect to your computer yet.
2
Raise the control panel and turn on the product.
3
Press
or
to select your language, then press OK.
Note:
You can change the language later using the product's
control panel. For more information, see the online User's Guide.
3
Install ink cartridges
Caution:
Keep ink cartridges out of the reach of children and do not
drink the ink.
1
Lift up the scanner unit until it locks into place.
2
Gently shake the black ink cartridge. Do not shake the
other ink cartridges.
3
Unpack the ink cartridges.
Advertisement

Related Manuals for Epson XP-5100


Summary of Contents for Epson XP-5100
-
Page 1: Install Ink Cartridges
Read these instructions before using your product. Note for Spanish speakers/Nota para hispanohablantes: Para obtener instrucciones de configuración en español, consulte la Guía de instalación en www.epson.com/support/xp5100sp (requiere una conexión a Internet). Caution: Do not connect to your computer yet. -
Page 2: Load Paper
Caution: Don’t turn off the printer or raise the scanner unit while it is charging or you’ll waste ink. Note: • The printer is designed for use with Epson cartridges only, not ® Pull out the output tray. third-party cartridges or ink. -
Page 3: Install Software
• Print directly from your iOS device. Simply connect your printer and device to the same network and tap the action If you don’t have a User’s Guide icon, go to the Epson website, icon to select the print option. - Page 4 Android, Google Cloud Print, Chromebook, and Google Play are trademarks of Google Inc. General Notice: Other product names used herein are for identification purposes only and may be trademarks of their respective owners. Epson disclaims any and all rights in those marks. This information is subject to change without notice.
Need help?
Do you have a question about the XP-5100 and is the answer not in the manual?
Questions and answers
I have XP-5100 Home unit, I need to set printer to print membership cards, on National Provided stock. It calls for "Actual Size" to be set. I can't find it in mt printer. I have around 50 empty Epson cartridges. do you give credit for returns.