Yamaha PM5D Redundancy Manual
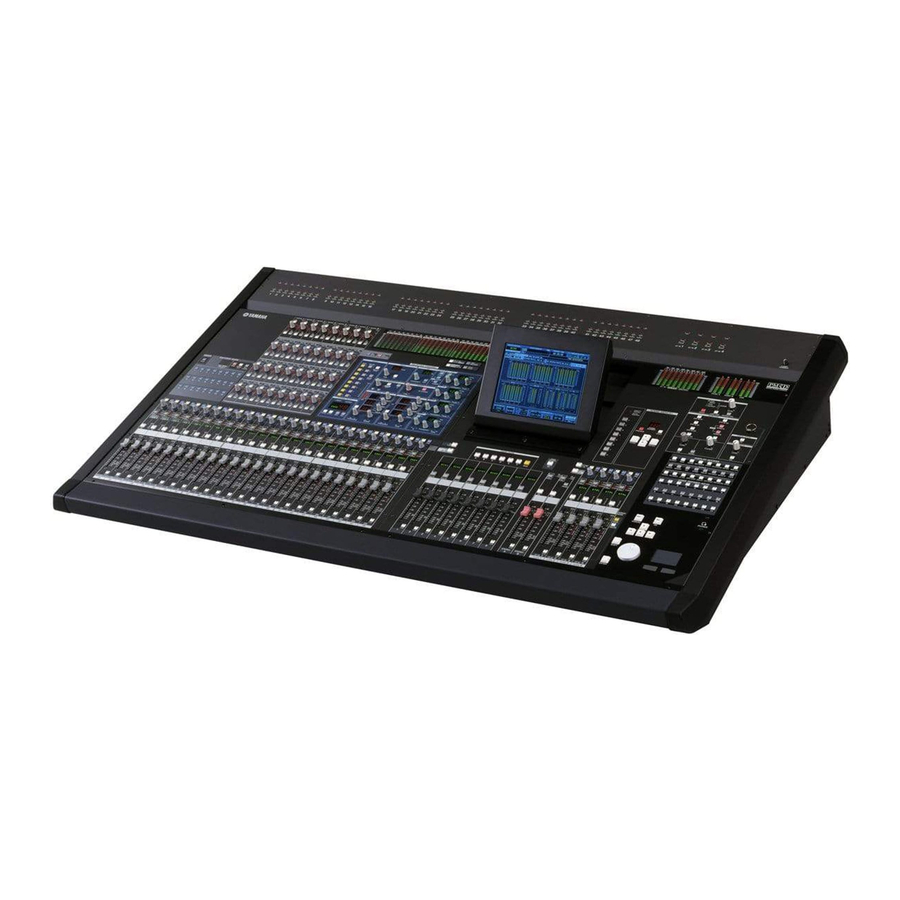
Digital mixer
Hide thumbs
Also See for PM5D:
- User manual (408 pages) ,
- Owner's manual (367 pages) ,
- Setup manual (35 pages)

Related Manuals for Yamaha PM5D


Summary of Contents for Yamaha PM5D
- Page 1 YAMAHA Digital Mixers: A Redundancy Guide How to achieve “Mirroring” with: PM5D(RH), M7CL, LS9, DM2000, DM1000, 02R96, 01V96 YAMAHA Digital Mixers: A Redundancy Guide...
- Page 2 This concept will work with all of Yamaha’s current range of digital mixers, but for this example DM2000 will be used. The procedure is basically the same with all the other digital mixers, with just small variations in the Display menus and Setup functions.
-
Page 3: Console Setup
INITIALIZE it, so PGM 1 recalls Scene 1, PGM 2 recalls Scene 2 and so on… Open the MIDI/HOST page on Console #1 (found in the [SETUP] menu) and set the GENERAL Rx PORT and Tx PORT to MIDI (as shown below). YAMAHA Digital Mixers: A Redundancy Guide... - Page 4 • OUTPUT PATCH o INSERT • EFFECTS o FADERS • GRAPHIC EQUALIZERS o CHANNEL ON • SCENE MEMORY o ROUTING RECALL o AUX SENDS • SCENE FADE TIME o MATRIX • RECALL SAFE • DIO settings YAMAHA Digital Mixers: A Redundancy Guide...
- Page 5 ENCODER MODE and FADER MODE and so on, but it does not mirror the mixing parameters. Instead, it makes both consoles work like one big console with twice the number of input channels, but no extra output channels. YAMAHA Digital Mixers: A Redundancy Guide...
- Page 6 Choose USB 1, ID1 for Console #1 ii. Choose USB 1, ID2 for Console #2 Launch Studio Manager, and in the Setup Window (File menu), create a Workspace for two DM2000 consoles, as shown below: YAMAHA Digital Mixers: A Redundancy Guide...
- Page 7 #1 to PC, then save the session onto the PC. Next, open this session into the Editor for Console #2 and sync from PC to Console Now you are ready to enjoy “Mirroring” redundancy with Yamaha Digital Mixers! YAMAHA Digital Mixers: A Redundancy Guide...
- Page 8 Download the latest manuals, firmware and software from: www.yamahaproaudio.com YAMAHA Digital Mixers: A Redundancy Guide...
Need help?
Do you have a question about the PM5D and is the answer not in the manual?
Questions and answers