LSC MANTRA LITE Quick Start Manual
Lighting control for leds, moving lights & dimmers
Hide thumbs
Also See for MANTRA LITE:
- Operator's manual (55 pages) ,
- User manual (110 pages) ,
- Quick start manual (27 pages)

Related Manuals for LSC MANTRA LITE


Summary of Contents for LSC MANTRA LITE
- Page 1 Lighting Control for LEDs, Moving Lights & Dimmers Quick Start Guide Version V 1.1 June 2016...
- Page 2 Information contained in this manual is subject to change without notice. In any event, LSC Lighting Systems (Aust) Pty. Ltd. cannot be held liable for any direct, indirect, special, incidental, or consequential damages or loss whatsoever (including, without limitation, damages...
-
Page 3: Table Of Contents
Contents Overview ............. 4 Help ............4 Undo ............4 Getting Connected ........5 Front Panel ..........6 Touch Screen ..........7 Controlling Fixture Intensity ......8 Controlling Fixture Parameters ....... 9 Selecting Fixtures ......... 9 Controlling Colour ........10 Controlling Pan/Tilt ........ -
Page 4: Overview
Overview This “Quick Start Guide” provides basic information on patching, controlling intensity, colour & position, creating a simple animation plus recording and playback. Training videos plus the “Mantra Operation Manual” containing full descriptions of all functions are available at: mantralite.lsclighting.com Mantra comes with a “Demo”... -
Page 5: Getting Connected
Getting Connected 4.1 Power Input Two models of MantraLite are available: The MANTRA/LT has an IEC mains input (90 volts to 260 volts). The MANTRA/LT/E has 12 volt DC power input. An external mains power pack is supplied. 4.2 DMX 512 Output Connect a DMX data cable from the DMX512 output (one universe of 512 channels) to the DMX512 input of... -
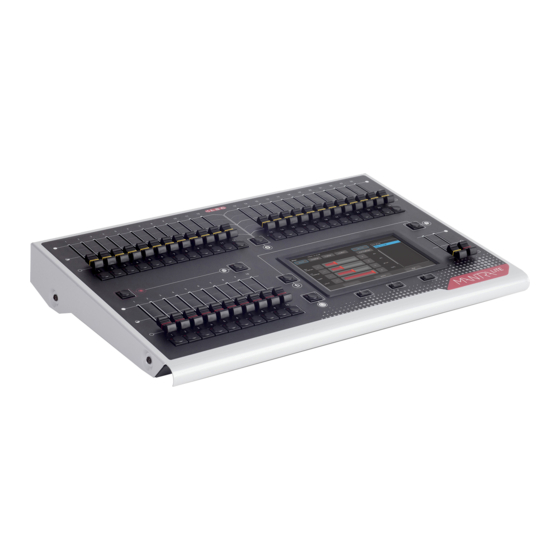
Page 6: Front Panel
Front Panel Record Help Select Undo 24 Fixture Faders Output and Buttons (Yellow) 10 Playback Playback Touchscreen Fixture Playback Back Faders and Pages Master Master Buttons (Yellow) (Red) (Red) The 24 Yellow fixture faders control fixture intensity. Moving a fixture fader automatically selects that fixture allowing its other parameters such as colour or position to be controlled by Apps on the touch screen. -
Page 7: Touch Screen
Different looks can be recorded on different Red Playback faders so that you can easily change the entire look on stage by using the Red Playbacks. See section 15 for more details. Touch Screen If the touch screen is not on the “Home” screen, tapping [Back] button steps back through the screens to the “Home”... -
Page 8: Controlling Fixture Intensity
is shown on the screen above each button. You can tap the button or touch the screen to operate them. Touching anywhere in the top “fixtures section” of the “Home” screen or touching Apps opens the “Apps” screen. Apps are used to control the parameters of selected fixtures. -
Page 9: Controlling Fixture Parameters
Controlling Fixture Parameters Mantra uses “Apps” on the touch screen to control the parameters of selected fixtures. From the “Home” screen, open the “Apps” page by touching anywhere in the top half of the touch screen or touching Apps. “Clear” See section 14 Apps Screen There are 4 columns that have Apps for their type of... -
Page 10: Controlling Colour
To select a range of fixtures, hold the first button and tap the last button in the range. This work low to high number and high to low number. [Select] to use previous selections or to select None. 10 Controlling Colour 10.1 Picker From the “Home”... - Page 11 Touching Fan selects “Directional” fanning. Drag to fan the colours across the selected fixtures. Touching Fan again selects “Symmetrical” fanning. Drag to fan the colours with your finish colour in the centre of your fixture selection. Touching Fan again turns fanning off. Your fixture selection order is used by the Fan App.
-
Page 12: Controlling Pan/Tilt
can enter exact values using the keyboard that appears. Enter your values (in Hex) then touch Set. 10.3 Gels The colour Gels app is similar to the “Picker” app but has 100 commonly used colour gels to choose from. 11 Controlling Pan/Tilt From the “Home”... -
Page 13: Automatic Fixture De-Select
Touching Fan again selects “V–Shape” fanning. This pan works best when fixtures are already fanned into a line. Drag to pull the line of fixtures into a V shape. Touching Fan again turns fanning off. Your fixture selection order is used by the Fan App. Experiment with different orders of selection to get different shapes. - Page 14 be at least one different setting amongst all of the selected fixtures so that you can see the different setting being shifted from one fixture to the next. Example 1: Let’s create a 2 colour animation using RGB LED fixtures 1 through 4: ...
-
Page 15: Clearing Fixtures
Select fixtures 1 through 4 by holding fixture [1] button and tapping fixture [4] button (or tap them individually). Touch Create and the animation runs as an intensity chase. Fixture 1 Fixture 2 Fixture 3 Fixture 4 Step 1 Step 2 Step 3 Step 4... -
Page 16: Recording Your Work
15 Recording Your Work When you have adjusted the intensity and colour of your fixtures and possibly created an animation(s) you can record the current output of the MANTRA onto a Red Playback fader. To record the current output onto a Red Playback fader, [Record] then tap the button below the Red Playback fader of your choice [1-10]. -
Page 17: Playback
The current page number is shown in the top left corner of the “Home” screen and the contents of the red playback faders are shown along the bottom. 16 Playback To playback a recorded cue, fade up the Red Playback Master to full and fade up the Red Playback fader where you recorded the cue (remember to select the correct page). - Page 18 The current cue has a white background. A pointer indicates when a fade is in progress. Current Fade in progres Touch the Playing as a Playback icon to “list” modify the cue-list The cue-list can be manually played as a “list” or automatically played as a “chase”...
- Page 19 playback a cue without stepping through all of the intermediate cues. Use the list as a chase or a cue-list. 16.3 Chase To change a cue-list into an automatically stepping “Chase” touch its playback icon then select “Use as Chase”.
-
Page 20: Latest Takes Precedence
level is above 0% when a page is changed. Each playback icons colour shows its page status. Black = not Red = current page current page 17 Latest Takes Precedence The value for each parameter of a fixture (intensity, colour, position, etc.) that appears on the output is determined by a method known as LTP (Latest Takes Precedence) and by fader position. -
Page 21: Editing Cues
18 Editing Cues Red Playbacks containing a single cue can be edited as described below in 18.1 and 18.2. A cue in a cue-list cannot be edited. If you need to change a cue in a cue-list, playback that cue then use the techniques described below in 18.1 and 18.2 to get the desired look on the output. -
Page 22: Patching Fixtures
20 Patching Fixtures Mantra comes with a “Demo” show pre-loaded. To create a new show, from the Home screen touch Tools/New. This loads a new empty show with no patch. To patch fixtures, from the Home screen tap Tools/Setup/Patch. In the Patch screen you tell Mantra the manufacturer, model and DMX address of the fixture that you want to patch. - Page 23 To patch 12 dimmers as fixtures 1 to 12 starting at DMX address 1: Under “Manufacturers” touch “Generic” and under “Models” touch “Dimmer channel”. Use the +10, -10, +1 and -1 buttons to set the DMX address to 1 (the address of the first dimmer).
-
Page 24: Fixture Editor
21 Fixture Editor If you have a new fixture and it is not listed in the Mantra fixture library you can create a template for it, even if you don’t know the functions of its DMX channels. Mantra’s Fixture Editor allows you to use the red faders to directly control the DMX channels of the fixture and hence discover the function of each channel.
Need help?
Do you have a question about the MANTRA LITE and is the answer not in the manual?
Questions and answers