Sign In
Upload
Download
Table of Contents
Contents
Add to my manuals
Delete from my manuals
Share
URL of this page:
HTML Link:
Bookmark this page
Add
Manual will be automatically added to "My Manuals"
Print this page
×
Bookmark added
×
Added to my manuals
Manuals
Brands
Zanussi Manuals
Kitchen Appliances
ZCG63330BA
User manual
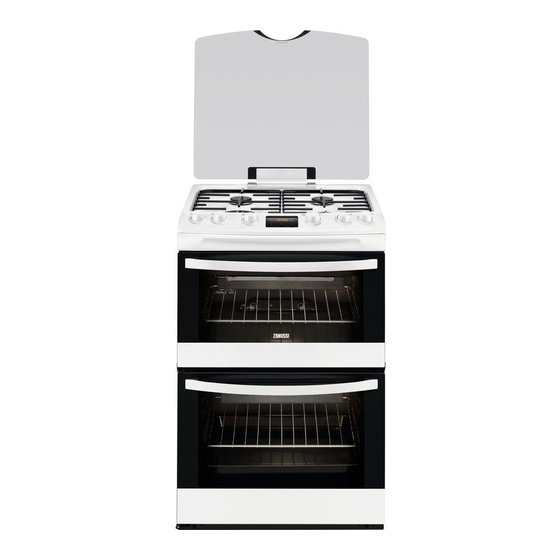
Zanussi ZCG63330BA User Manual
Hide thumbs
1
2
3
4
5
6
7
8
9
10
11
12
13
14
15
16
17
18
19
20
21
22
23
24
25
26
27
28
Table Of Contents
29
page
of
29
Go
/
29
Contents
Table of Contents
Troubleshooting
Bookmarks
Table of Contents
Safety Information
Children and Vulnerable People Safety
General Safety
Safety Instructions
Electrical Connection
Gas Connection
Care and Cleaning
Internal Lighting
Gas Grill
Product Description
General Overview
Cooking Surface Layout
Cooker Control Panel
Before First Use
Hob - Daily Use
Burner Overview
Hob - Hints and Tips
Hob - Care and Cleaning
General Information
Oven - Daily Use
Top Oven Functions
Main Oven Functions
Igniting the Oven and Grill Burners
Turning off the Oven Burners
Cooling Fan
Trivet and Grill- / Roasting Pan
Inserting the Oven Accessories
Oven - Clock Functions
Oven - Hints and Tips
Tips on Baking
Conventional Cooking - Top Oven
Conventional Cooking - Main Oven
Grilling in General
Oven - Care and Cleaning
Notes on Cleaning
Stainless Steel or Aluminium Ovens
Catalytic Cleaning
Removing and Cleaning the Door Glasses - Top Oven
Removing and Cleaning the Door Glasses - Main Oven
Replacing the Lamp
Troubleshooting
Installation
Other Technical Data
Gas Burners
Checking the Hob Burners
Checking the Oven Burners and the Grill
Pressure Test
Checking the Lid Safety Device
Electrical Installation
Energy Efficiency
Hob - Energy Saving
Environmental Concerns
General Hints
Advertisement
Quick Links
1
Electrical Connection
2
Care and Cleaning
3
Gas Grill
4
Troubleshooting
Download this manual
User Manual
GETTING
STARTED?
EASY.
ZCG63330BA
ZCG63330WA
ZCG63330XA
EN User Manual
Cooker
GB
IE
Table of
Contents
Previous
Page
Next
Page
1
2
3
4
5
Advertisement
Table of Contents
Need help?
Do you have a question about the ZCG63330BA and is the answer not in the manual?
Ask a question
Questions and answers
Related Manuals for Zanussi ZCG63330BA
Kitchen Appliances Zanussi ZCG660 User Manual
Cooker (28 pages)
Kitchen Appliances Zanussi ZCG667 User Manual
(28 pages)
Kitchen Appliances Zanussi ZCG661G User Manual
(76 pages)
Kitchen Appliances Zanussi ZCG552GNC User Manual
(28 pages)
Kitchen Appliances Zanussi ZCG62226 User Manual
(28 pages)
Kitchen Appliances Zanussi ZCG61266 User Manual
(28 pages)
Kitchen Appliances Zanussi ZCG63TC0BA User Manual
Gas cookers (24 pages)
Kitchen Appliances Zanussi ZCG63330WA User Manual
(29 pages)
Kitchen Appliances Zanussi ZCG63330XA User Manual
(29 pages)
Kitchen Appliances Zanussi ZCG 6000 W Instructions For The Use And Care
Gas cooker (14 pages)
Kitchen Appliances Zanussi ZCG64396XA User Manual
(29 pages)
Kitchen Appliances Zanussi ZCG550 User Manual
Cooker (28 pages)
Kitchen Appliances Zanussi ZCG55WGB User Manual
(28 pages)
Kitchen Appliances Zanussi ZCG552GNC User Manual
(28 pages)
Kitchen Appliances Zanussi ZCG562 User Manual
(24 pages)
Kitchen Appliances Zanussi ZCG92386 User Manual
(28 pages)
This manual is also suitable for:
Zcg63330wa
Zcg63330xa
Table of Contents
Print
Rename the bookmark
Delete bookmark?
Delete from my manuals?
Login
Sign In
OR
Sign in with Facebook
Sign in with Google
Upload manual
Upload from disk
Upload from URL


Need help?
Do you have a question about the ZCG63330BA and is the answer not in the manual?
Questions and answers