Table of Contents
Advertisement
Quick Links
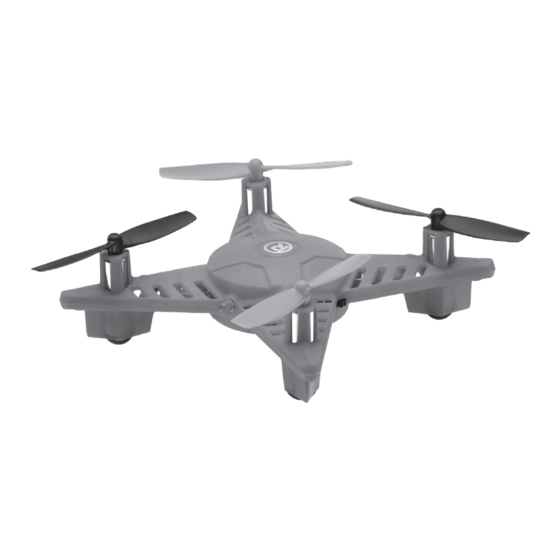
S t a r t i n g w i t h
We hope you enjoy your DIY Drone Starter Kit from RadioShack. This kit comes
with everything you need to build and fly a Quad-Rotor Drone. Please read this
user's guide before using your new kit.
Package Contents
DIY Drone Starter Kit
Check you have all the components before you start.
3.7V 250mAH Lithium Polymer
PCB
Top Body Cover
Motor 1 (Red/Black Wires) (3)
Motor 2 (White/Black Wires) (3)
Red/Red LED1 (1)
1.2 x 4mm Screws (16)
Propellers A: Red (2), Black (2)
Propellers B: Red (2), Black (2)
2770422
User's Guide
2
Solder LEDs
USB Charging Cable
Remote Control
Required Tools
• Soldering Iron
• Lead-free Solder
• Diagonal Cutter
Notes: This kit contains electronic components that may contain hazardous
substance and may be harmful if misused. This activity is not intended for
Battery
children under the age of 12. Not to be used by children except under adult
supervision. Wash hands after soldering.
Before You Begin
Instill good working habits. A soldering iron is not a toy.
• Prepare a clean, uncluttered workspace with no distractions.
• Verify all tools and parts.
Bottom Body Cover
• Review instructions. Attention to detail is critical.
Soldering
Solder
1. Insert the component leads through the
correct pads on the PCB.
2. Press the iron to the pad to heat the pad. Do
Iron
not move the iron. Instead, touch the solder
to the pad. Flow enough solder to fill the hole
White/Green LED2 (4)
and hold the component, but not too much.
3.
Trim the excess lead as closely as possible to
the PCB.
Suspension Pads (6)
Caution: Be careful when soldering and trimming
leads. Protective eyeware is recommended.
3
Solder Motor Wires
LEDs are polarized and MUST
Red/Red
LED1
Motor 1 (2)
Red
M1+
Motor 2 (2)
match the position printed
LED1 (1)
- +
on the PCB. The longer pin is
Black
M1-
White/
LED2
positive and the shorter pin is
negative.
Green
LED2 (4)
Insert leads into the correct pads, bend the LEDs
so they extend from the board as indicated below,
solder, then trim leads.
ON/OFF
-
+
+
-
Motor 2
12mm
12mm
7mm
+
-
Motor 1
12mm
12mm
+ -
+
-
4
5
Connect Battery
Assemble Body
Turn on the PCB to
White
M2+
3.7V 250mAH Lithium
test LED connections.
Polymer Battery (1)
Black
M2-
Observe direction!
ON/OFF
Motor 1
CHG Port
Fit holes
into posts
Motor 2
6
Top Body Cover
Bottom Body
Cover
1.2 x 4mm Screws
(4)
Insert motor wires
Keep wires away from
into slots
connecting posts
Fit holes
into posts
ON/OFF
Switch
Widen LED leads around posts
carefully using a pair of pliers
7
8
Advertisement
Table of Contents

Subscribe to Our Youtube Channel
Related Manuals for Radio Shack 2770422


Summary of Contents for Radio Shack 2770422
- Page 1 Caution: Be careful when soldering and trimming leads. Protective eyeware is recommended. 12mm 12mm Widen LED leads around posts carefully using a pair of pliers Propellers A: Red (2), Black (2) Propellers B: Red (2), Black (2) 2770422 User’s Guide...
- Page 2 • Do not fly your drone where emergency responders are working, or propellers. RadioShack is a registered trademark used by General Wireless 2770422 Note: The remote control beeps when you press a trim control but stops emergency aircraft are operating.
Need help?
Do you have a question about the 2770422 and is the answer not in the manual?
Questions and answers