
Related Manuals for Radio Shack FLIP FLOP STUNT DRONE


Summary of Contents for Radio Shack FLIP FLOP STUNT DRONE
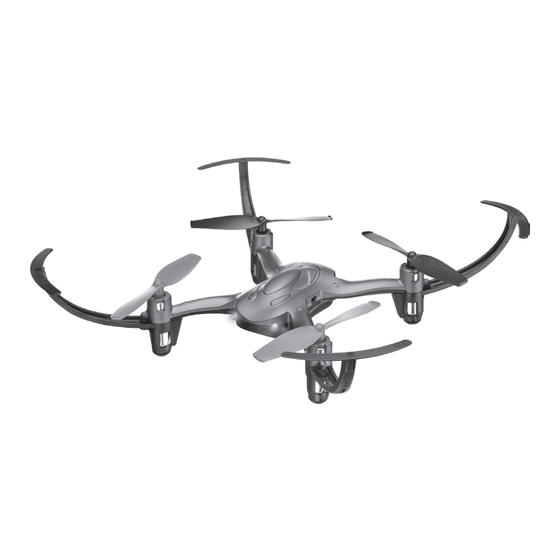
- Page 1 6001438 User’s GUide Age 12+ flip flop stunt Drone 6001438_PM_En_for inspection printing.indd 1 7/5/2016 4:33:47 PM...
-
Page 2: Table Of Contents
Contents Features .................... 3 Package Contents ................3 Specifications ................... 3 Fly Safely ................... 3 Charge the Drone Battery ............... 4 Lithium Battery Notes ....................4 Recycle Rechargeable Batteries ................4 Install Batteries in the Remote Control .......... 4 Battery Notes ......................5 About Expert/ Easy Modes (Ex/Ez) .......... -
Page 3: Features
We hope you enjoy your Flip Flop Stunt Drone from RadioShack. Congratulations! No FAA Registration is required for this drone. Please read this user’s guide before setting up and using your drone. Features • 6-axis super stabilizing control system • 180° flip stunt to fly your drone upside down, plus 360° flip stunt mode •... -
Page 4: Charge The Drone Battery
Charge the Drone Battery Make sure you use the supplied battery and battery charging cable, or one of the same type: 3.7 V, 390mAH lithium polymer. 1. Use the USB charging cable to connect the battery to a USB power source. -
Page 5: Install Batteries In The Remote Control
Install Batteries in the Remote Control 1. Make sure the remote control is turned off. 2. Use a screwdriver to open the twin battery compartments. Then insert four AAA batteries (not included), matching the polarities (+ and –) marked inside. Replace the cover. note: If the remote control’s LED flashes during use, the batteries are low and should be replaced. -
Page 6: Remote Control Overview
Remote Control Overview flip 360 Activates mode to perform full flips forward / reverse Movement trim throttle Ascend push (stunt turn left turn right mode) Descend 6001438_PM_En_for inspection printing.indd 6 7/5/2016 4:33:49 PM... - Page 7 flip 180 Activates flip to fly your drone upside down left / right slide trim steering forward push (High/low slide left slide right speed) Backward ex/ off/ ez Expert/ Off/ Easy mode 6001438_PM_En_for inspection printing.indd 7 7/5/2016 4:33:49 PM...
-
Page 8: Fly Your Drone
3. Turn on the remote control to ez or ex . The remote control's LED flashes. 4. Move the throttle all the way up and then down to pair the remote control with the drone. The drone’s propellers remain still during pairing. When paired, the LEDs on both the remote control and drone light steadily. -
Page 9: Fly In "Headless" Mode
Fly in "Headless" Mode Featuring an integrated true-north compass, the drone can automatically align to fly "headless" in either ex or ez flight modes. This simplifies steering, when you do the following: 1. Select an open location without strong magnetic interference and place the drone facing forward on level ground. -
Page 10: Replace Damaged Propellers
Replace Damaged Propellers Back Blades (black) The left and right propellers of the drone are different, and marked A/B on the propeller and axles). You must use the correct propeller in the correct location, otherwise the drone will fail to take off. To replace a damaged propeller, remove the old one and press the new one onto the propeller axle. -
Page 11: Trim Your Drone
controls. Calibration is successfully completed, and you are now ready for takeoff. • See “trim Your Drone" below if necessary fine tune and improve control of your drone after calibration. Trim Your Drone Move the throttle forward and see how the drone reacts. reverse/ forward Movement trim: If the drone tends to move forward, press ;... -
Page 12: Fcc Information
FCC Information This equipment has been tested and found to comply with the limits for a Class B digital device, pursuant to Part 15 of the FCC Rules. These limits are designed to provide reasonable protection against harmful interference in a residential installation. This equipment generates, uses and can radiate radio frequency energy and, if not installed and used in accordance with the instructions, may cause harmful interference to radio communications.
Need help?
Do you have a question about the FLIP FLOP STUNT DRONE and is the answer not in the manual?
Questions and answers