
Related Manuals for Kärcher KB 5


Summary of Contents for Kärcher KB 5
- Page 1 KB 5 OPERATOR MANUAL Cordless Sweeper....2 MANUAL DE USUARIO Barredora inalámbrica..12 MANUEL D’UTILISATION Balayeuse sans fil ... .24...
-
Page 2: Table Of Contents
CORDLESS SWEEPER OPERATOR MANUAL IMPORTANT SAFETY IN- Specifications STRUCTIONS ..EN READ ALL INSTRUCTIONS Operating time with full max. BEFORE USING THIS AP- charge PLIANCE ....EN Low pile carpets MODEL OVERVIEW . - Page 3 Customer Support Mexico tions. Call: 01-800-024-13-13 for help or visit Owner/User Responsibility our website: www.karcher.com.mx The owner and/or user must have an understanding of the manufacturer’s operating instructions and warnings before using this appliance.
-
Page 4: Important Safety Instructions
IMPORTANT SAFETY INSTRUCTIONS When using this product basic precau- appliance over battery charger out- tions should always be followed, in- put cord. Keep battery charger out- cluding the following: put cord away from heated surfac- READ ALL Prevent unintentional starting. En- ... - Page 5 Do not incinerate the appliance appliance outside of the tempera- even if it severely damaged. The ture range specified in the instruc- batteries can explode in fire. tions. Charging improperly or at Do not use to pick up toxic material temperatures outside of the speci- ...
-
Page 6: Model Overview
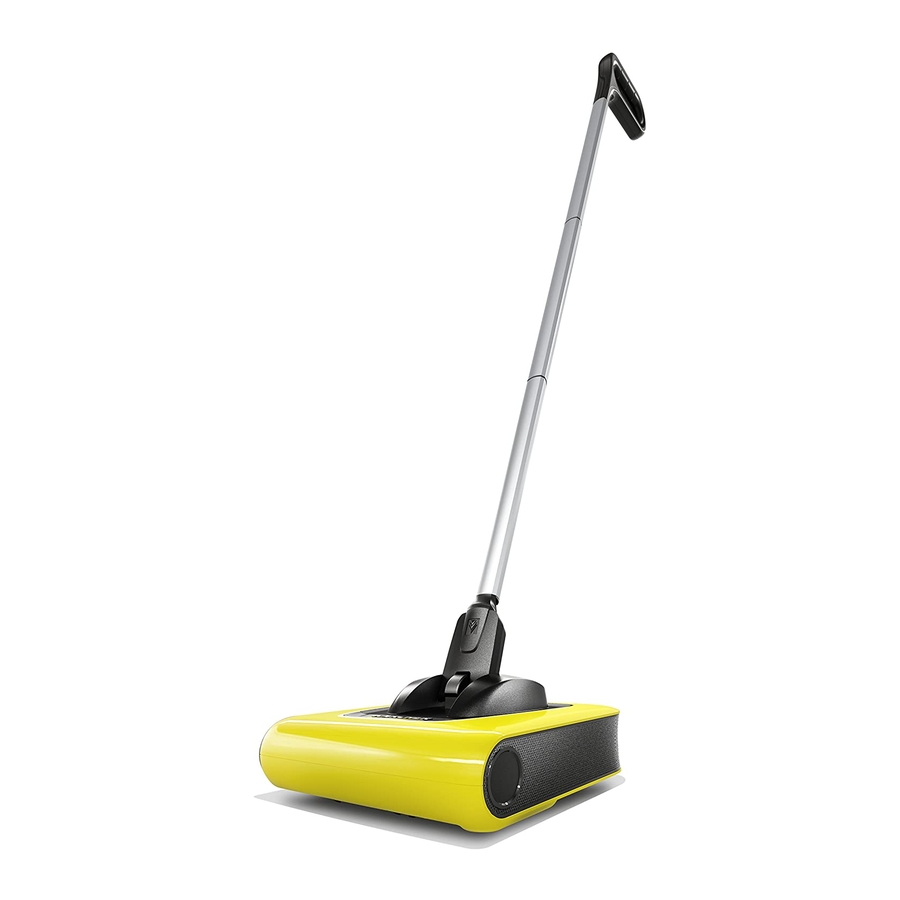
MODEL OVERVIEW 1 Handle 6 Flexible double joint on the appli- 2 Struts (3x) ance an ON/OFF switch 3 Connection pieces (2x) 7 Battery indicator 4 Dirt container, detachable 8 Charging socket 5 Brush roller, detachable 9 Charger with charging cable 6 English... -
Page 7: Start Up
START UP Charge the battery Insert the charger delivered with the Installing the handle, struts and appliance into a proper socket. connection pieces Insert the connector plug into the Insert the handle on the strut. appliances's charging socket. Insert the struts and the connection ... -
Page 8: Operating Instructions
OPERATING INSTRUCTIONS LED indicator During battery charging: Starting the work LED blinks green. The appliance is switched off, when The battery is charged: the handle is in an upright position. LED illuminates constantly in green. LED lights up until the mains plug is re- moved from the socket. - Page 9 The flexible double joint allows a Emptying the dirt container simple guiding of the appliance. To switch off the appliance, bring the handle in an upright position. Remove the dirt container from the appliance. Interrupting the work To switch off the appliance, bring ...
-
Page 10: Care And Maintenance Instructions
Remove wound up hair using a CARE AND MAINTENANCE knife or scissors. Move the knife INSTRUCTIONS along the defined cutting edge and then remove the loosened hair. WARNING To reduce the risk of fire, electric shock or injury, turn power OFF and disconnect plug from electrical out- let before performing maintenance or troubleshooting. - Page 11 DISPOSAL INFORMATION Note WARNING The battery of the appliance is not re- placeable. This appliance contains Note Lithium Ion rechargeable Disconnecting the battery will destroy batteries. According to Fed- the appliance and invalidate the war- eral and State regulations, ranty. removal and proper dispos- The battery should be removed ...
Need help?
Do you have a question about the KB 5 and is the answer not in the manual?
Questions and answers
the dust bin seems stuck shut. how to fix?