Advertisement
The LVSW series low voltage switch is intended for use with
lighting control devices that expect a momentary contact
closure to toggle the state of the lighting load. Each button
on the LVSW switch has an LED indicator intended to display
the current state of the lighting load when connected
appropriately to the lighting control device. Five color kits and
custom engraving options are available.
SPECIFICATIONS
Voltage, from panel .............................................. 24VDC, Class 2
Maximum Contact Current Per Button ............................... 50mA
Maximum Operating Current ................................................ 2mA
Wire Connections; Removable Terminal Blocks
Use 18 -22 AWG Copper Conductors Only
One terminal per button
One terminal per LED
Two common terminals; shared with all buttons and LEDs
Environment ................................................. For Indoor Use Only
Operating Temperature ....................32° to 130°F (0° to 55°C)
Relative Humidity ...........................5 to 95% (non condensing)
UL and cUL listed
MOUNTING THE SWITCH
WARNING: Do Not install To Cover Junction Box Having Class 1,
3 or Power and Lighting Circuits.
WARNING - For install in UL Listed Junction Box or Enclosure
Containing Only Class 2 Wiring - Do not Reclassify and Install as
Class 1, 3 or Power and Lighting Wiring.
WIRING
P1
SW8
LED8
SW7
LED7
SW6
LED6
SW5
LED5
SW4
LED4
SW3
LED3
SW2
LED2
SW1
LED1
COM
COM
P2
Back View
LVSW-101/102/103/104/108
1.
Connect the "Com" terminal (common) of the LVSW switch to the lighting control
device per the instructions provided with the device. Note that both "Com" terminals
on the LVSW switch are internally connected together.
2.
Connect the terminal corresponding to the button on the LVSW switch (SW1 –SW8) to
the input of the lighting control device per the instructions provided with the lighting
control device.
3.
Connect the terminal corresponding to the LED pilot light on the LVSW button (LED1 –
LED8) to the pilot light output of the control device per the instructions provided with
the lighting control device.
4.
Repeat for all buttons on the switch. Refer to diagram for button-terminal cross
reference.
5.
Install the LVSW switch into a single gang wall box or one position in a multi-gang
switch box using the mounting screws provided with the LVSW switch. Be careful to
press the low voltage wires into the box so they are not pinched by the mounting plate.
Button LED
6.
Install an appropriate switch cover plate (not supplied) over the LVSW switch to
Switch button
complete the installation.
Common
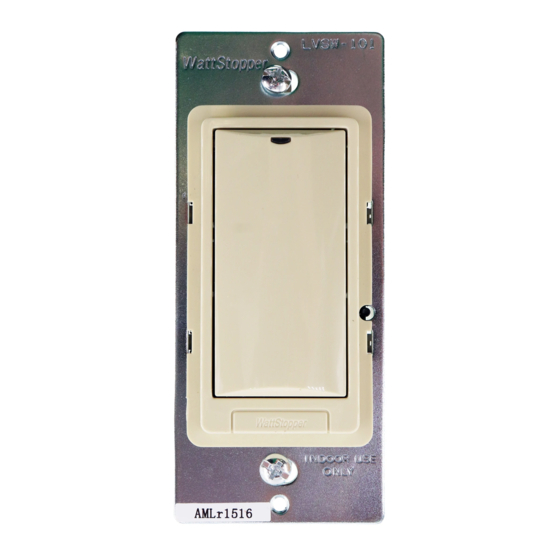
LVSW-101
LVSW-102
LVSW-103
BUTTONS AND INDICATORS
Low Voltage Switch
LVSW-104
LVSW-108
Blue LED
On/Off button
Advertisement
Table of Contents

Related Manuals for wattstopper LVSW-101


Summary of Contents for wattstopper LVSW-101
- Page 1 LVSW-101/102/103/104/108 Low Voltage Switch The LVSW series low voltage switch is intended for use with lighting control devices that expect a momentary contact closure to toggle the state of the lighting load. Each button on the LVSW switch has an LED indicator intended to display the current state of the lighting load when connected appropriately to the lighting control device.
- Page 2 LVSW-101 LVSW-102 LVSW-103 LVSW-104 LVSW-108 Button-Terminal Cross Reference Please 8/2011 2800 De La Cruz Blvd. Phone: 800.879.8585 Recycle Santa Clara, CA 95050 www.wattstopper.com 15206...
Need help?
Do you have a question about the LVSW-101 and is the answer not in the manual?
Questions and answers