Table of Contents
Advertisement
4-Source Multi-Zone Central
Audio Controller/Amplifiers
CAi-Series
Instruction Manual
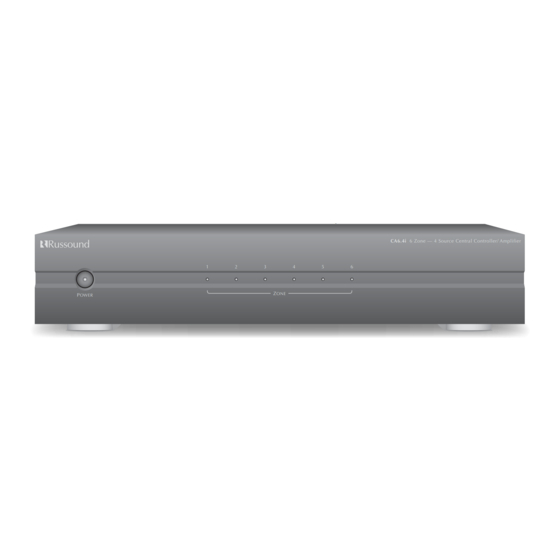
CA 6.4i 6-Zone, 4-Source Central Controller/Amplifier
P
OWER
CA 4.4i 4-Zone, 4-Source Central Controller/Amplifier
P
OWER
1
2
3
4
Z
ONE
1
2
3
Z
ONE
ROCK
R&B
JAZZ
CHILDRENS
• ON / OFF
• VOLUME
SOURCE
• SOURCE
REMOTE SENSOR
CA-KP.2
CA-LCD.2
CA6.4i 6 Zone — 4 Source Central Controller/ Amplifier
5
6
CA4.4i 4 Zone — 4 Source Central Controller/ Amplifier
4
VOLUME
STORE
POWER
REMOTE SENSOR
Advertisement
Table of Contents

Summary of Contents for Russound CA 6.4i
- Page 1 4-Source Multi-Zone Central Audio Controller/Amplifiers CAi-Series Instruction Manual CA 6.4i 6-Zone, 4-Source Central Controller/Amplifier OWER CA 4.4i 4-Zone, 4-Source Central Controller/Amplifier OWER ROCK R&B JAZZ CHILDRENS • ON / OFF • VOLUME • SOURCE REMOTE SENSOR CA-KP.2 VOLUME SOURCE STORE...
- Page 2 50Hz operation please select the power cord for your area. Select the plug for your area at one end and a IEC320 connector at the other. It is not necessary to make any other changes. If you have any questions please call Russound Inc. 1800-638-8055 or 603-659-5170 Safety Instructions: 1.
-
Page 3: Table Of Contents
Product Overview ....... . .4 Possible System Configurations ..... .4 Unpacking and Warranty . -
Page 4: Product Overview
High-current, stereo, power amplifiers are built into the Russound CAi allowing simple connections to each speaker in the system. Each zone is operated by an intuitive, easy-to-use keypad that controls all the functions of the CAi. The keypads also have a built-in infrared receiv- er that allows remote commands for your source equipment to be routed through the CAi. -
Page 5: Getting Started
TOOLS NEEDED The following information will indicate some tools and materials necessary for a complete installation: • 4 twisted pair communication wire (commonly referred to as CAT-5). This wire will be used to connect the keypads in each zone to the controller. Stranded, 16 Gauge mini- mum, CL3 rated wire. -
Page 6: Rear Panel Connections
ANEL Figure 3 - CA6.4i Rear Panel Connections Source Input Connections CA6.4i NEWMARKET, NH U.S.A. OURCE NPUTS LINK IR EMITTERS Emitter Outputs IR Link In and Out Figure 4 - CA4.4i Rear Panel Connections Source Input Connections CA4.4i NEWMARKET, NH U.S.A. OURCE NPUTS LINK... -
Page 7: Zone Pre-Amp Outputs
ZONE PRE-AMP OUTPUTS Switch in VARIABLE Position: In applications VARIABLE where more power than the 20 watts per chan- nel is desired, connect one or more zones of the FIXED CAi to an external amplifier. Using standard RCA connectors, wire from the pre-amp outputs of the CAi to the amplifier's inputs. -
Page 8: Keypad Connections At Controller
EYPAD ONNECTIONS • Each keypad connection on the back panel of the CAi-Series Master Controller corresponds to the room / zone number chosen for your speakers. Each zone operates independently, so it is very important to connect the keypad to the correct zone keypad input. •... -
Page 9: Installing Keypads
PUNCHDOWN TERMINALS Figure 11 – Punchdown Terminal on CAi keypad The CAi Keypads come with 110 punchdown terminals. These terminals are quick, easy to install and provide a strong con- nection. Punchdown terminals require the use of a punch- down tool. One has been provided with this kit. Press wires into punchdown terminal with punchdown tool as shown in Figure 12. -
Page 10: Setting The Keypads
NSTALLING SETTING THE KEYPADS Before a keypad is installed into the j-box, turn on the power so that you can operate the keypad. CA-LCD.2 Only: The amber and the green backlight bright- ness can be individually set. Note the brightness controls are located on the side of the keypad. -
Page 11: Srm-2.1 Speaker Relay Module Option
SRM-2.1 SPEAKER RELAY MODULE OPTION The optional SRM-2.1 module works with CA-LCD.2 keypad’s 12V trigger output. This unobtrusive wall-mount device allows you to automatically switch to whole house audio in a zone containing existing audio equipment. Example: In a bedroom with a stereo system, the stereo system would be the default. -
Page 12: Operation
PERATION OPERATING THE MAIN UNIT • Power switch: When the power switch is engaged, the CAi power indicator will be lit an amber color. The CAi should be left on at all times. The unit will consume very little power unless the zones are on and active. -
Page 13: Operating The Ca-Lcd.2 Keypad
OPERATING THE CA-LCD.2 KEYPAD 1) Display: The LCD panel displays the name of the source selected and the volume level. 2) Source: The source button is pressed to select one of the four sources to listen to. Press the source button until the desired source is selected. -
Page 14: Specifications
PECIFICATIONS CA6.4i • Frequency Response: 20 Hz to 20 KHz ( +/- 1 dB ) • 20 Watts RMS / Channel @ 8Ω • 12 Channels / 6 Stereo Amplifiers • Total Harmonic Distortion: .01% • Signal to Noise Ratio: 89 dB min, “A” weighted •... -
Page 15: Warranty
In these cases the repair will be made at the owners expense. To return for repairs, the unit must be shipped to Russound at the owners expense, along with a note explaining the nature of the service required. Be sure to pack in a corrugated container with at least 3 inches of resilient material to protect the unit from damage in transit. - Page 16 D I S T R I B U T I O N & C O N T R O L S Y S T E M S 5 Forbes Rd. Newmarket, NH 03857 603.659.5170 • Fax 603.659.5388 e-mail: tech@russound.com Come visit us at: 28-0106...


Need help?
Do you have a question about the CA 6.4i and is the answer not in the manual?
Questions and answers